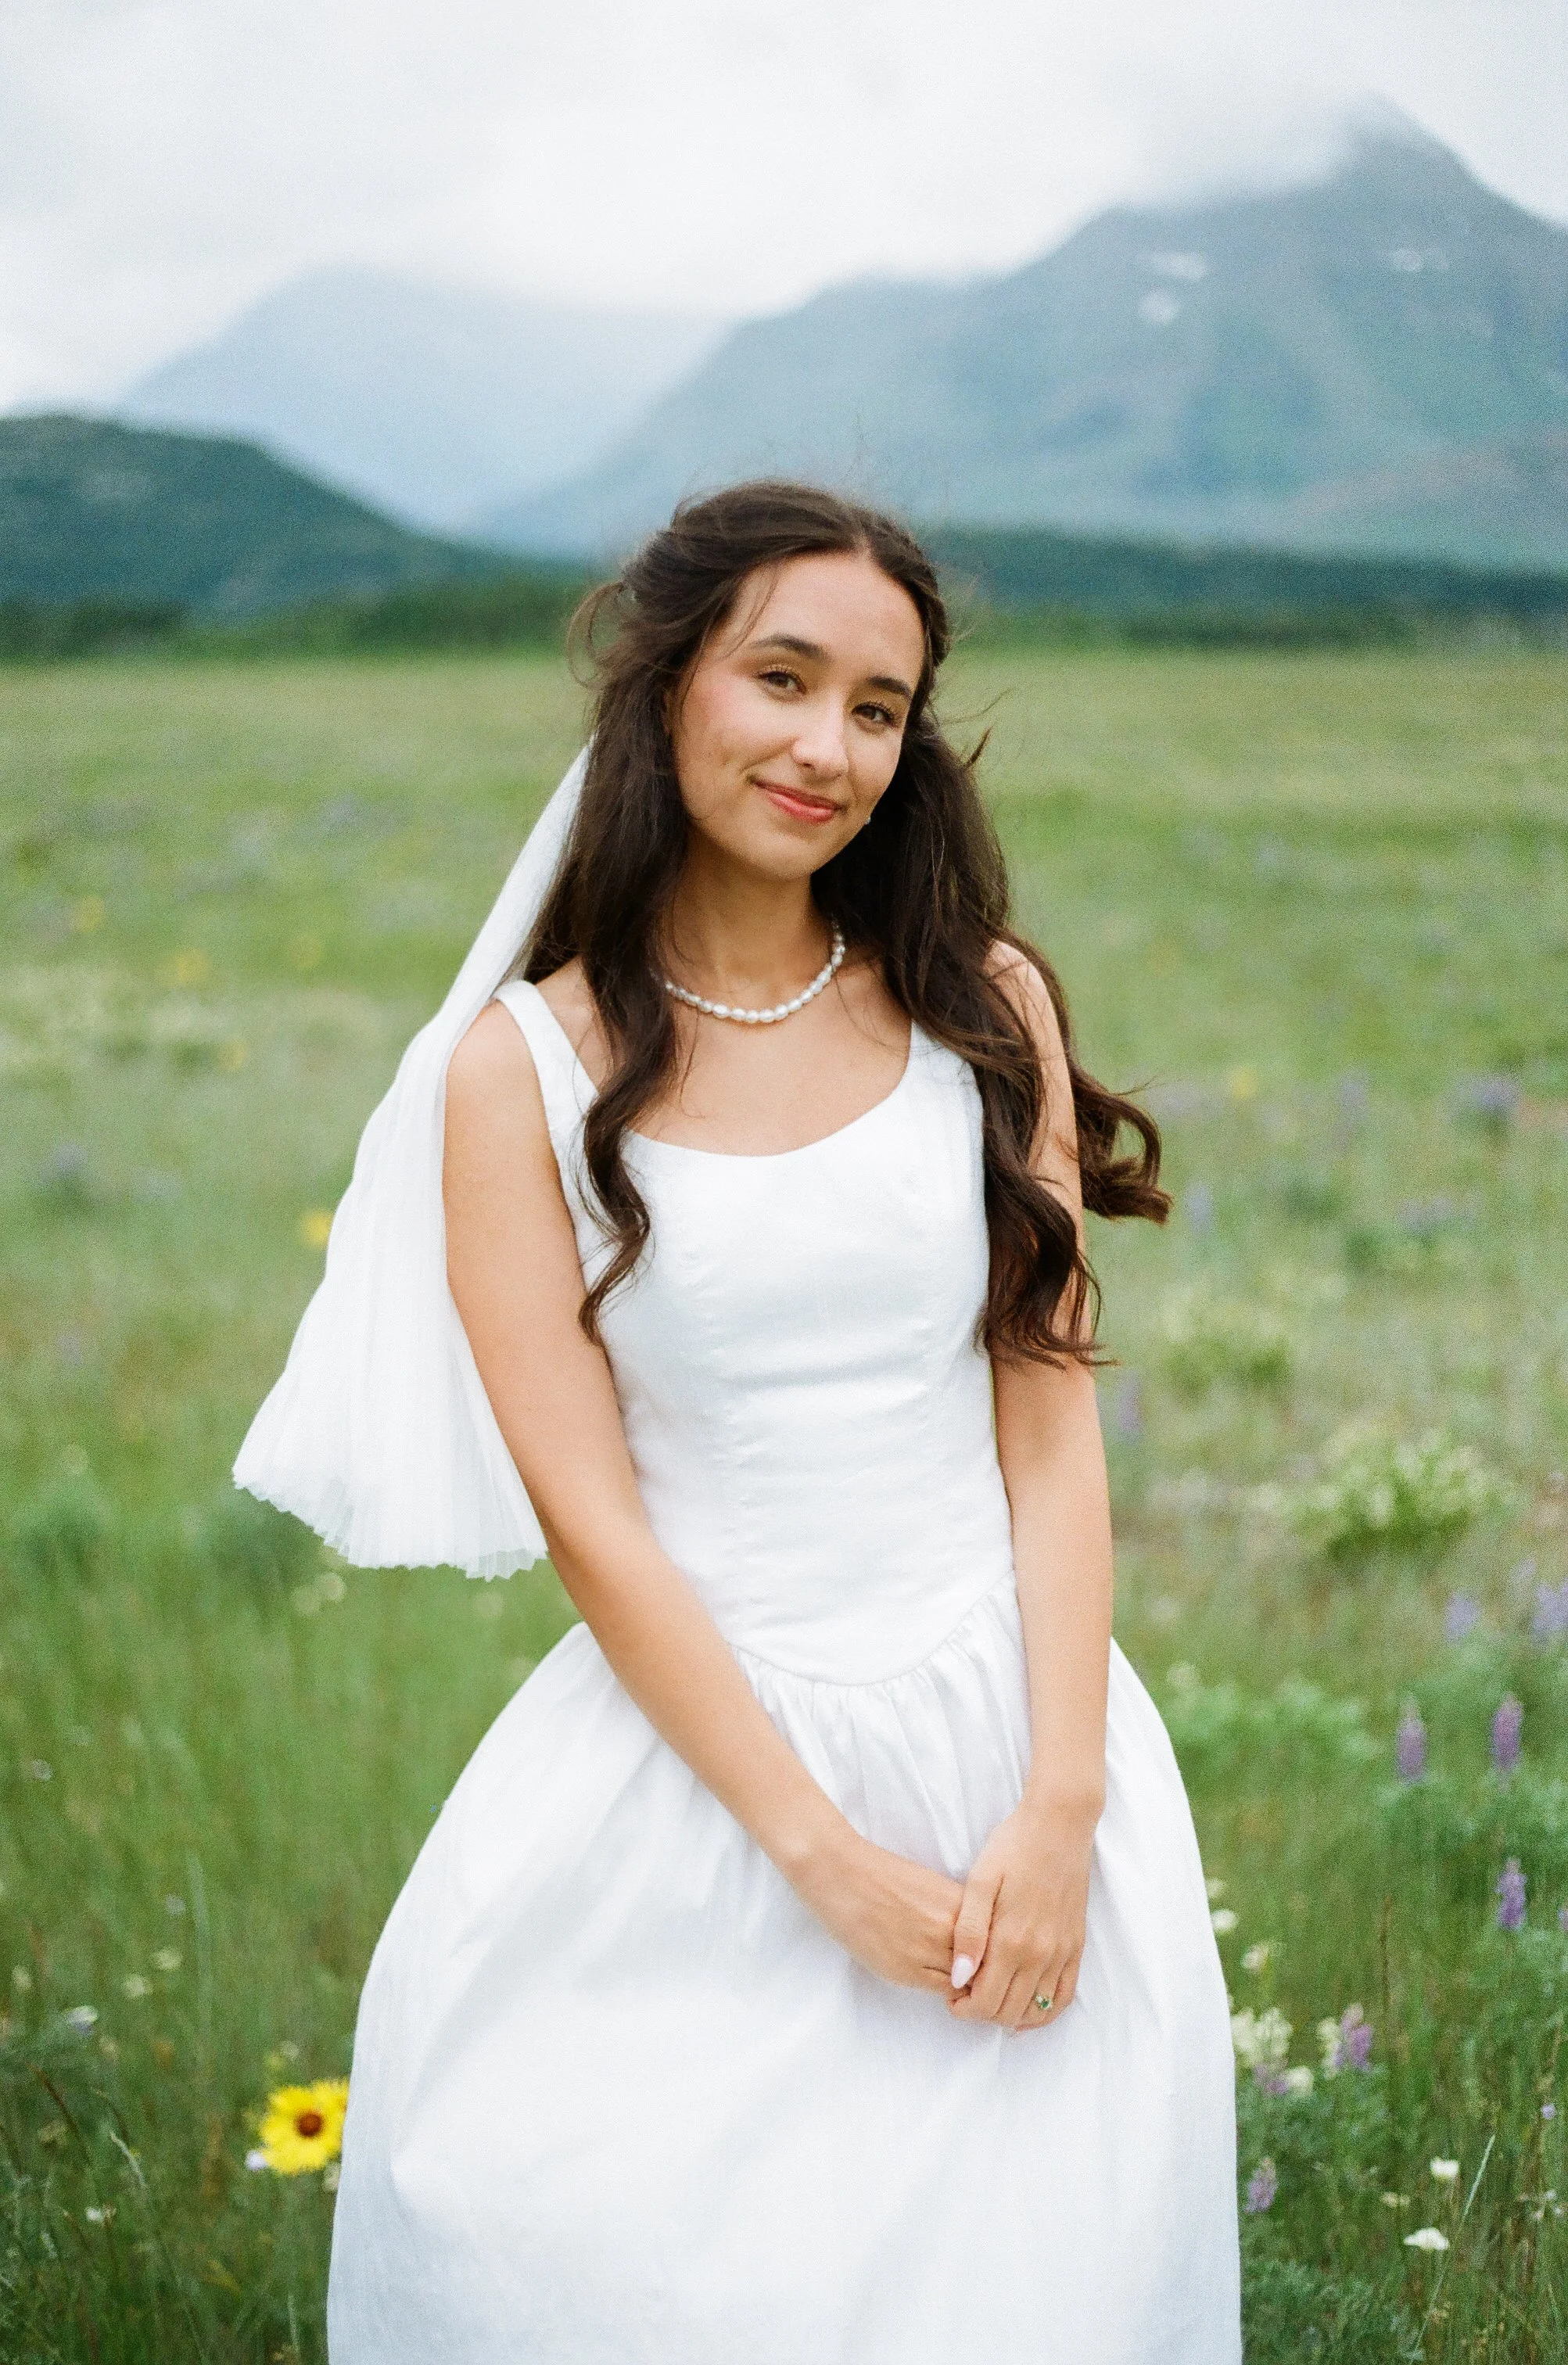
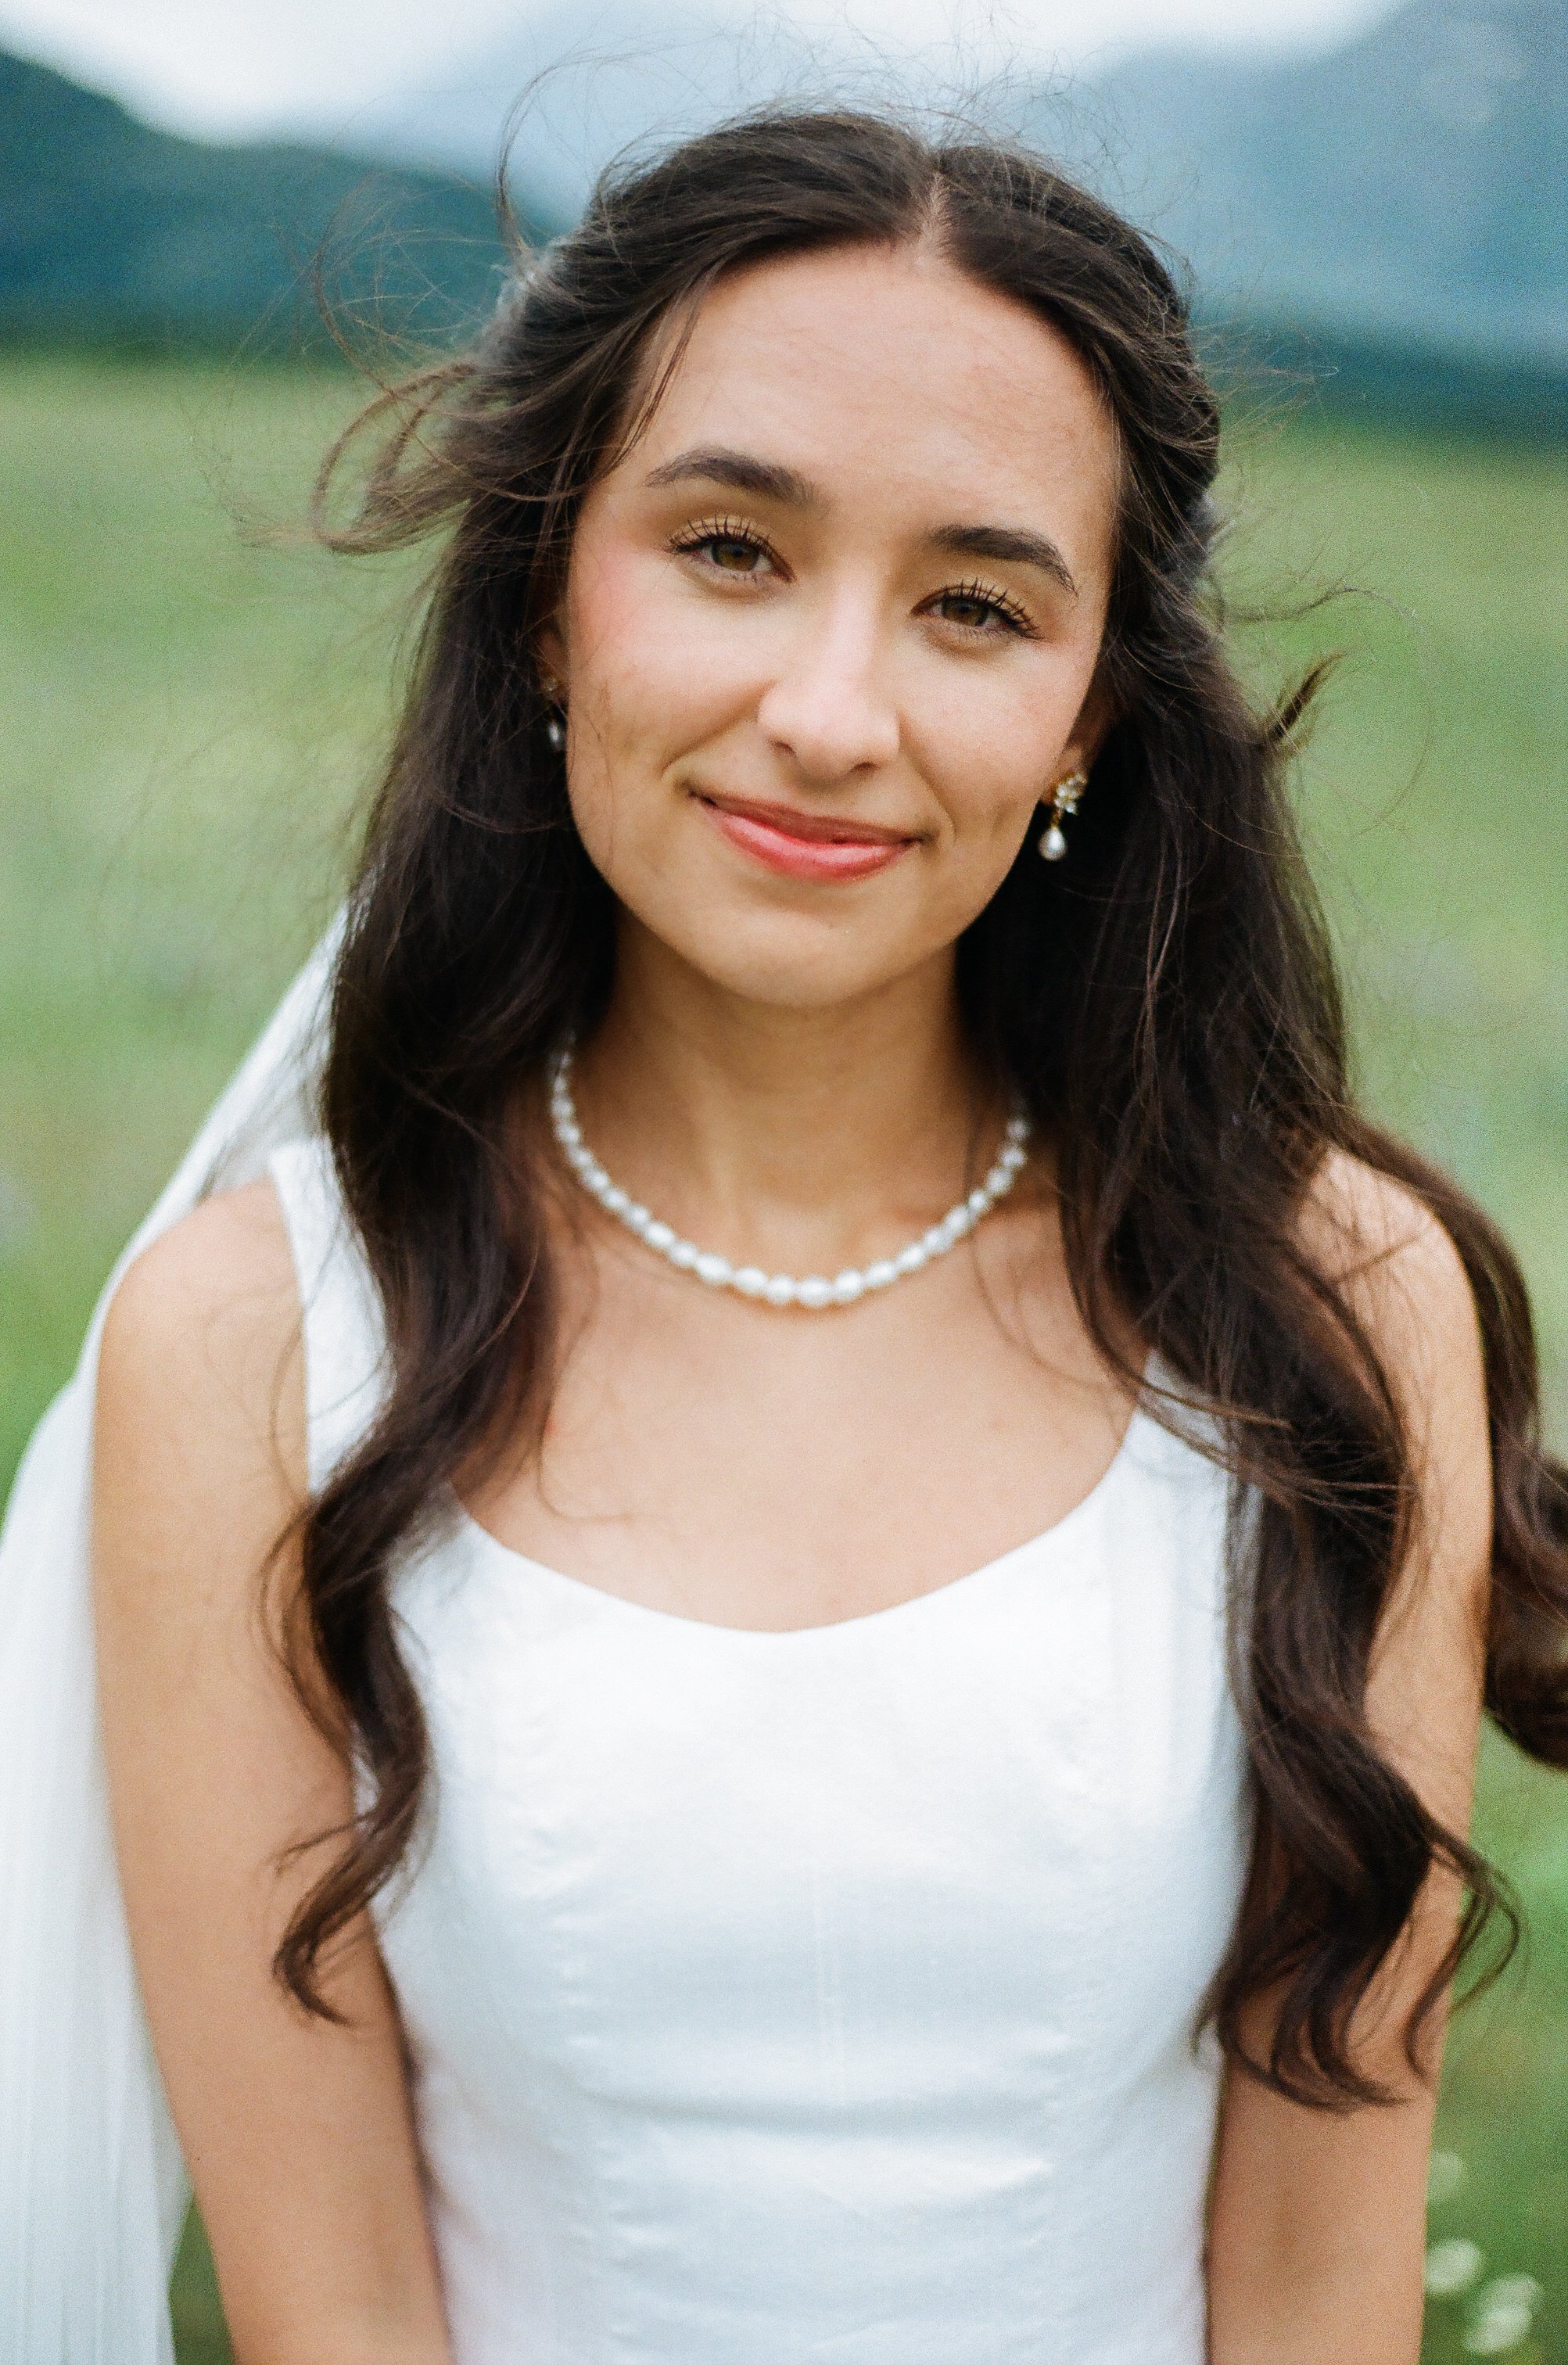
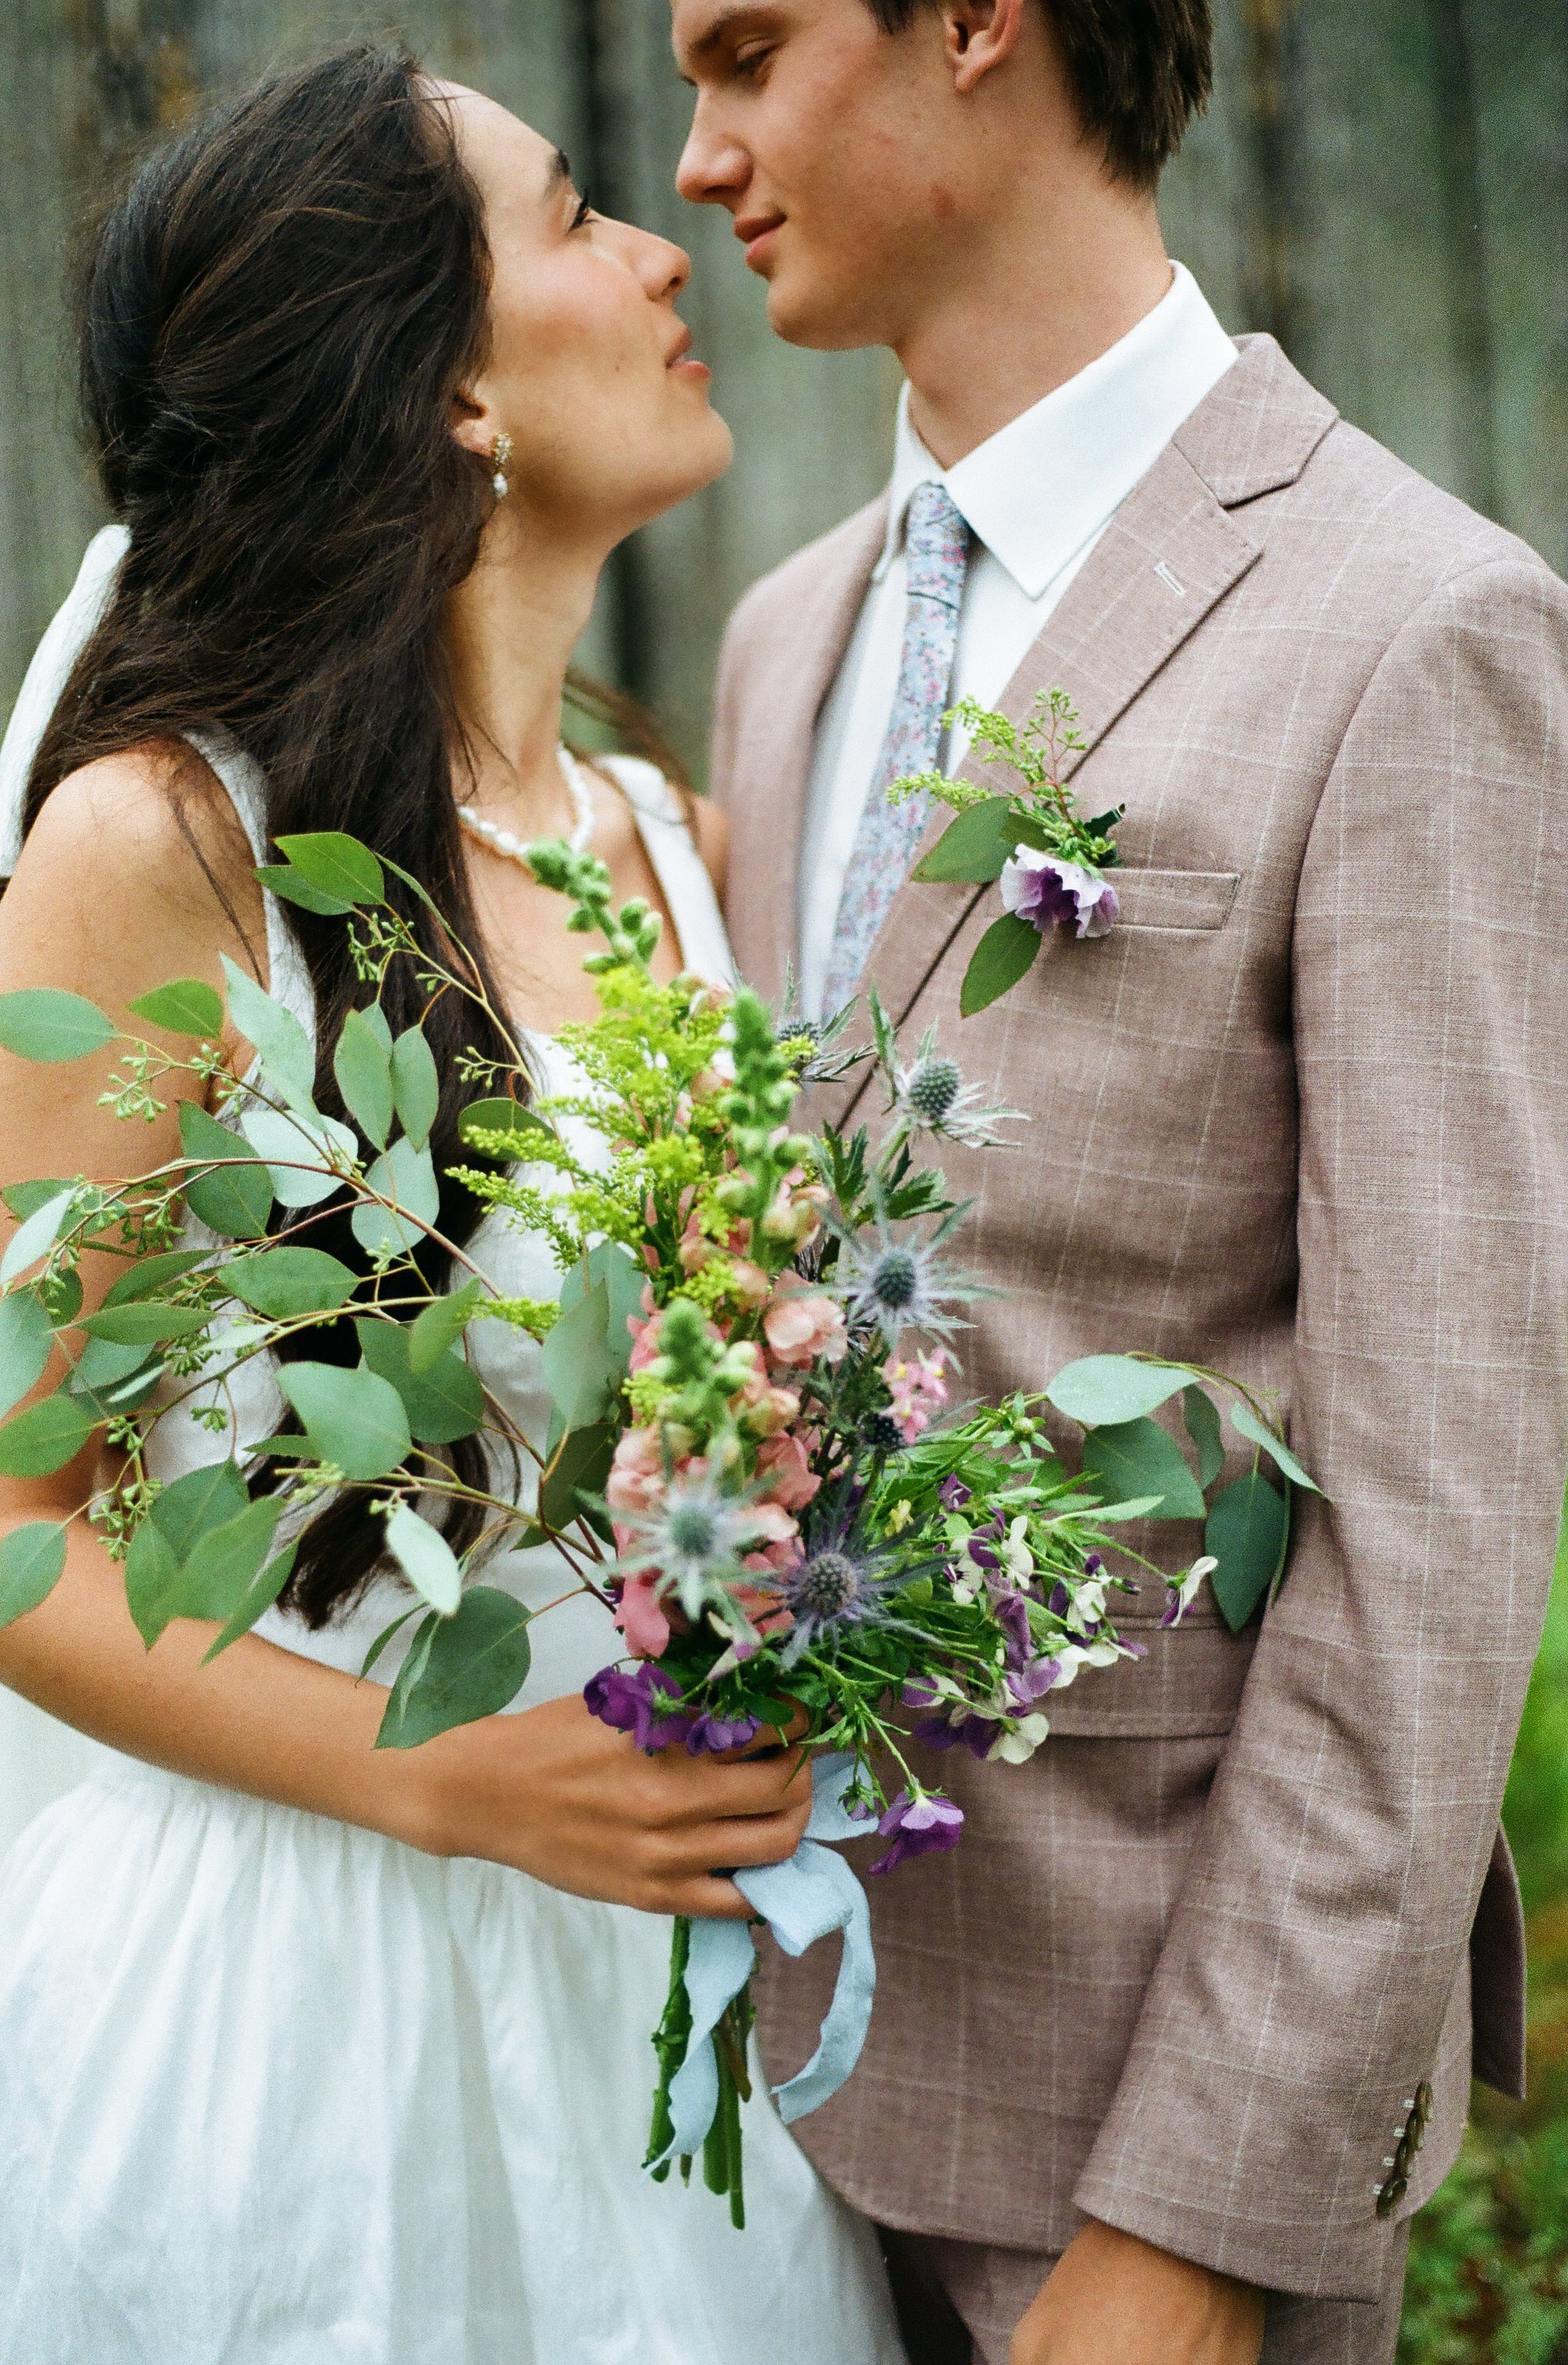
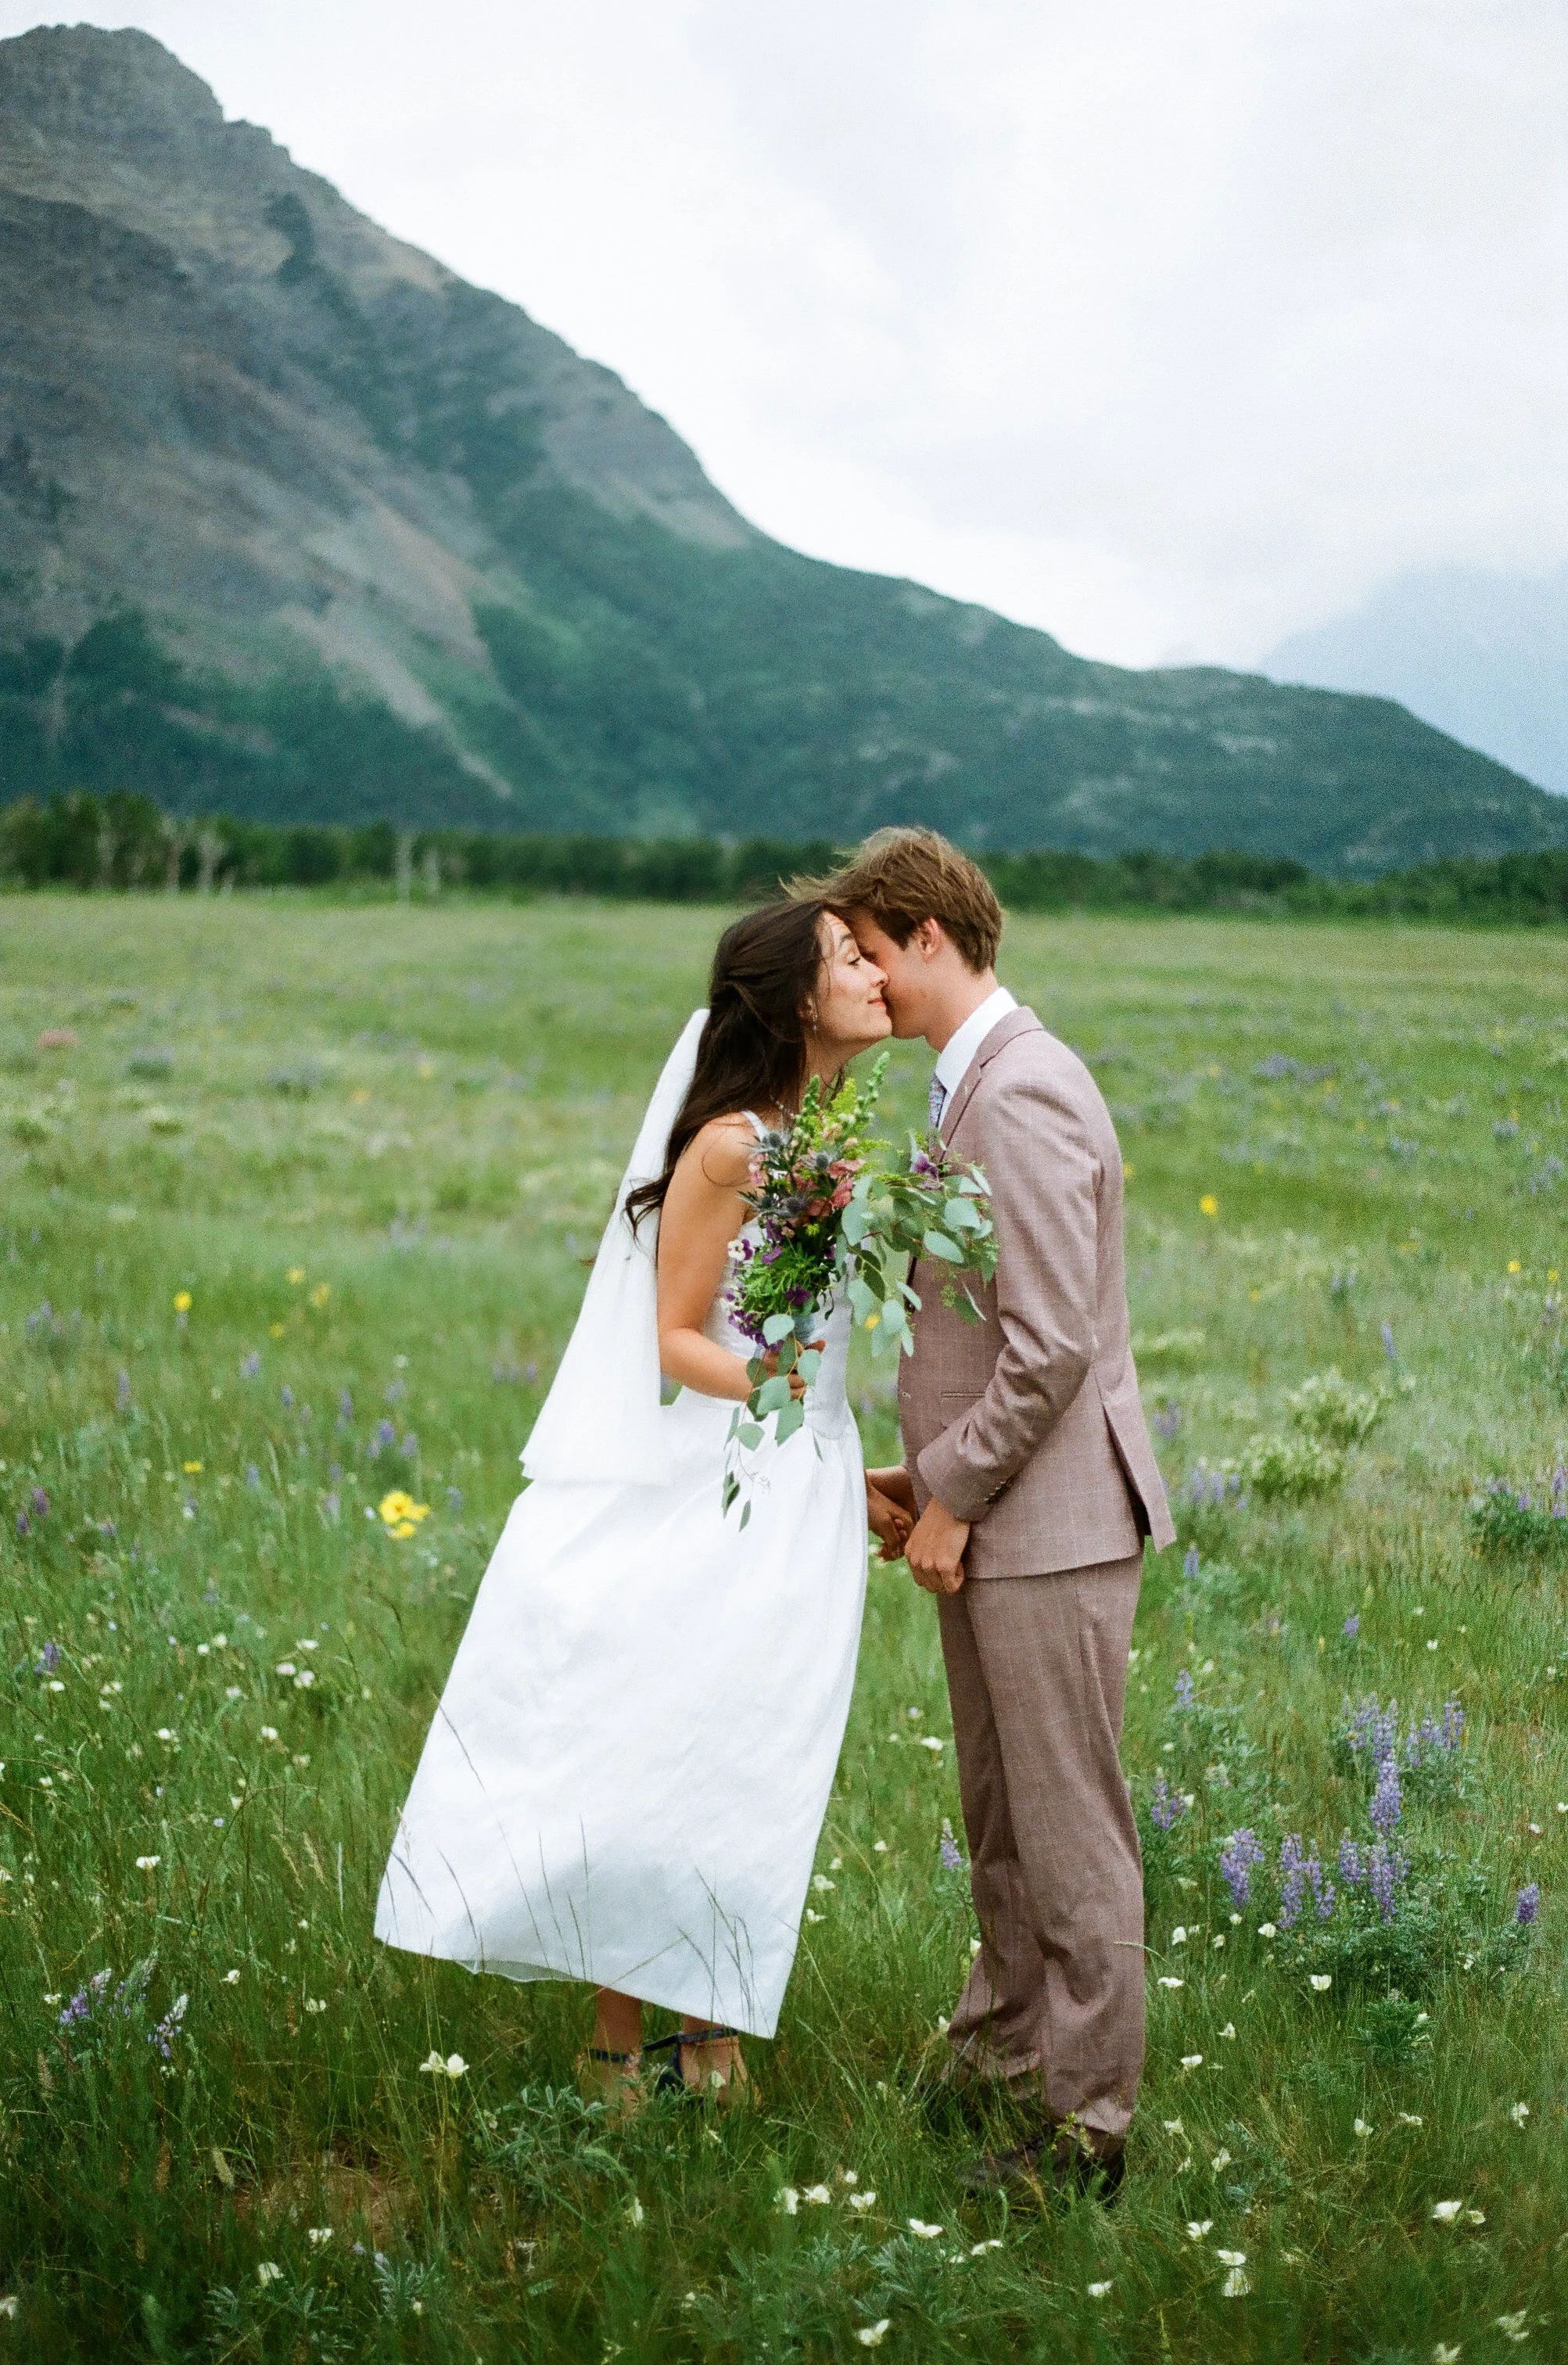
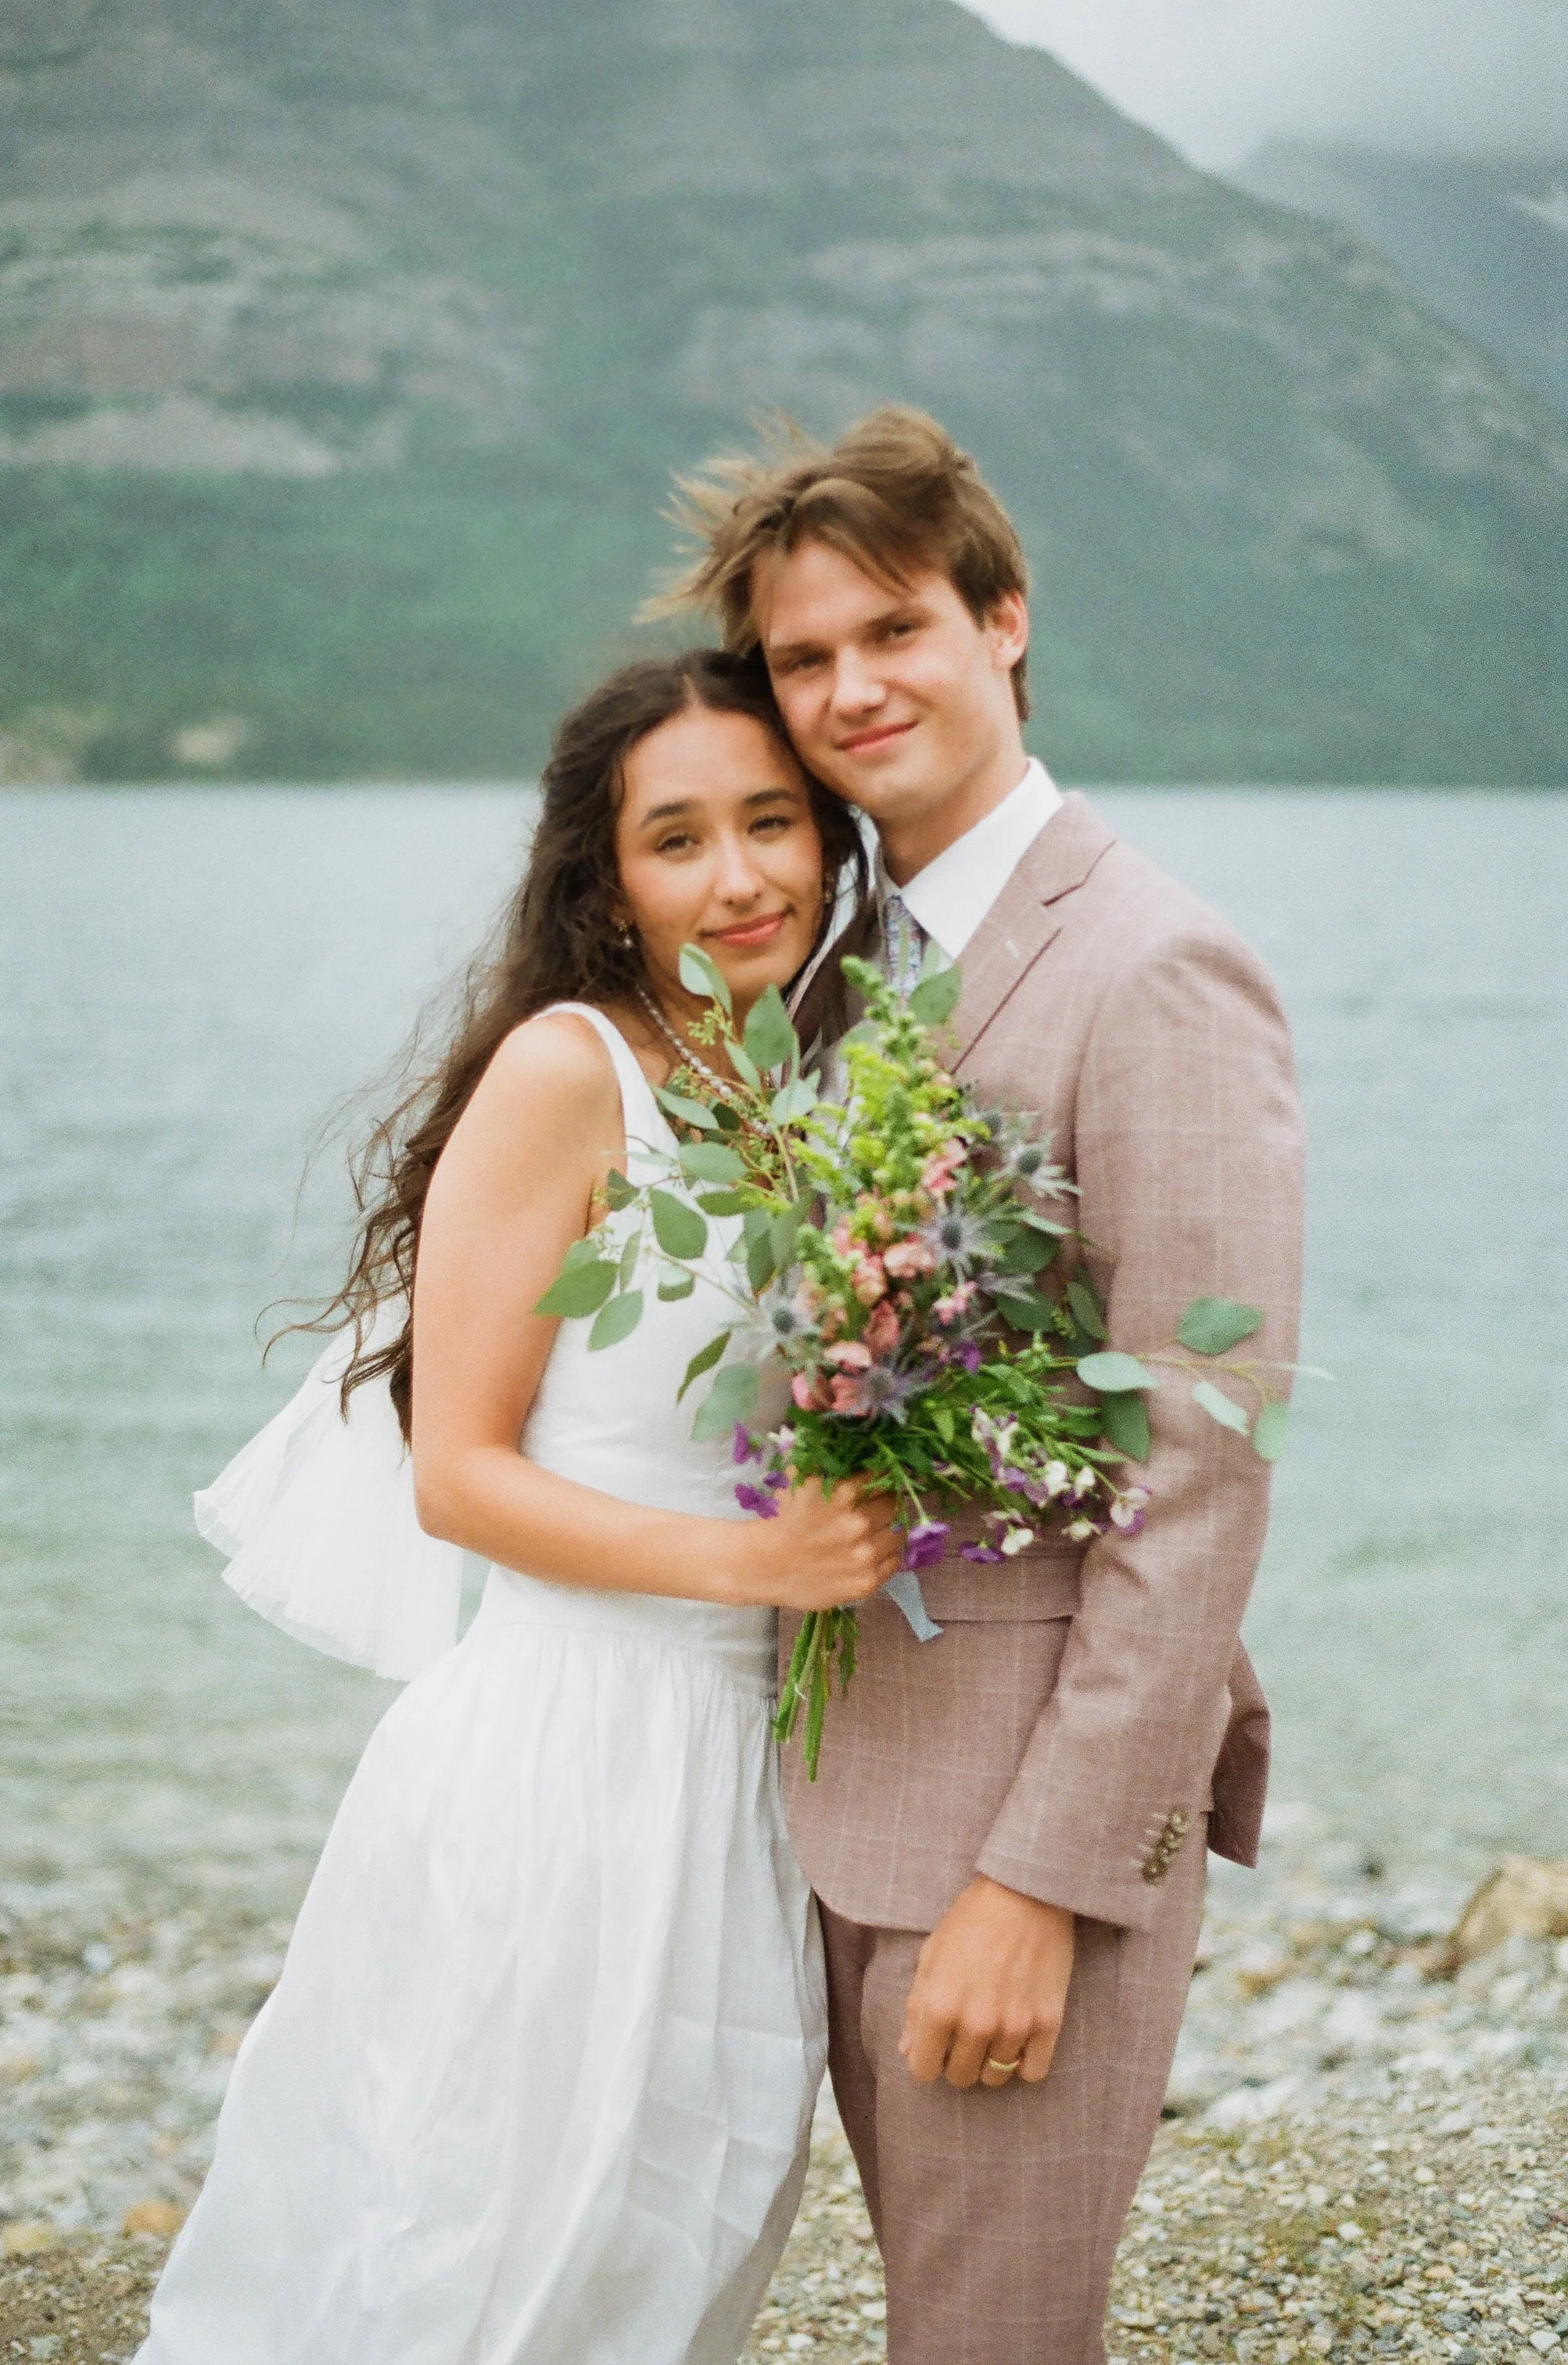
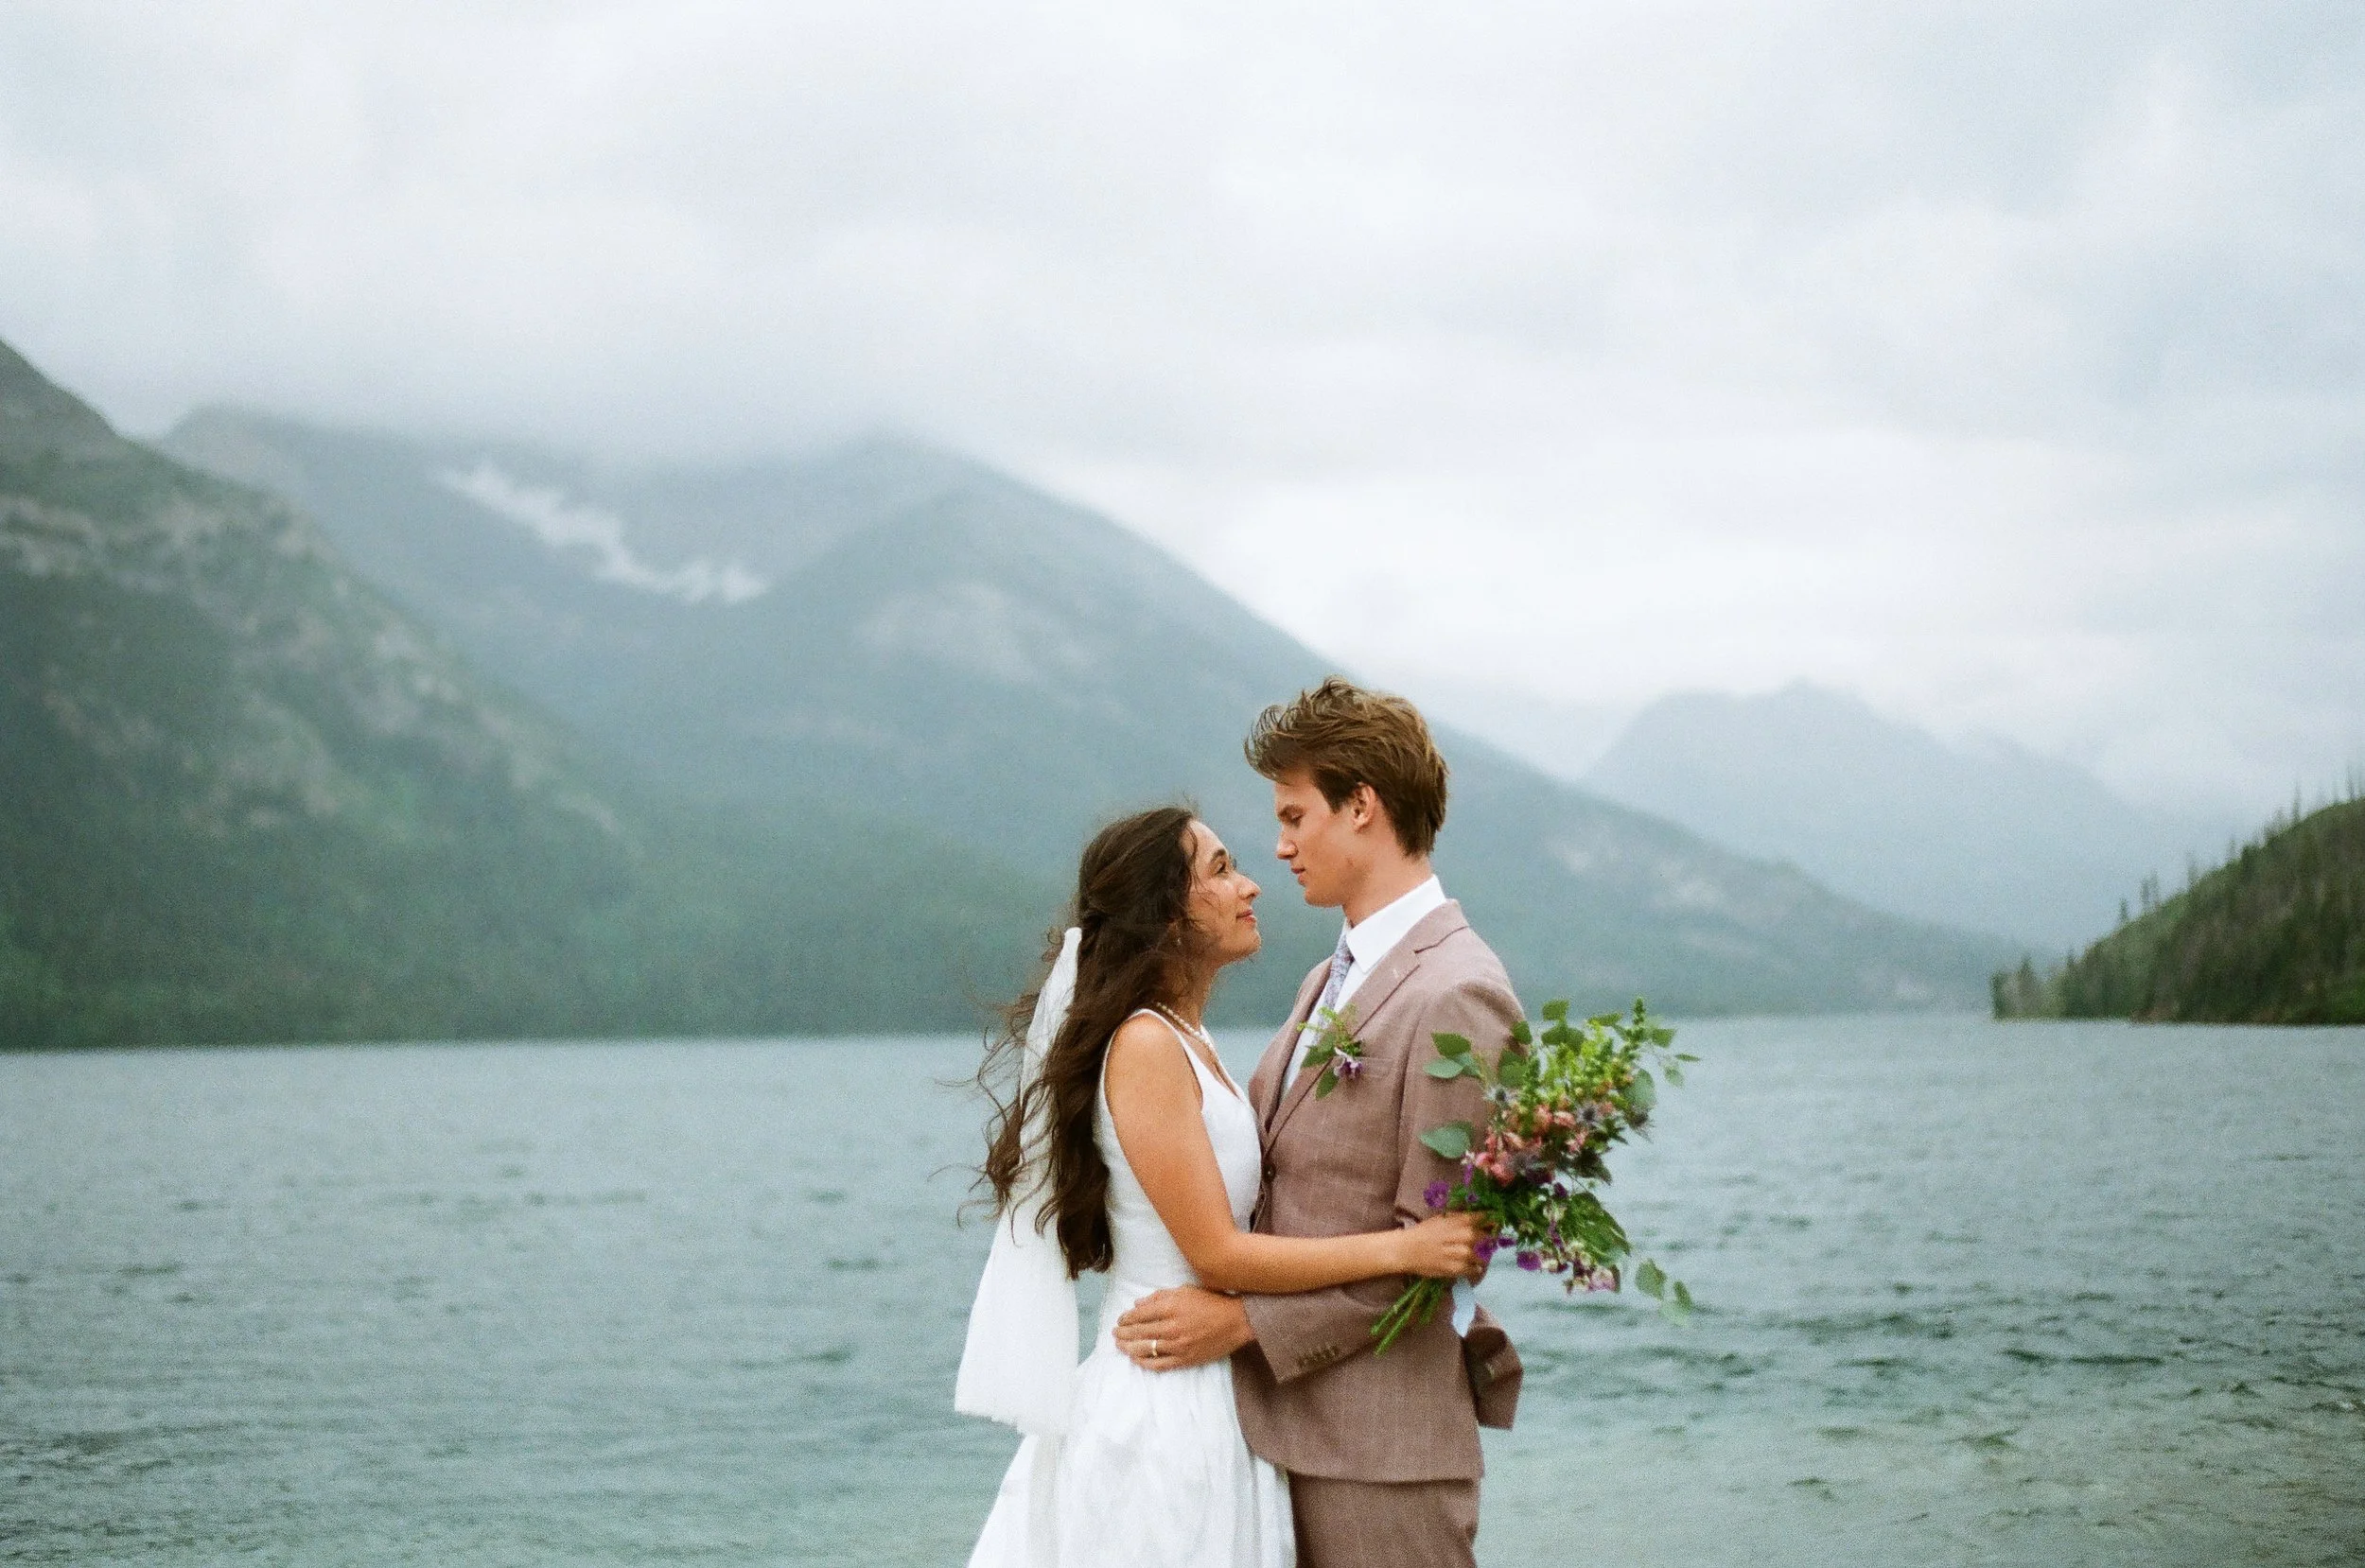
the wedding dress…
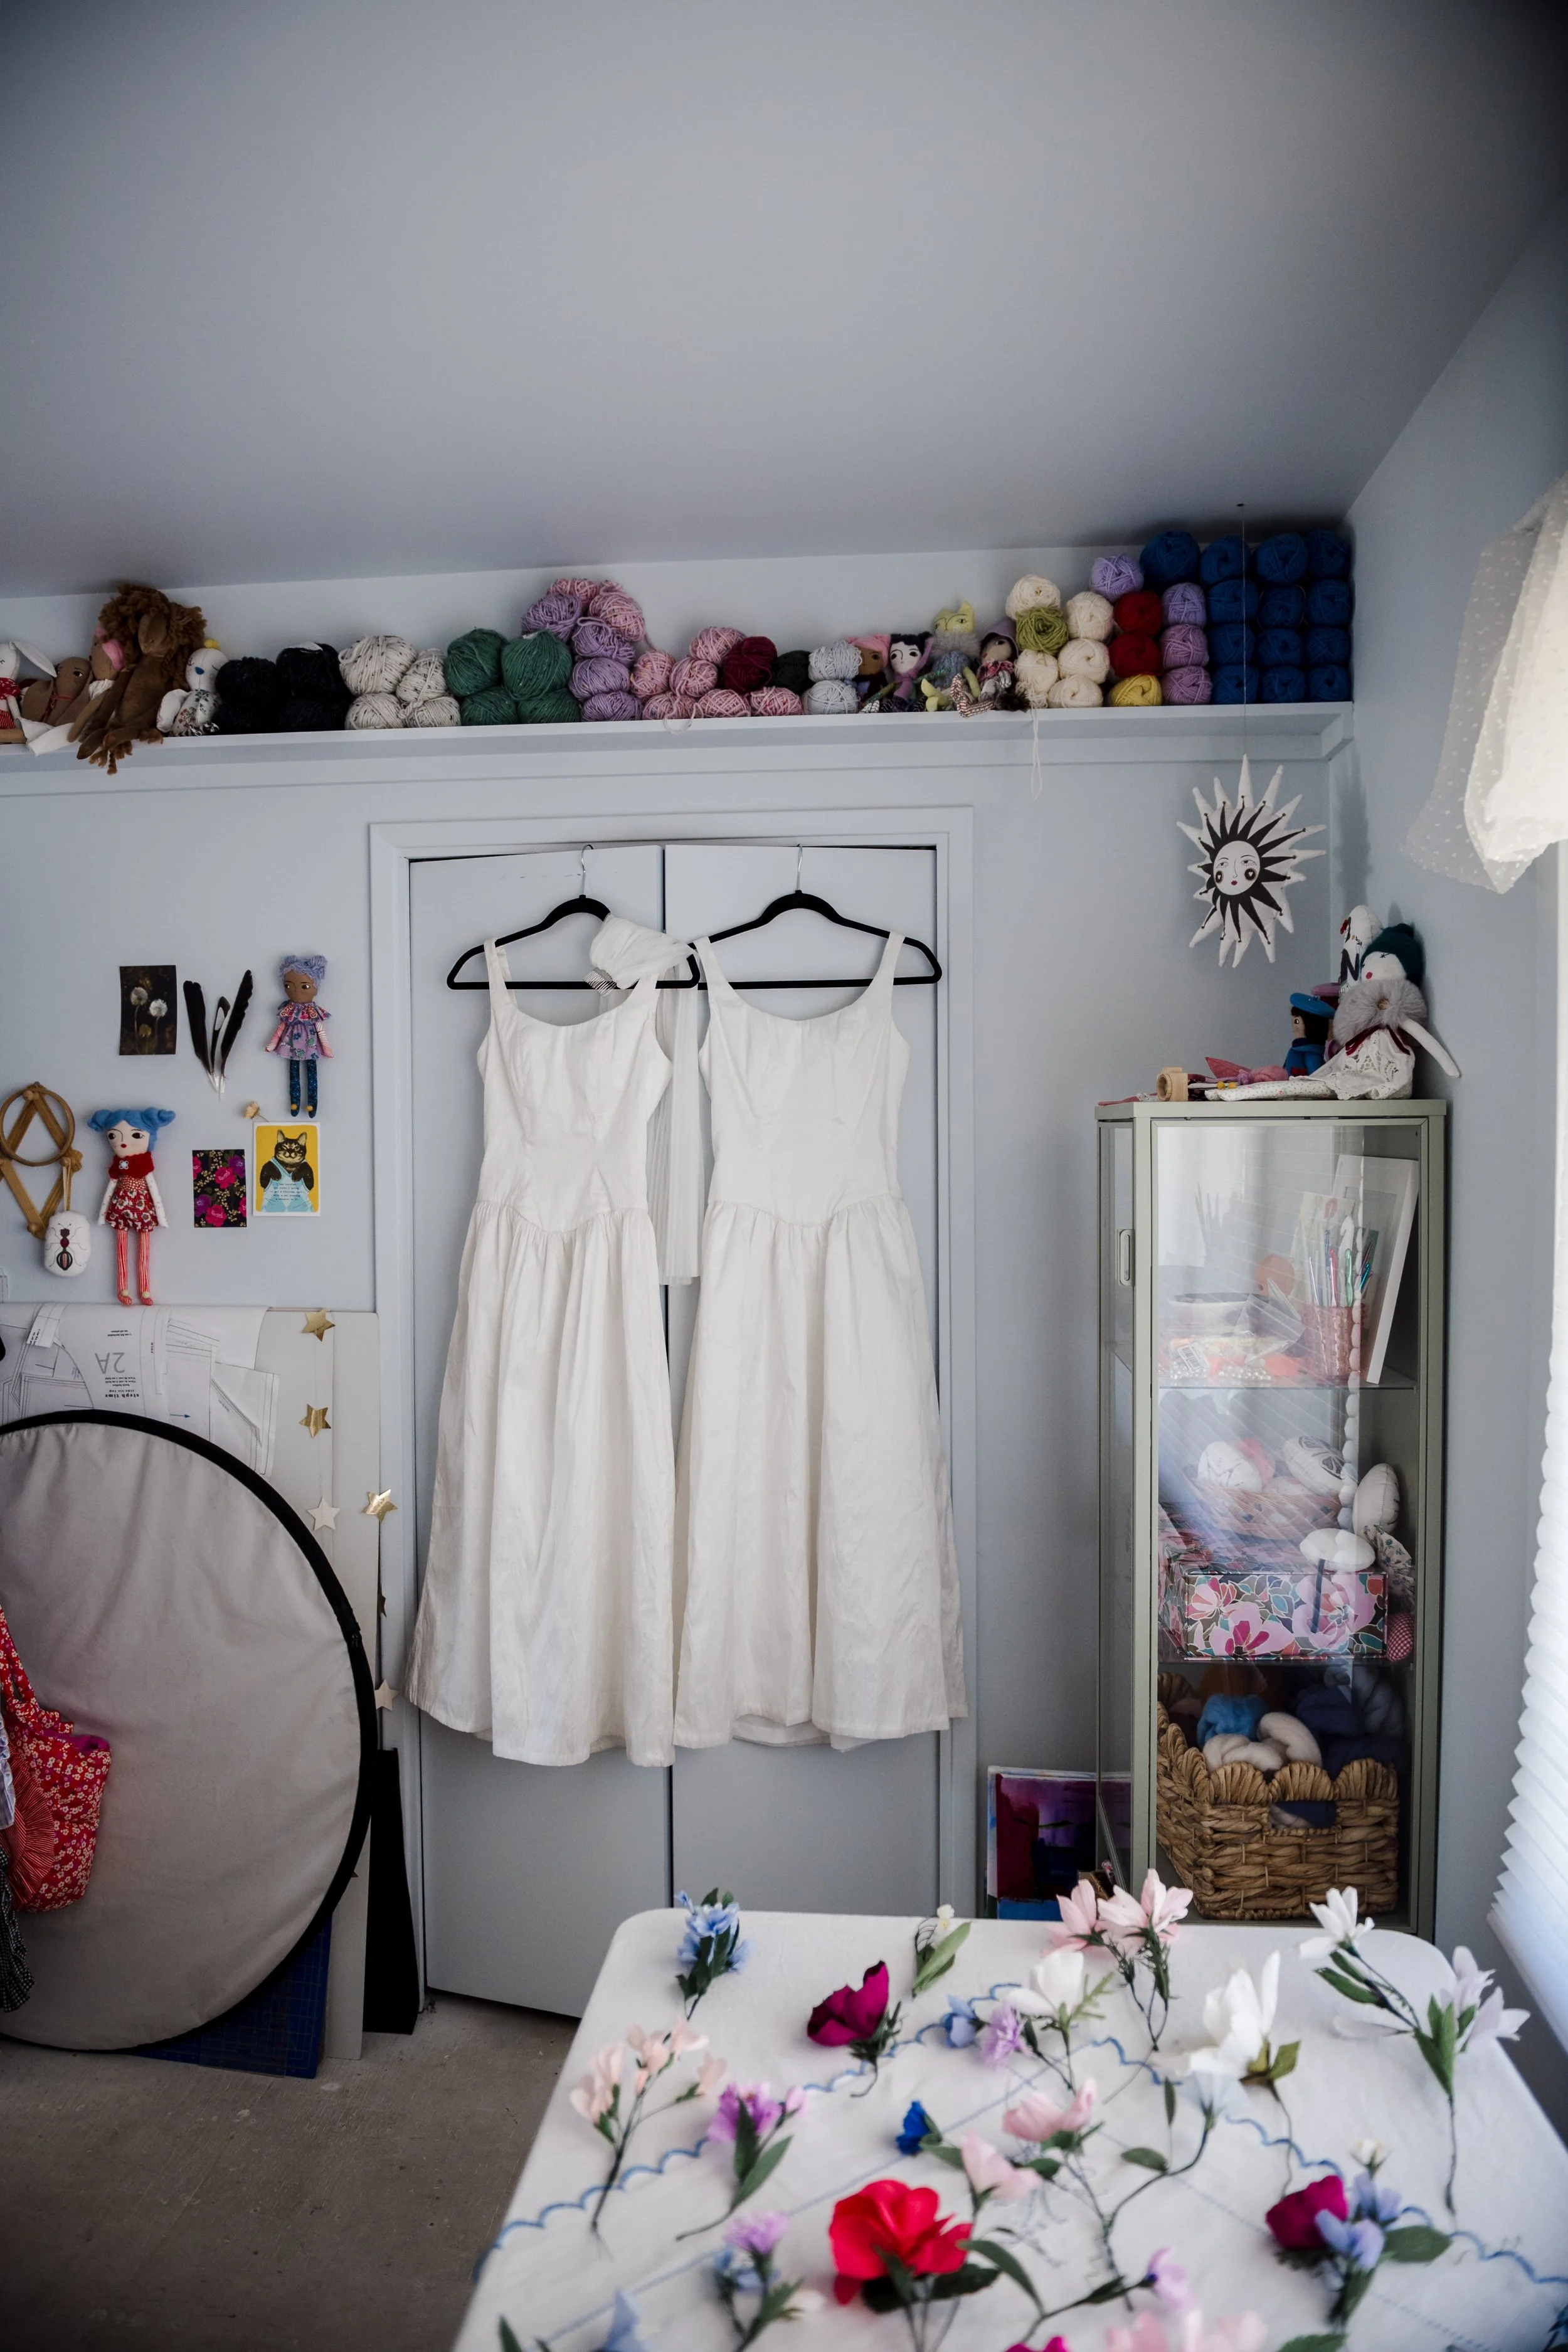
The wedding has come and gone… working on the dress absorbed so much of my mind for so long that I think it has taken this long to feel like I can even talk about it. I learned SO MUCH. I also feel less confident about sewing fancy pants dresses now than when I started… The old adage - the more you know, the less you know?
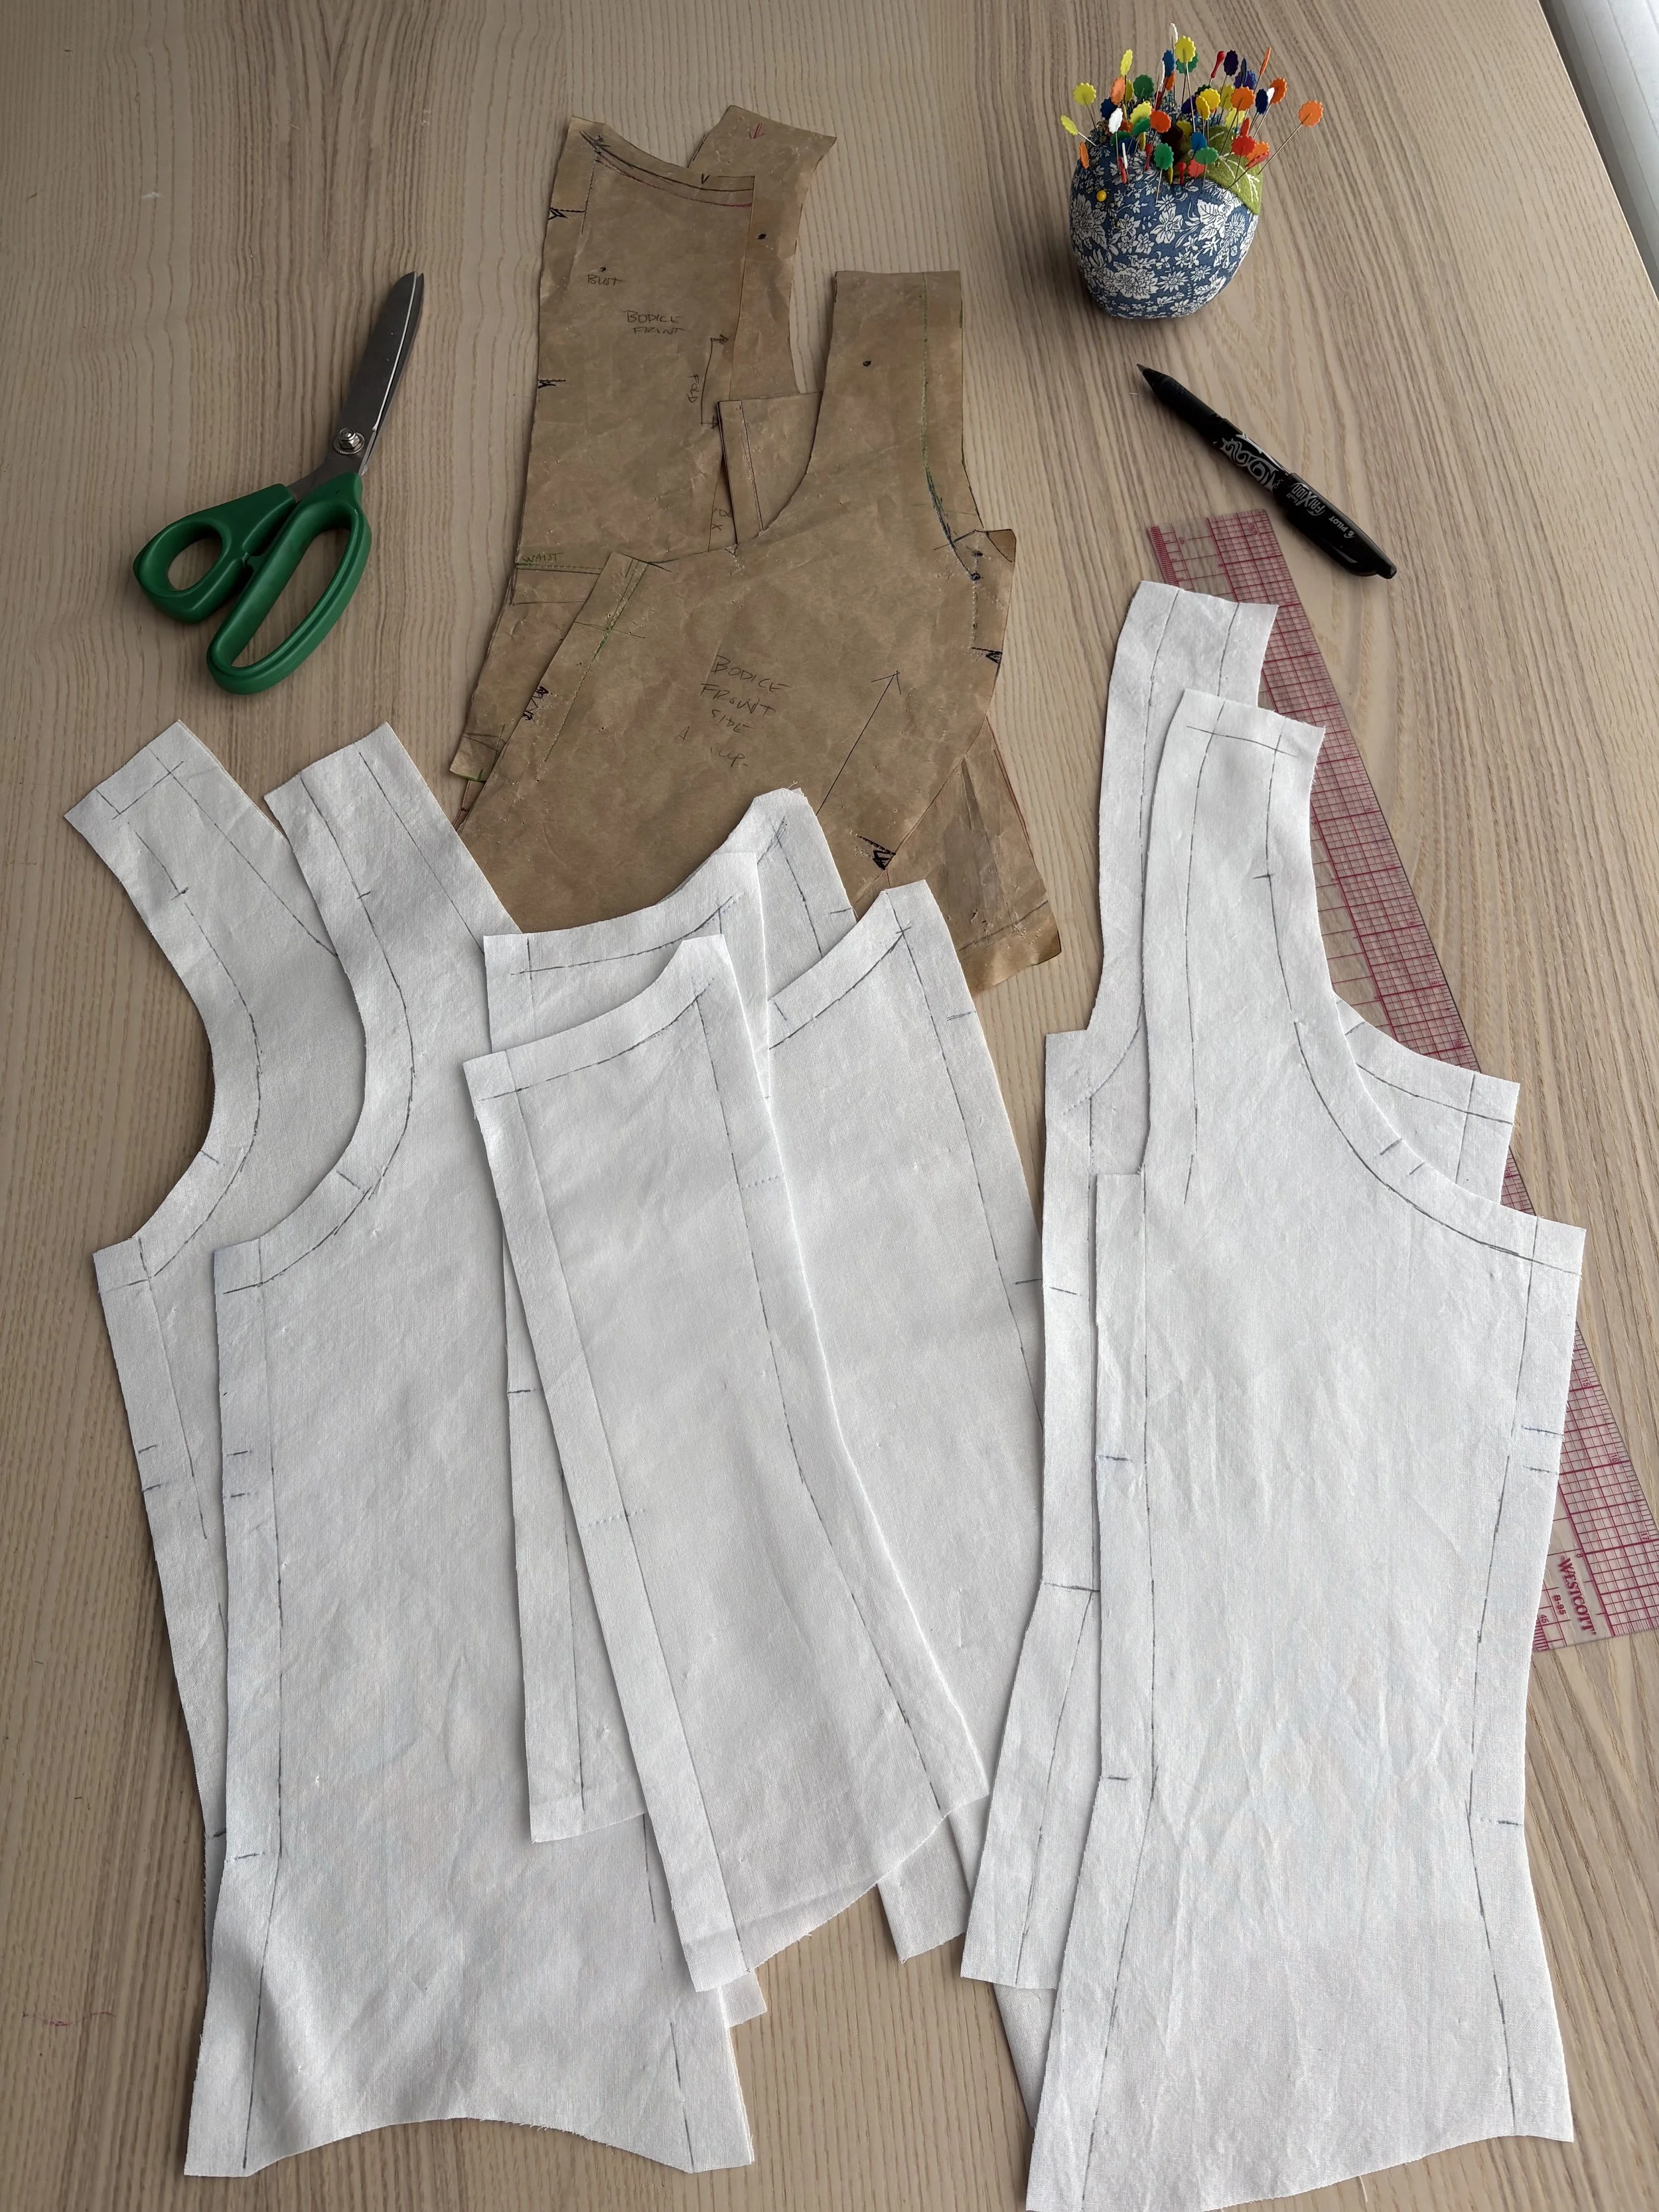
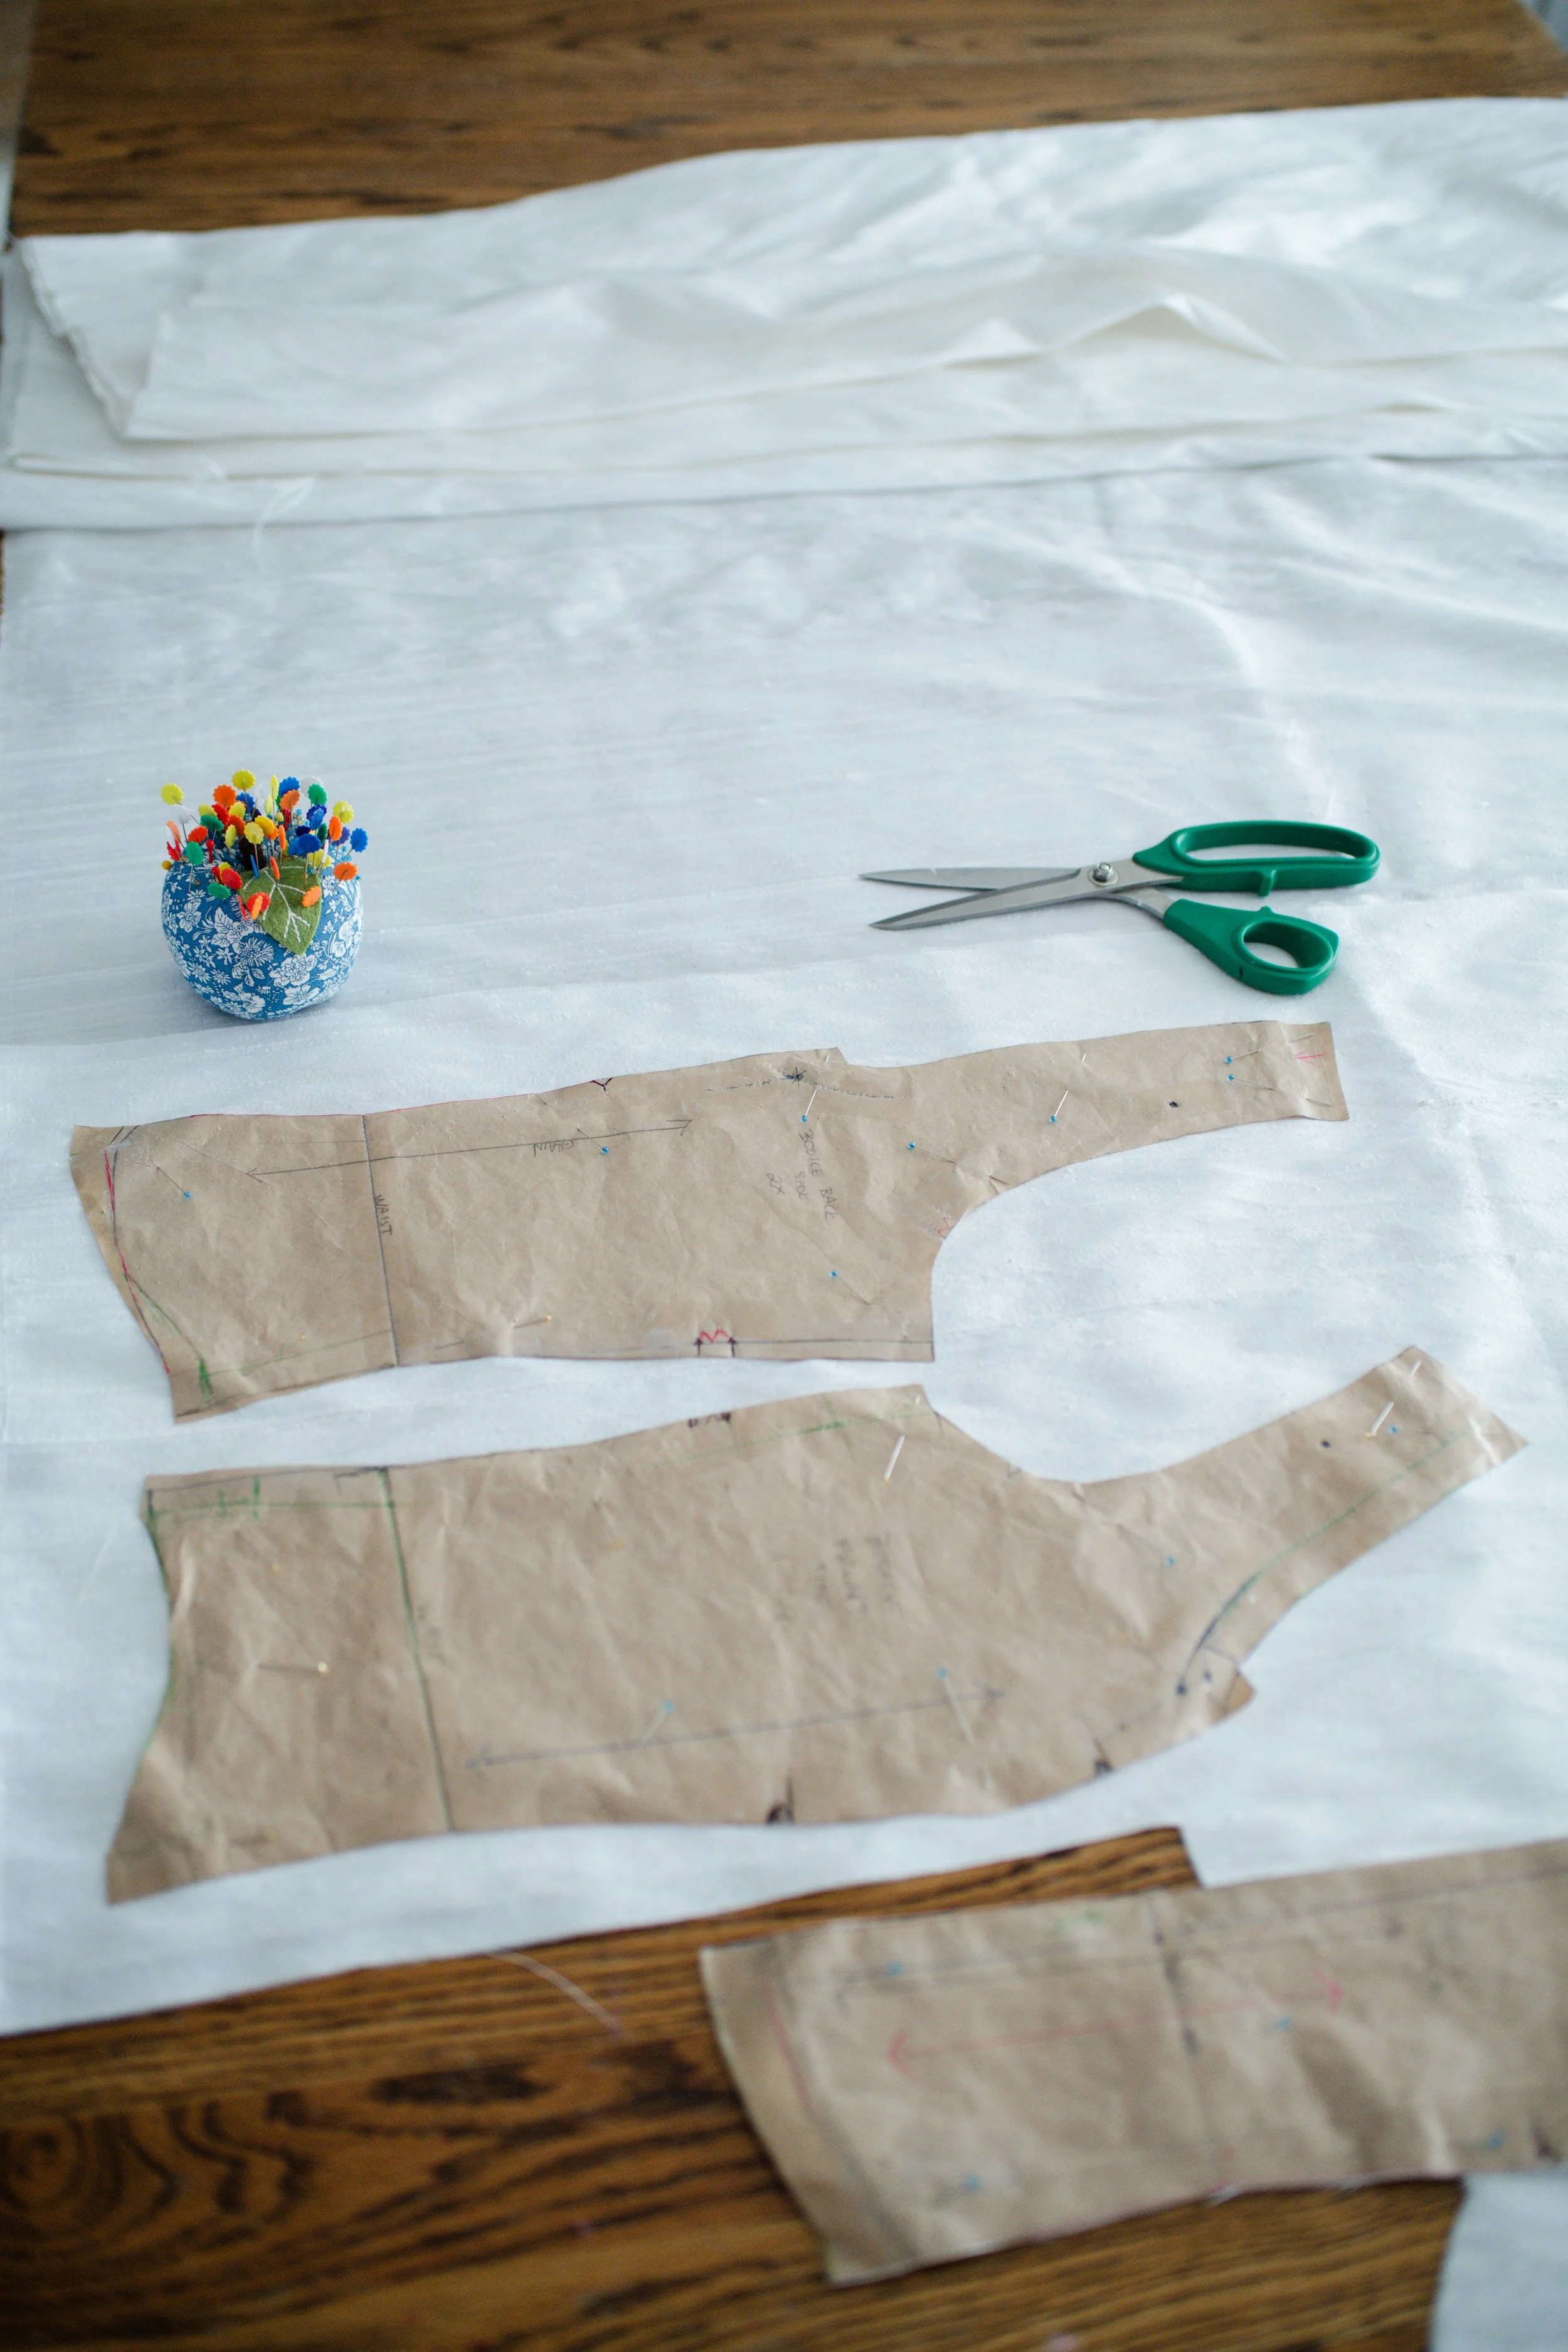
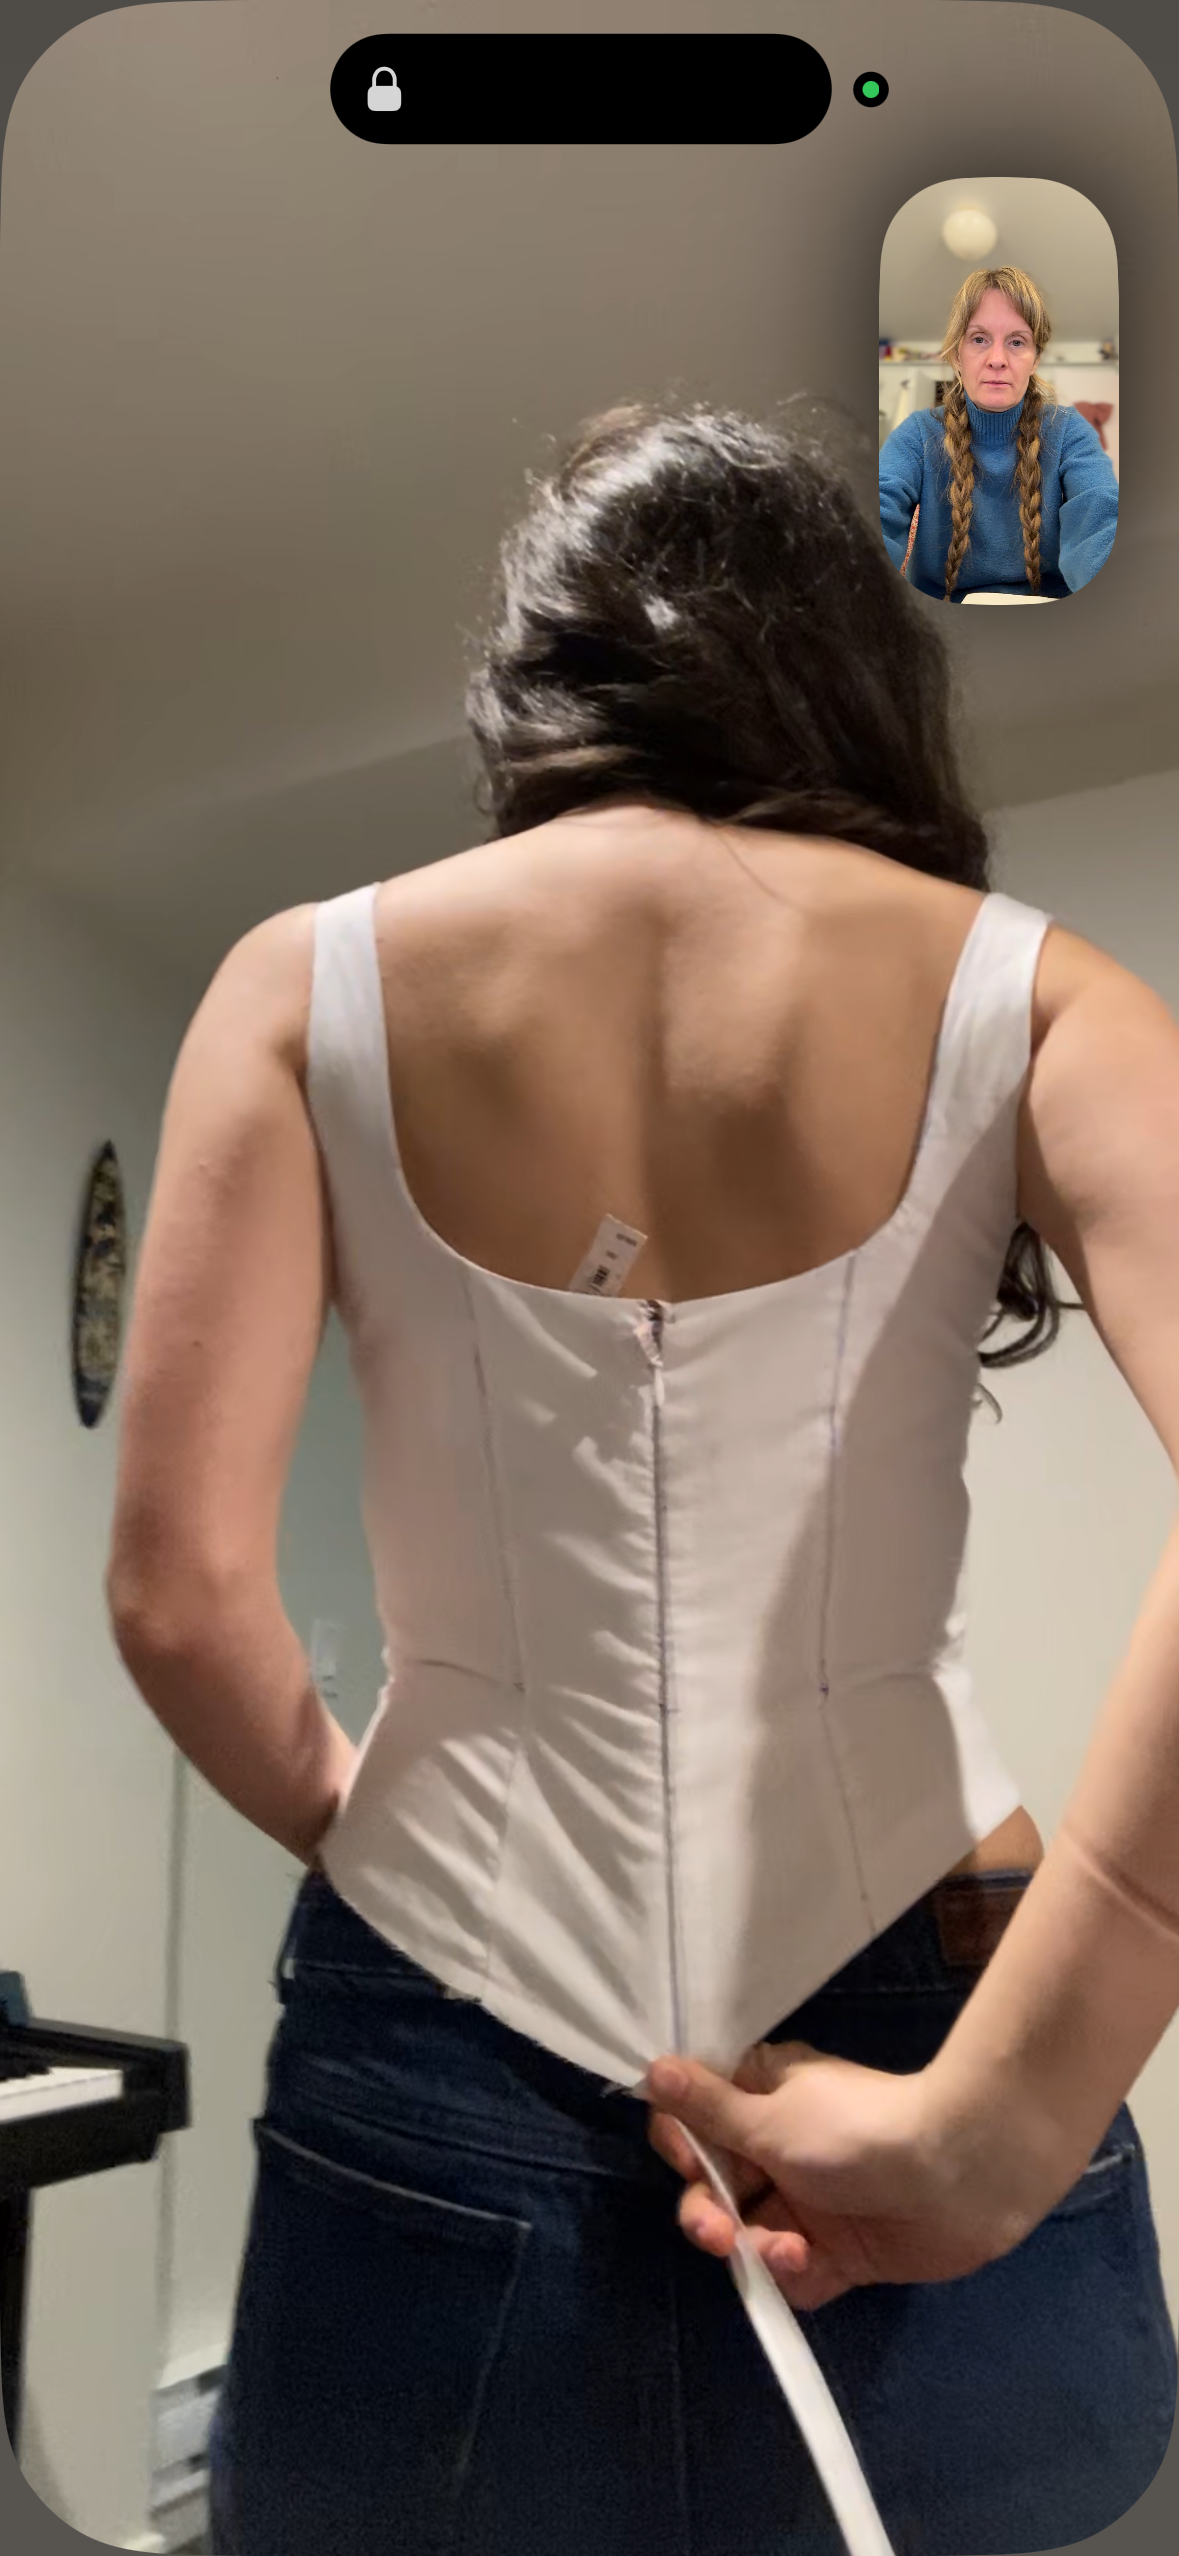
For the bodice, I used the Vogue V9100 dress pattern and altered to have a dropped waist. It did take quite a few fittings and since my daughter lives faraway, they were squeezed into holidays and even mailing her the bodice and doing it over the phone twice.
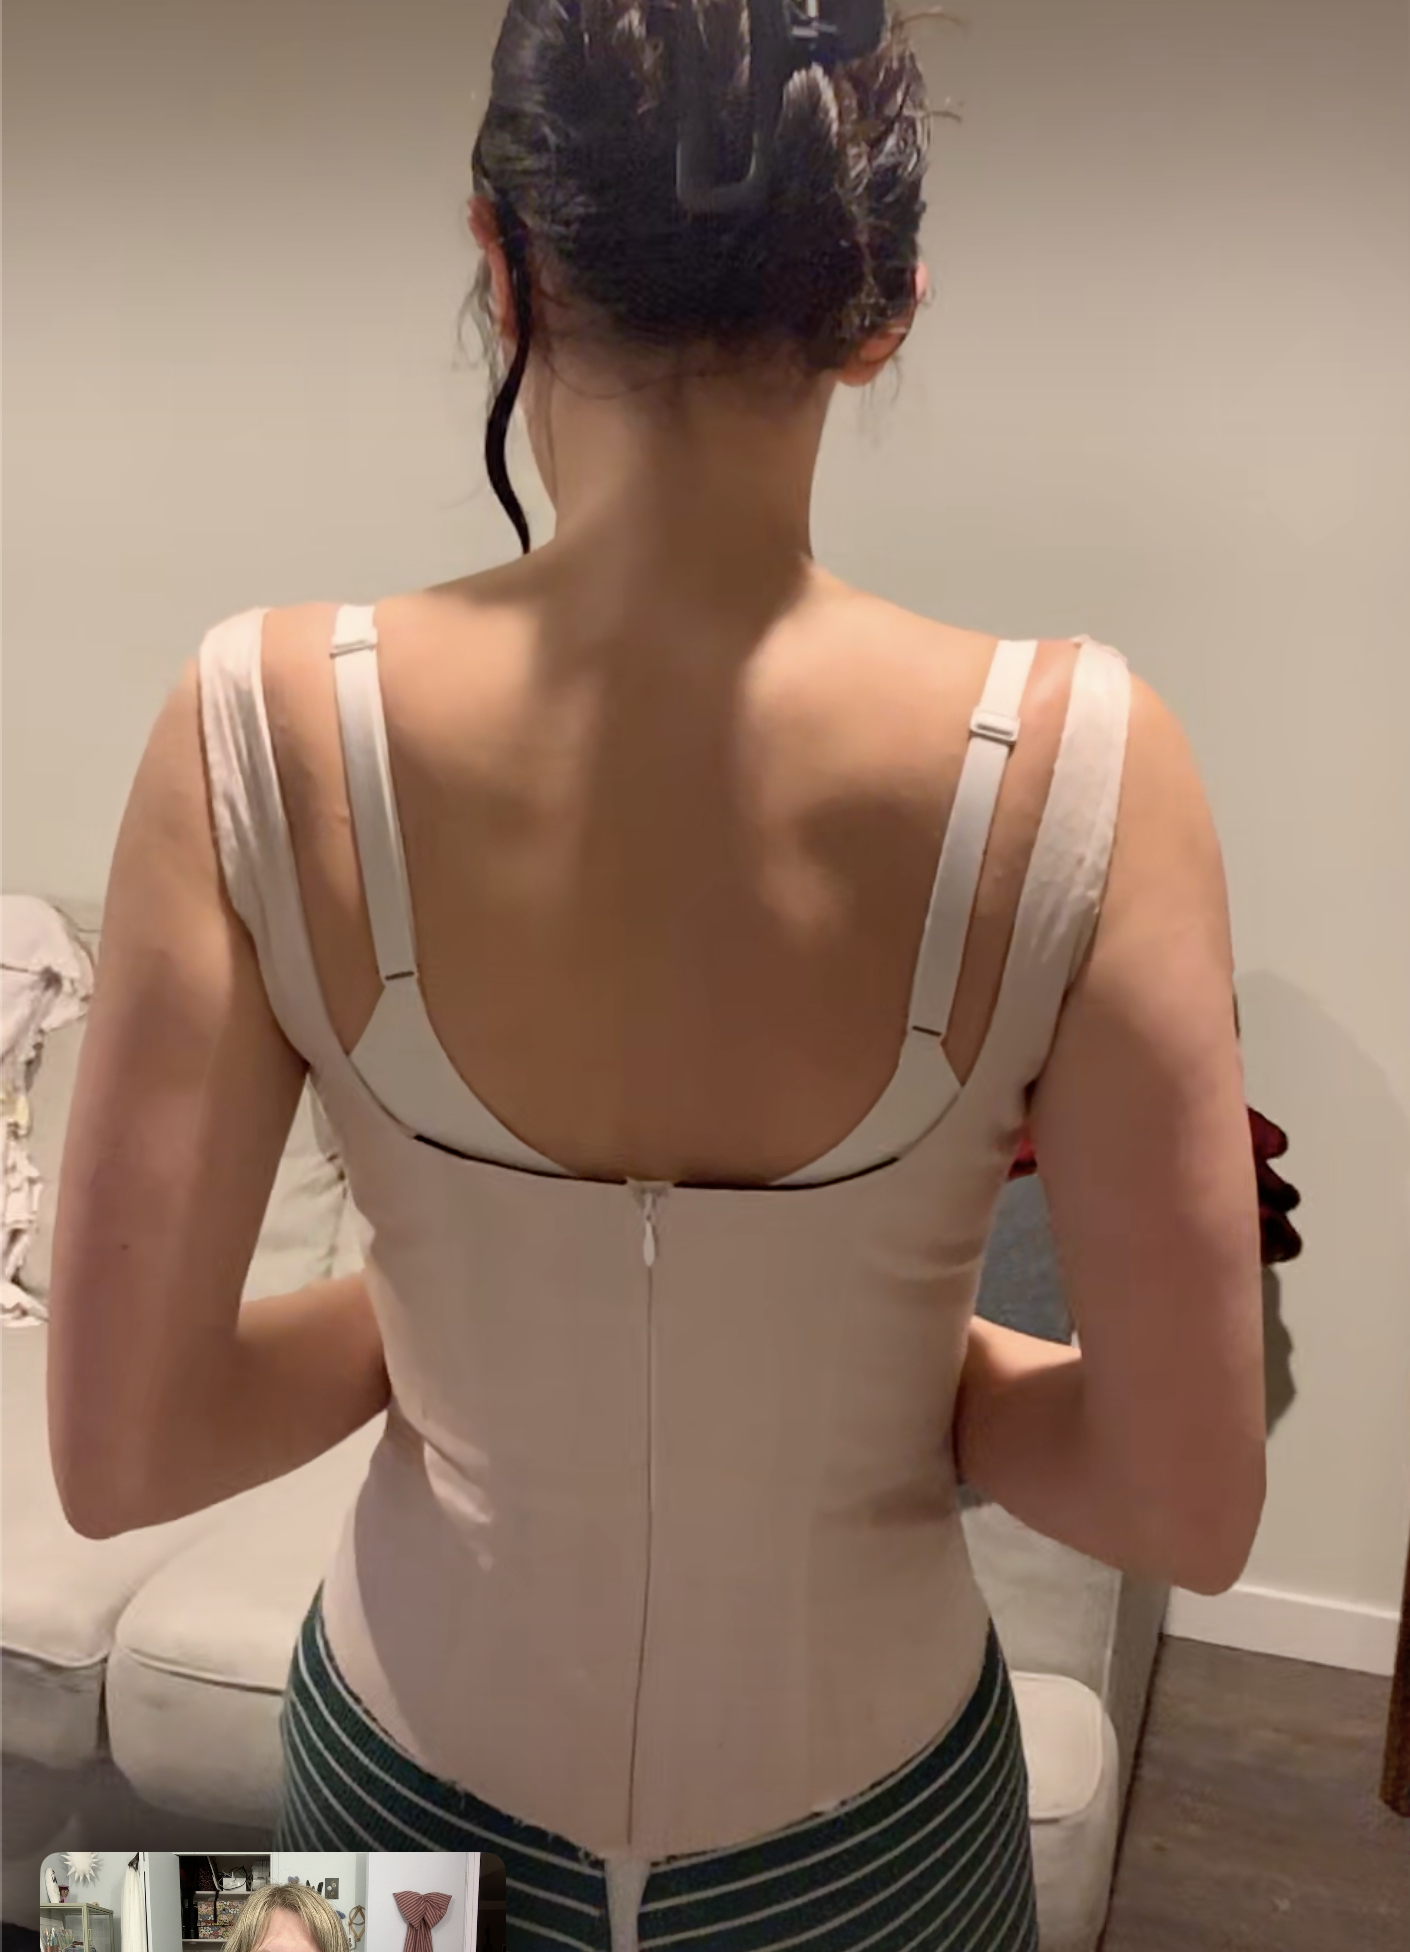
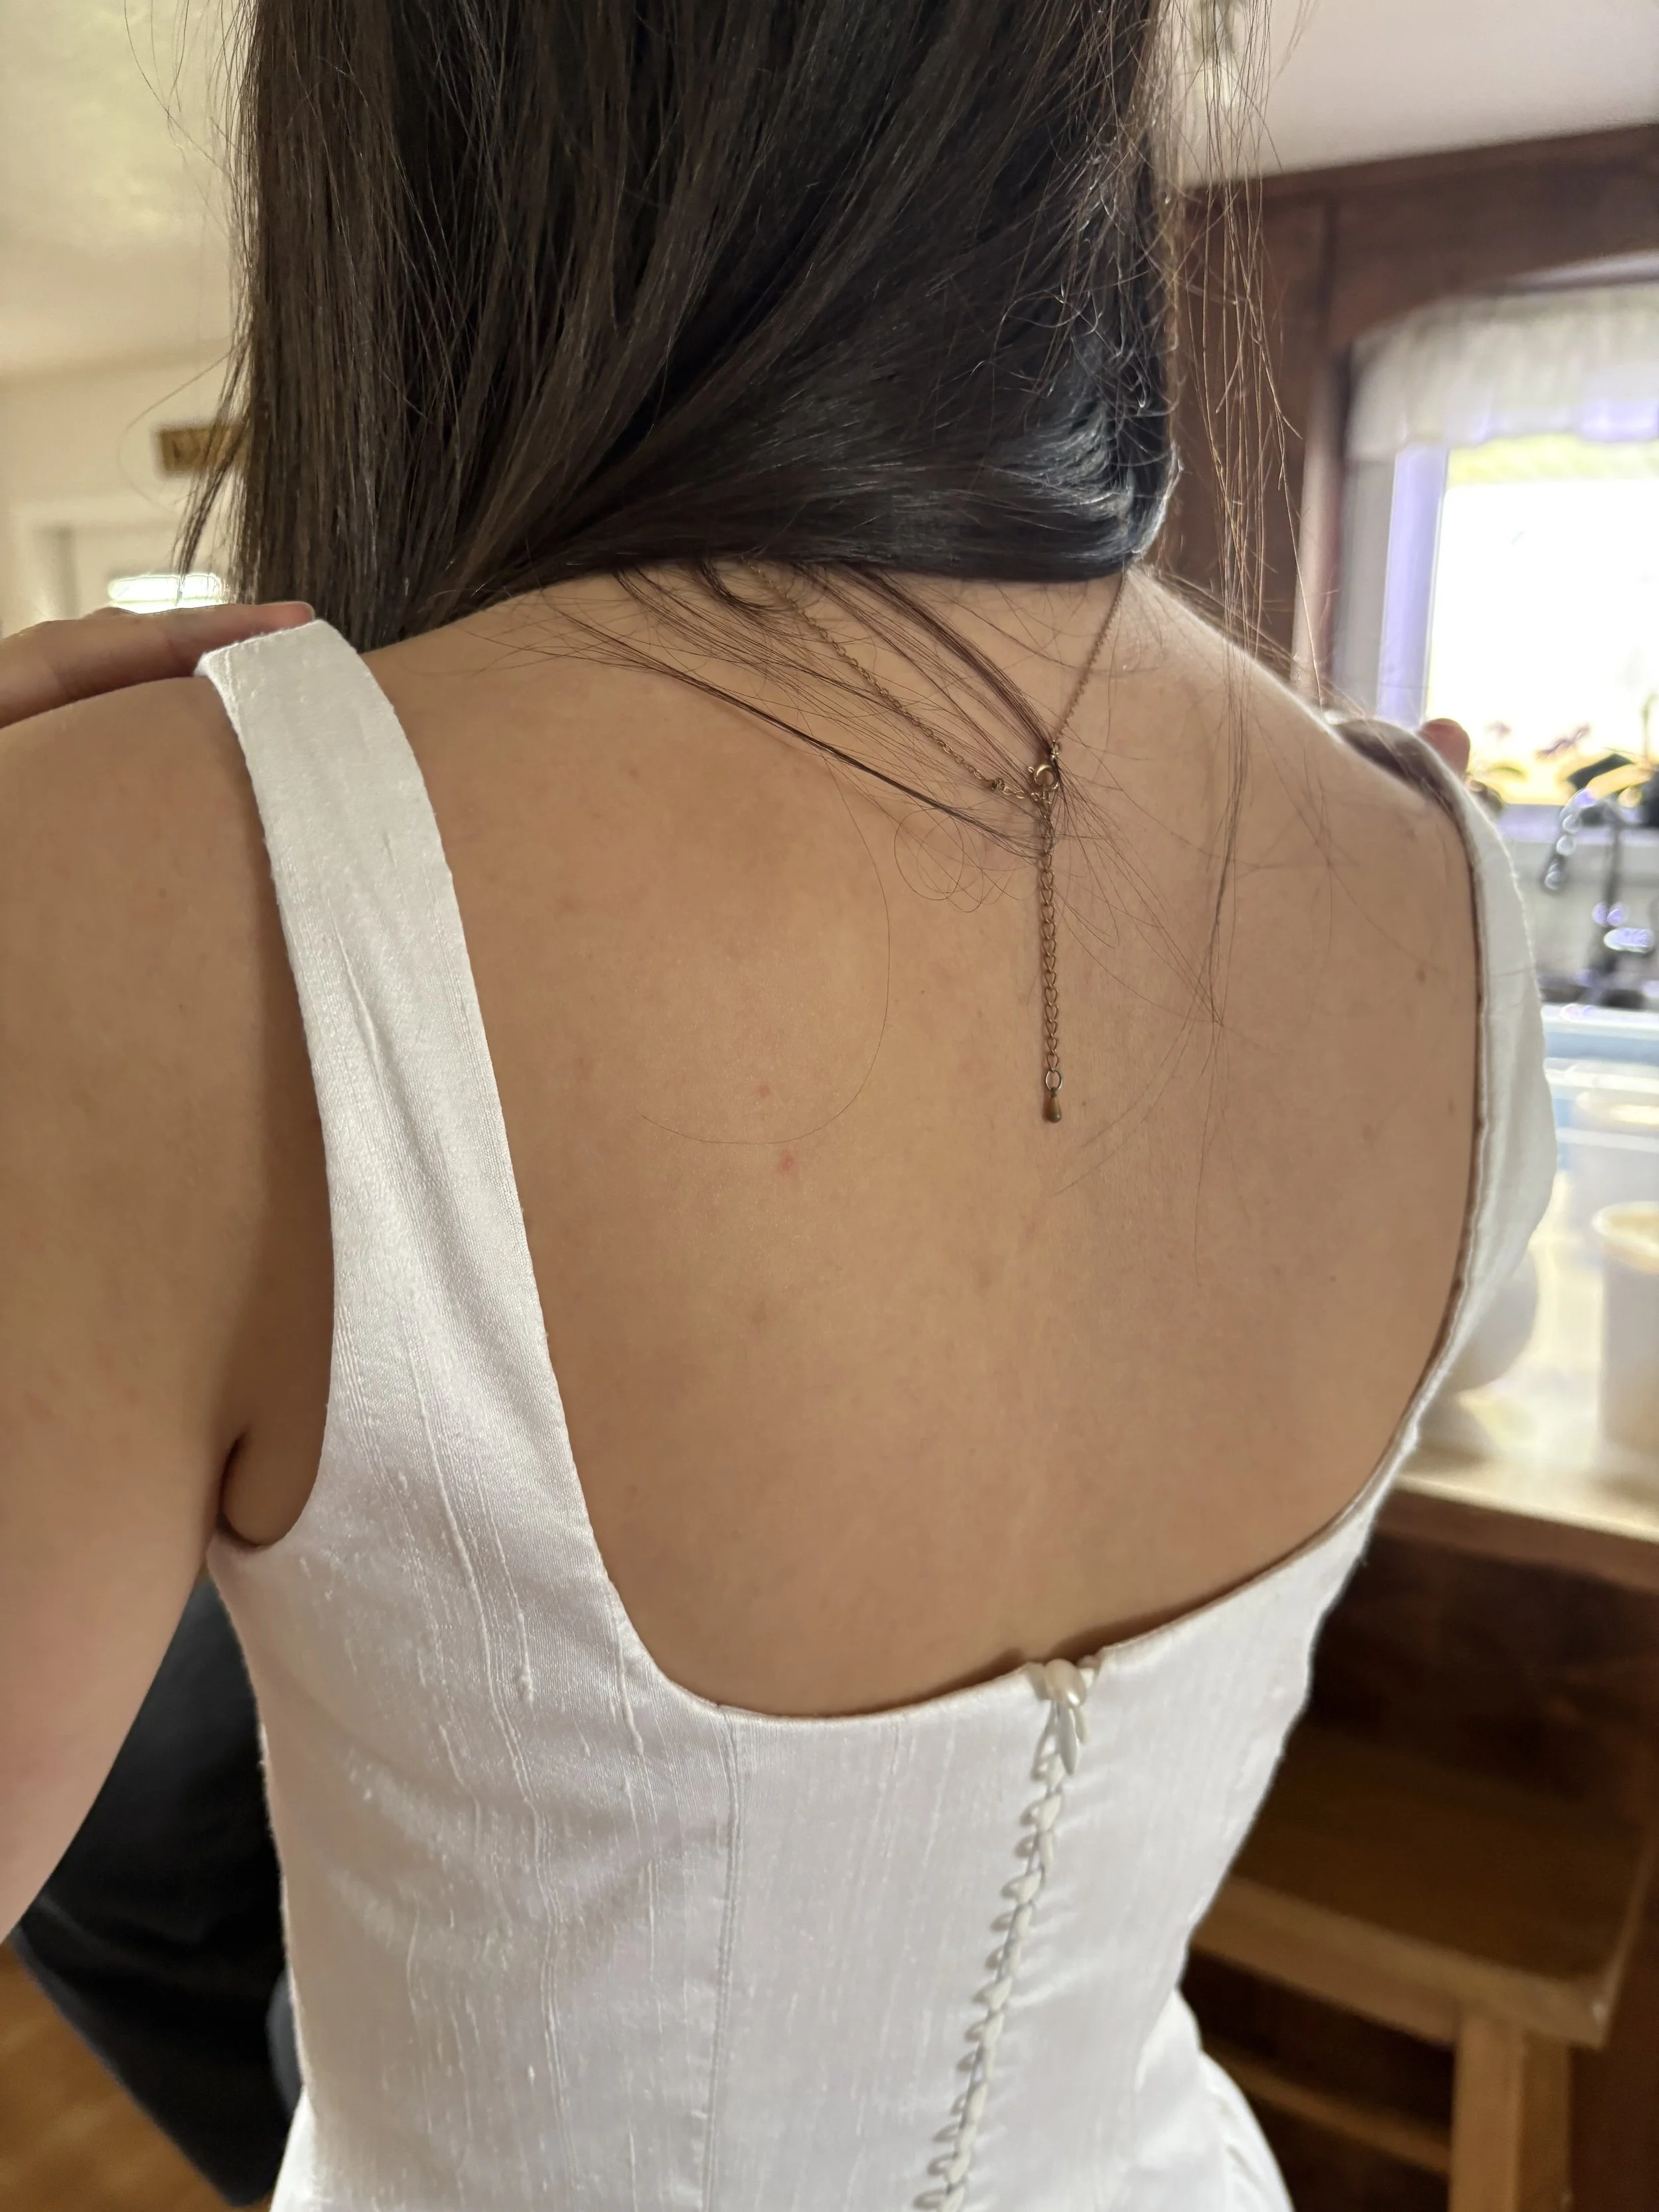
It all worked out in the end… but on the final fitting, the would be ‘it’s done!’ moment, I noticed that the shoulder straps had a slight gap. It bothered me to no end. My daughter told me to chill. She loved the dress.
I did what any self respecting madwoman would do. After rebuilding it in my mind a dozen times night and day, I finally gave in and made the second dress.
I wasn’t going to, but… I figured out WHY the shoulder straps were gaping. It was laughably obvious… if I wasn’t self taught or maybe doing fittings over a phone, the issue would have probably been corrected with the first fitting. Maybe my mother is to blame, as my daughter has the same petite ribcage that we all inherited from her - thus beginning the alterations that would have thrown off the curve of the shoulder straps. I will not blame my mother, that is too trendy…
I laid out the remaining silk, there was just enough by an inch. The only restriction I had set was NO MORE FABRIC purchases. FYI… if you are on the hunt for raw silk, find an Indian Fabric Store. Insanely beautiful colours and a third of the cost. I had originally purchased 6 meters and I had just enough to make a second dress. Whew.
The first dress was made from 100% raw silk, including the lining. The skirt was lined with silk organza. The dress was like a cloud, but the skirt did need some lift - the poof factor was missing.
So… for the second dress I only had enough raw silk for the main dress and used polyester taffeta for the lining. I also lined the skirt with taffeta. The taffeta was a much better fit for the skirt lining in terms of adding the missing poof and structure. On the bodice it created a much stiffer result - which could be good, if that is what you wanted. For a sleeveless dress, it would have been perfect. On my daughter, the original fully silk bodice fit better - with the exception of the shoulder straps.
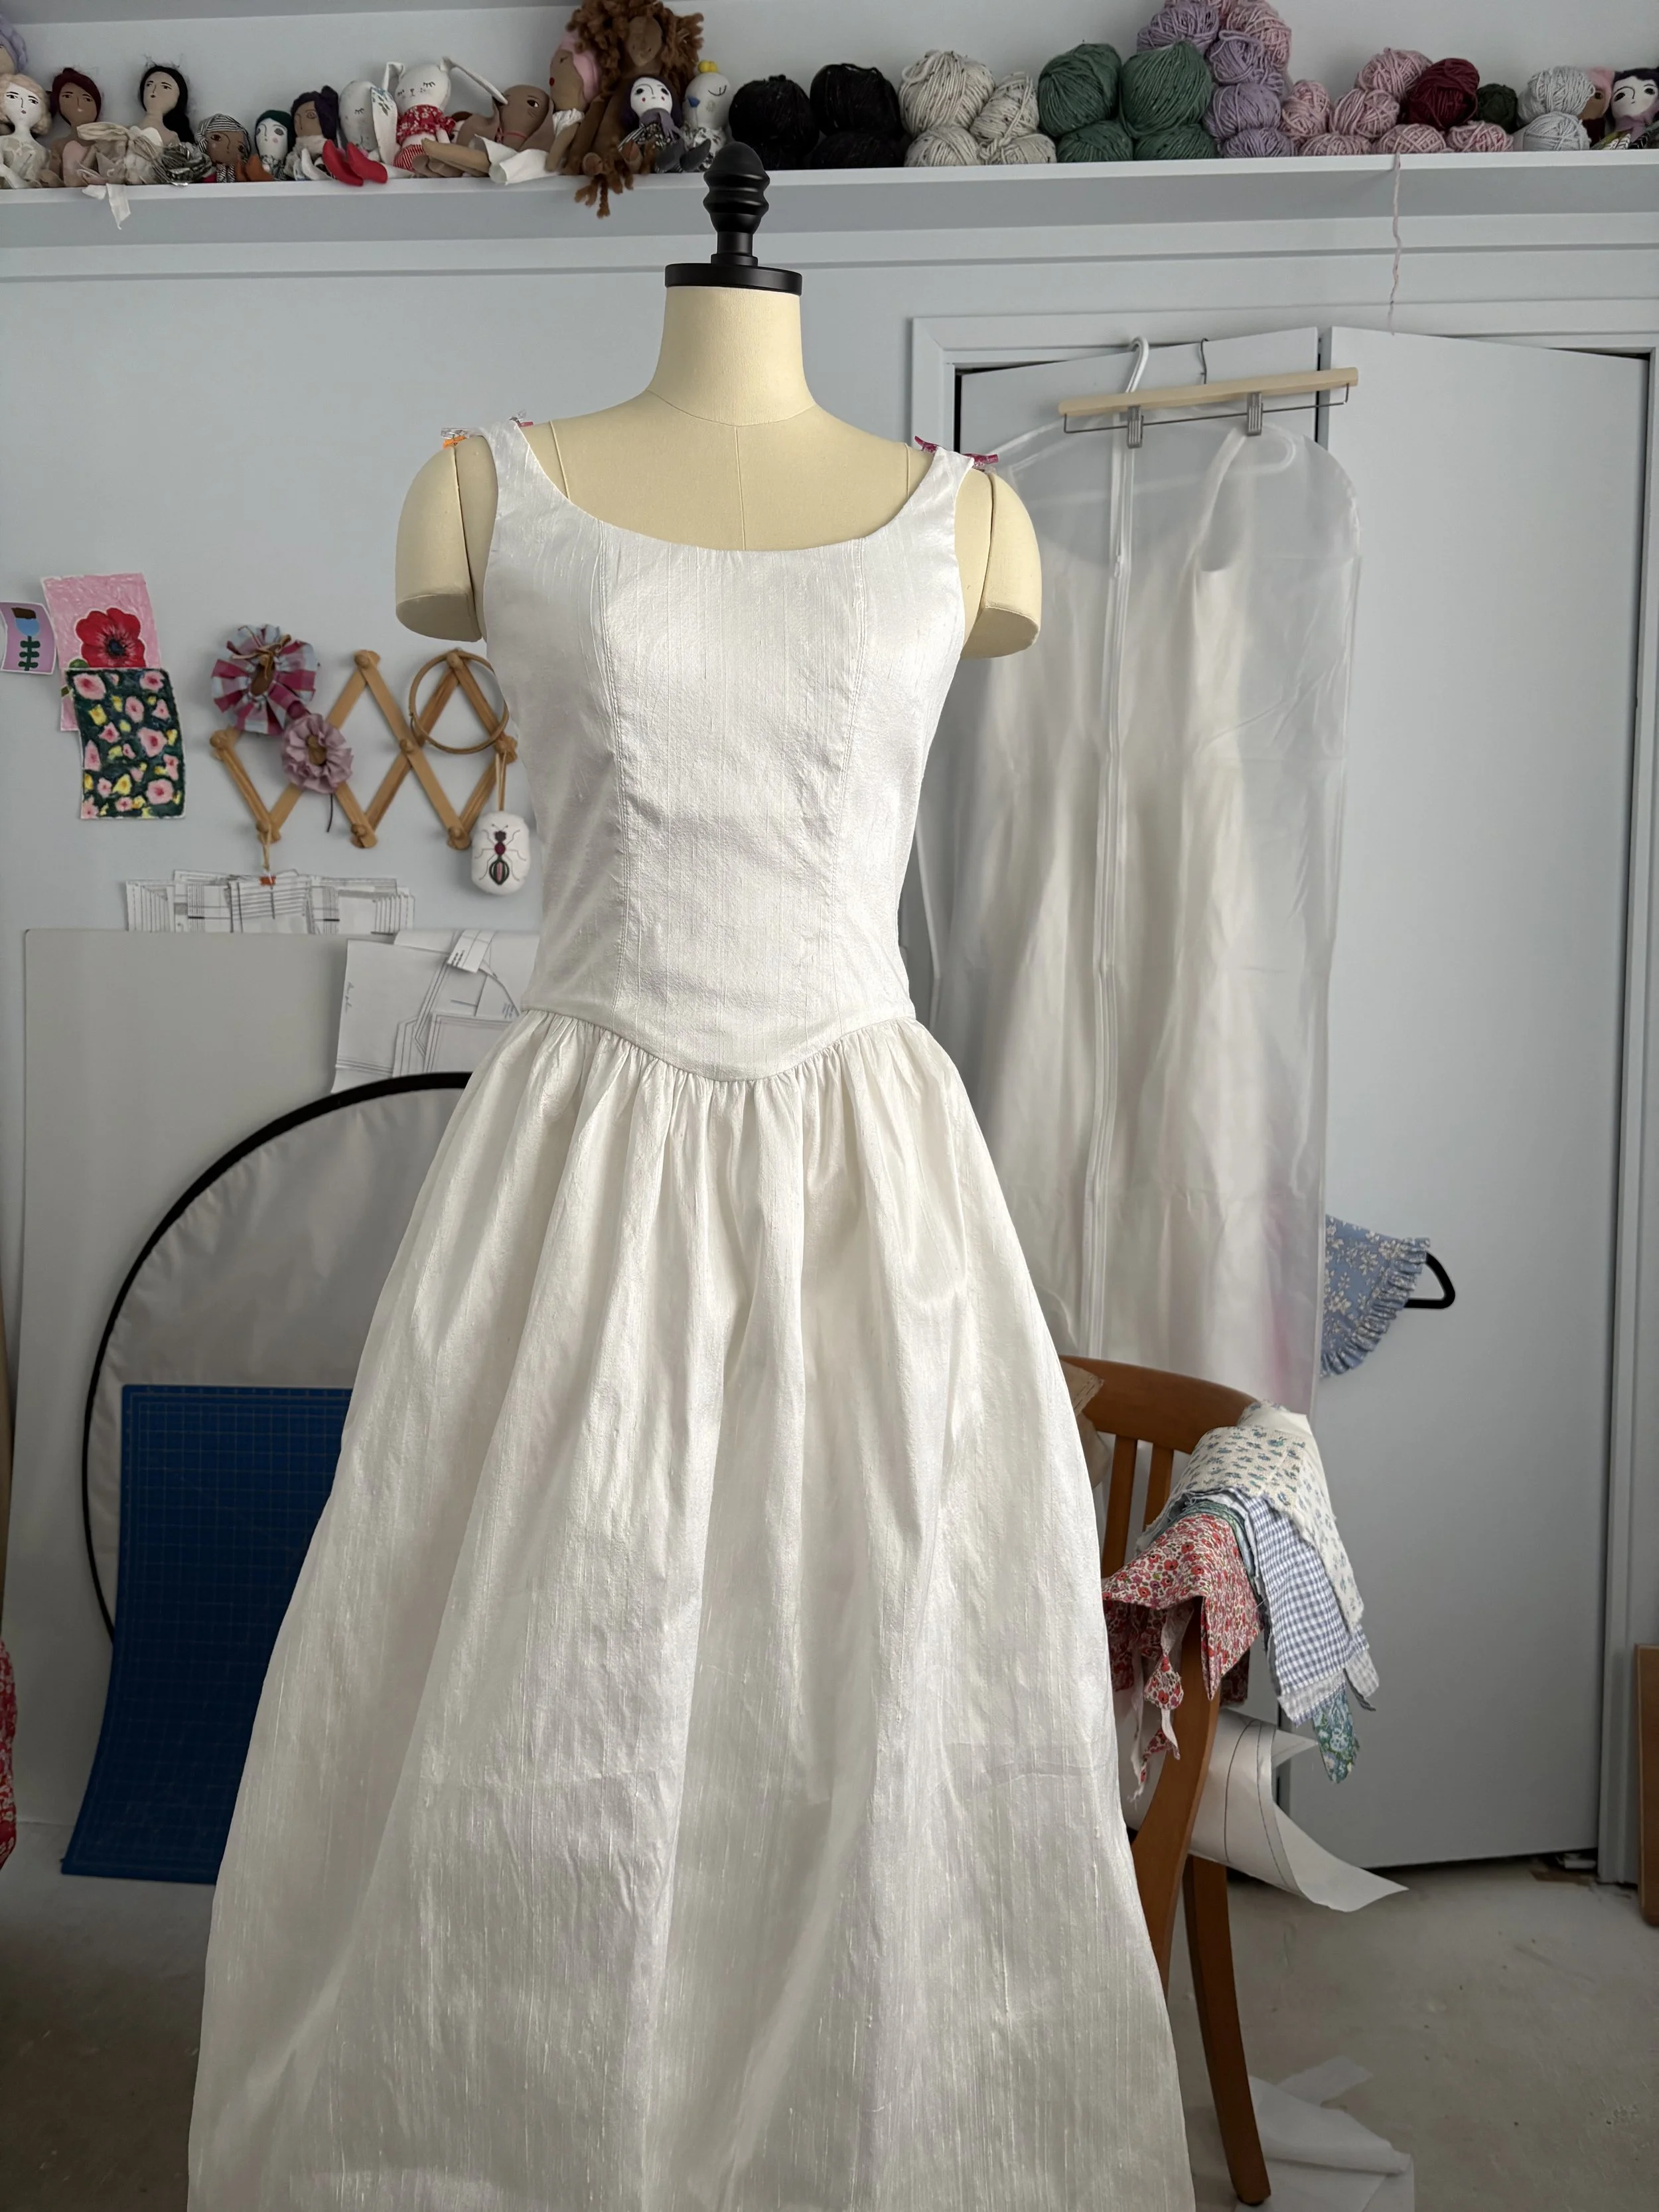
The other detail I noticed making the second dress… grading seams is important. DUH. When I started to hand stitch the lining bodice to seal in the raw skirt seam, the thought flitted through my mind to grade and trim the seam - it was much bulkier than the first dress…. I ignored the impulse. I was concerned that cutting the taffeta edge further would make the taffeta fray too close to the seam. Refer to the picture of the dress below (on the dress form) to see just how bulky the seam ended up being. It was a glaring hard ridge right across the middle. The silk pretty much adhered itself to every bump. I had to pick it apart, trim, and hand stitch it all back together. Sigh. No wonder I was so over all of it after the wedding, lol. If I could just direct this kind of persistent stalwartness to a myriad of other things in my life…
In the end, my daughter wore the original dress. She looked beyond lovely. Last minute, we purchased a crinoline on amazon and altered it to give the dress just enough poof factor. Exquisite.
Stuff learned:
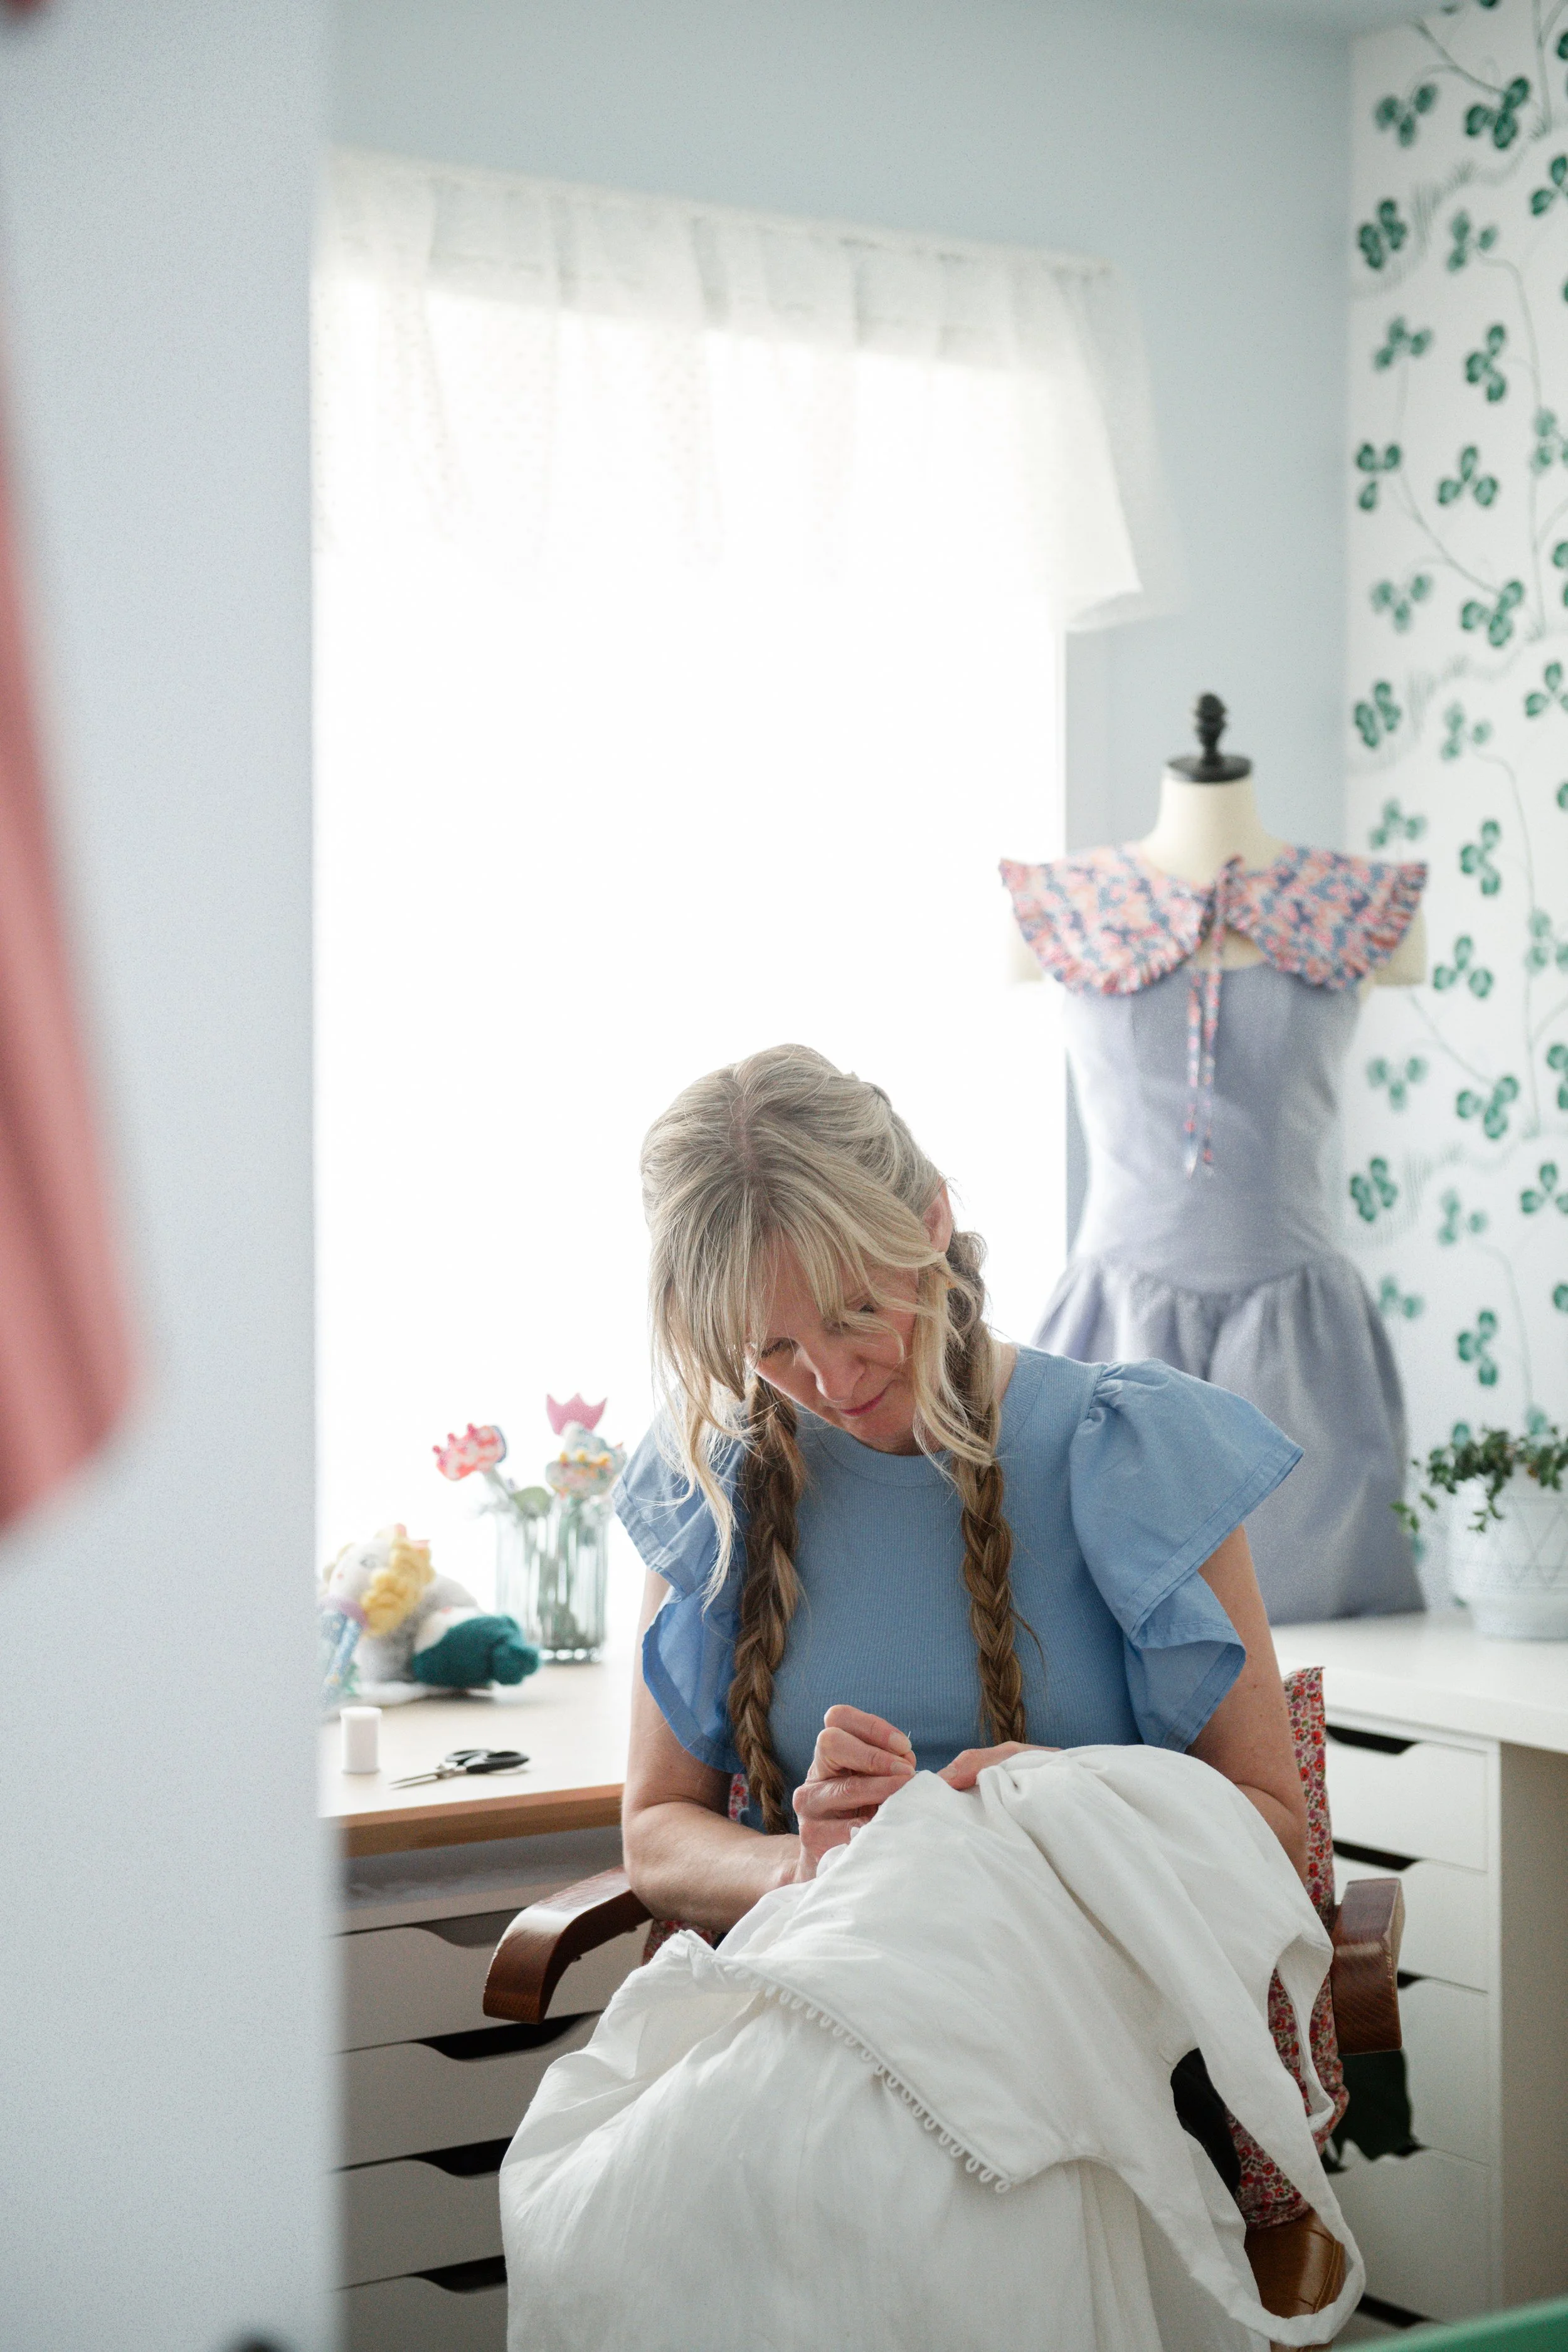
Every fabric makes a different fitting dress. In the photo of me hand-stitching the dress, you can see the original mock up behind me. It was constructed from purple poly taffeta that had the smallest amount of stretch. It is the favourite dress up for my youngest now.
I lined all the silk bodice pieces with white cotton muslin, including the silk bodice lining. I drew the seam line with a frixion pen and basted all the pieces together just to the side of the drawn seam. This made a supportive bodice that moved with the silk.
Raw silk stinks. Like old, damp grass. I tried washing a small piece and it altered the drape of the fabric significantly. It would be okay depending on your vision… it did not fit this one. Instead, I followed my olfactory system to Rocky Mountain Soap and bought a fresh smelling bar of soap and put it in the garment bag with the dress. Problem solved.
If you need 27 buttons, start looking early. I wasted so much time on this. Out of desperation, I bought pearl ones on Etsy, that looked gorgeous in my hand, but hung too limp and bulky on the dress. Then I resorted to amazon, and received plastic junk that I sent back. Finally, I was able to gather enough from visiting 3 Fabriclands’ and buying every single pack. Crises averted.
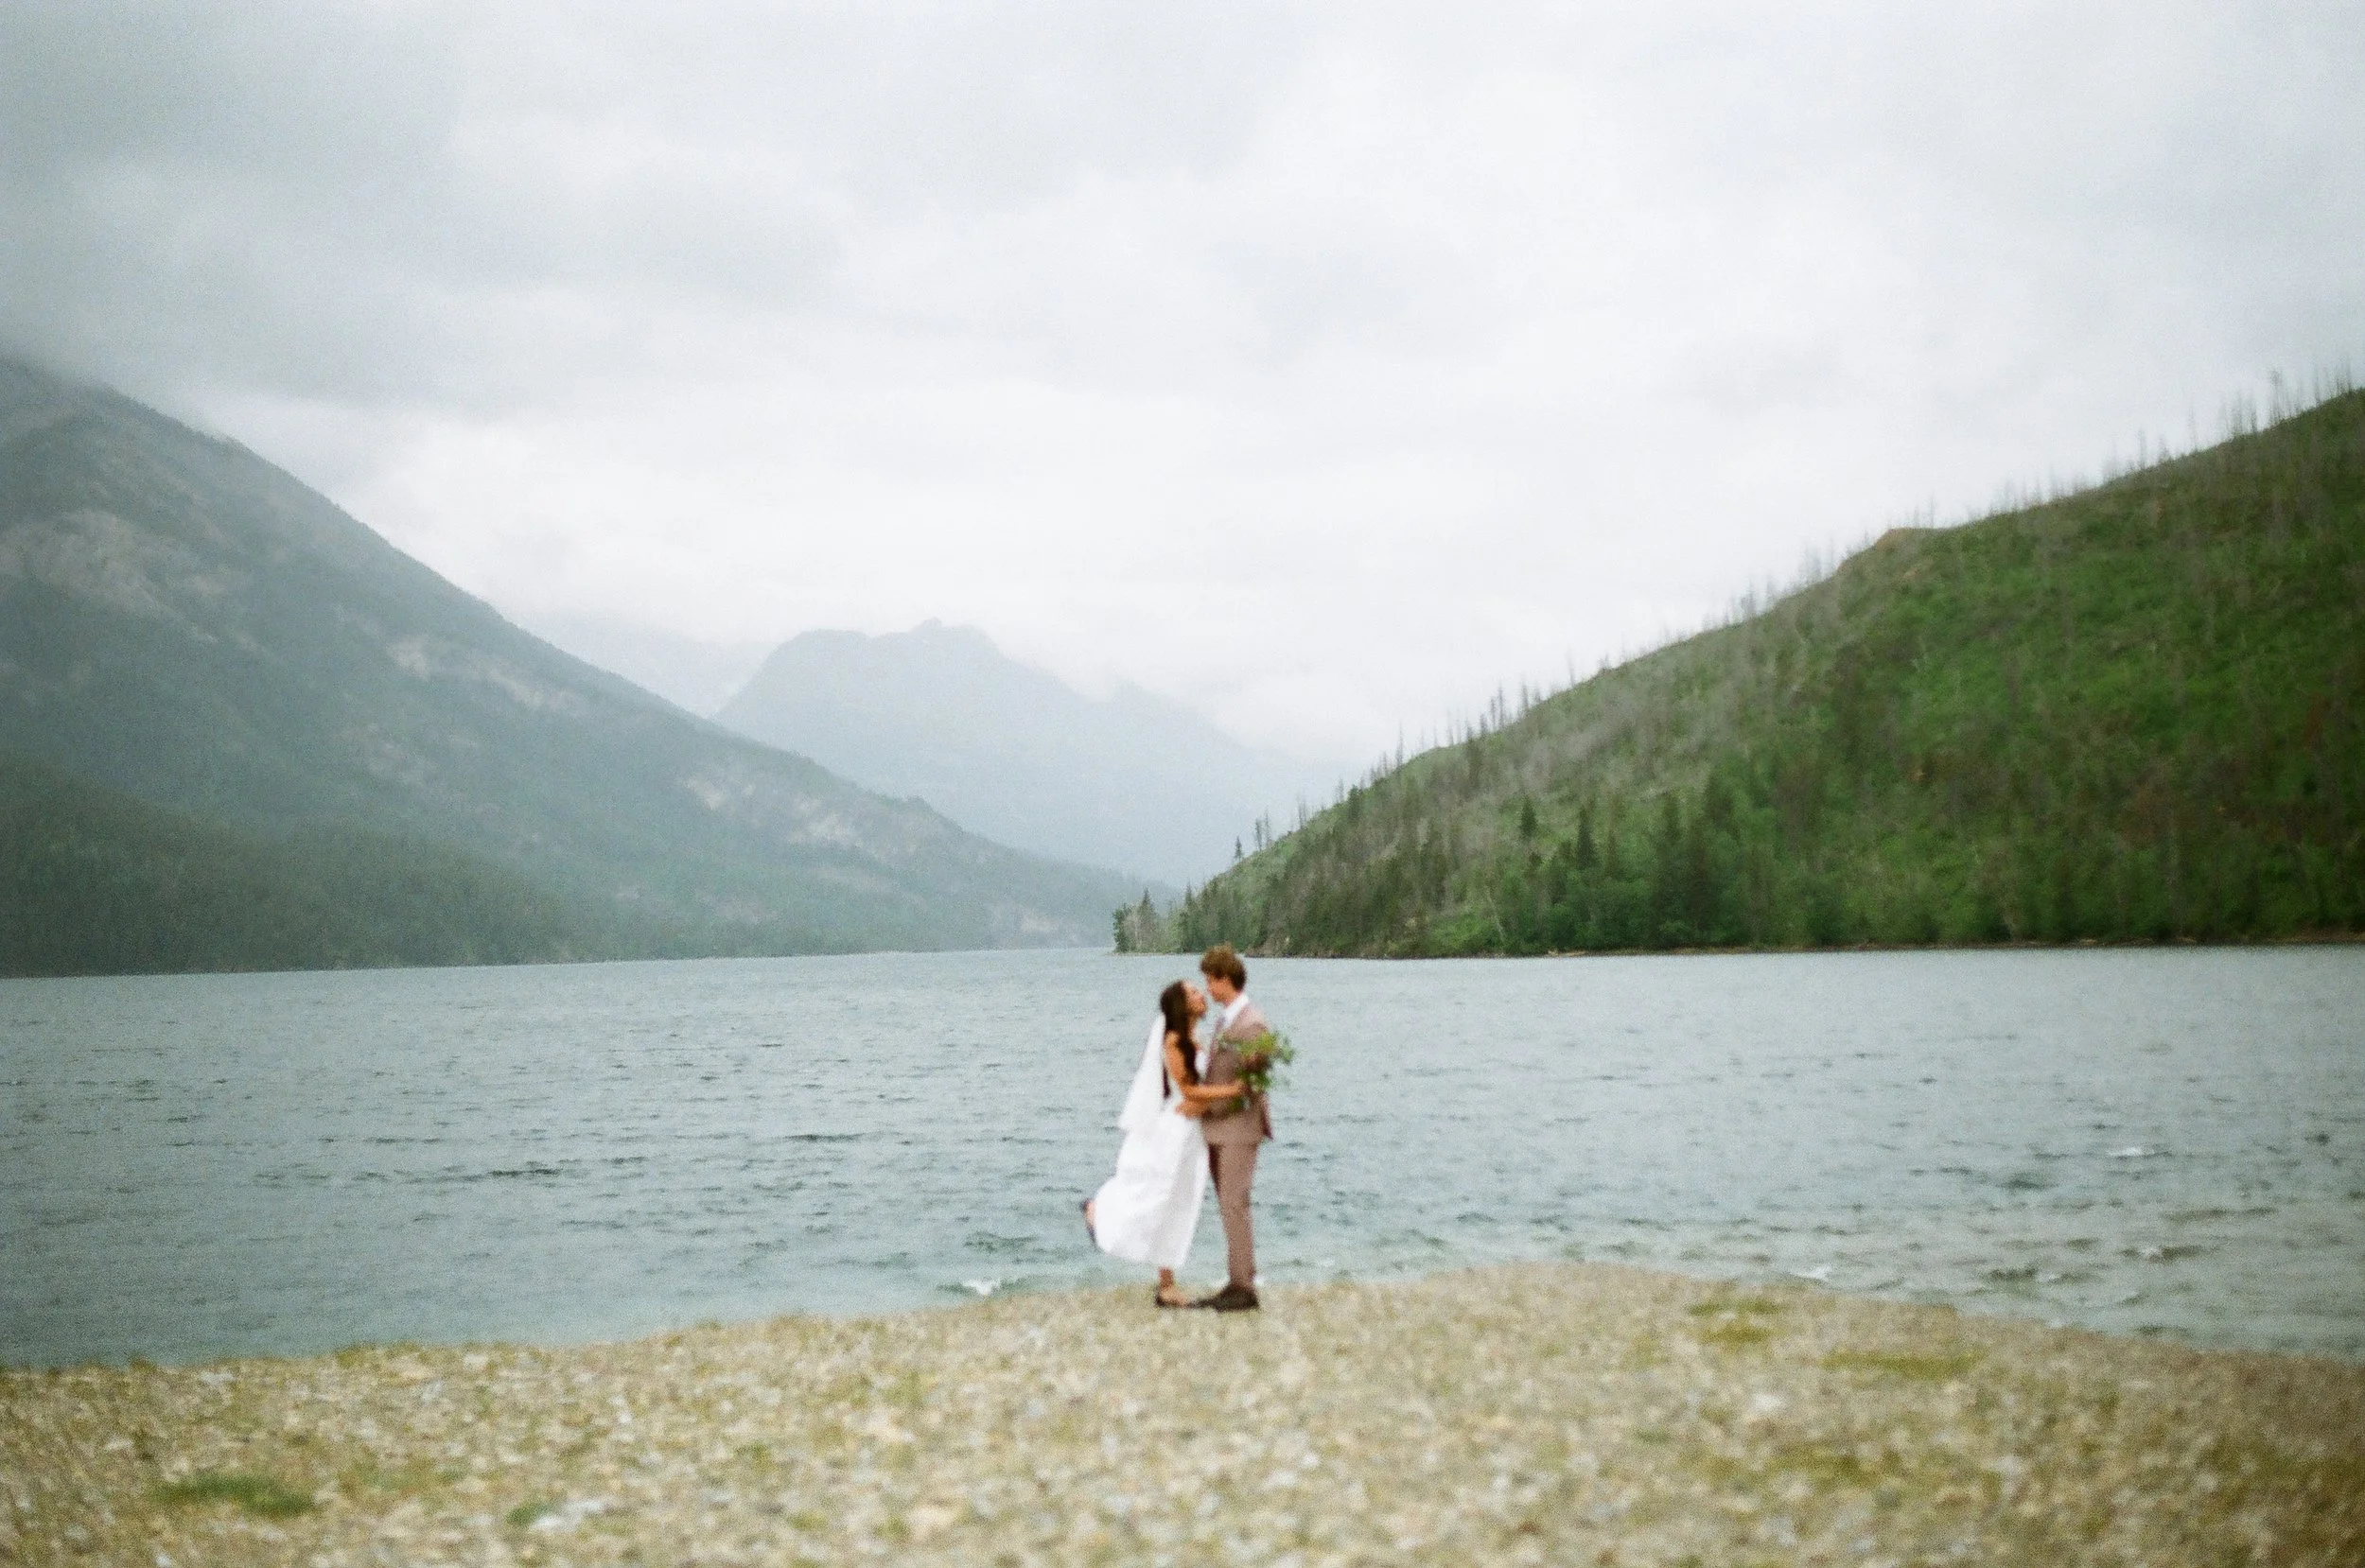
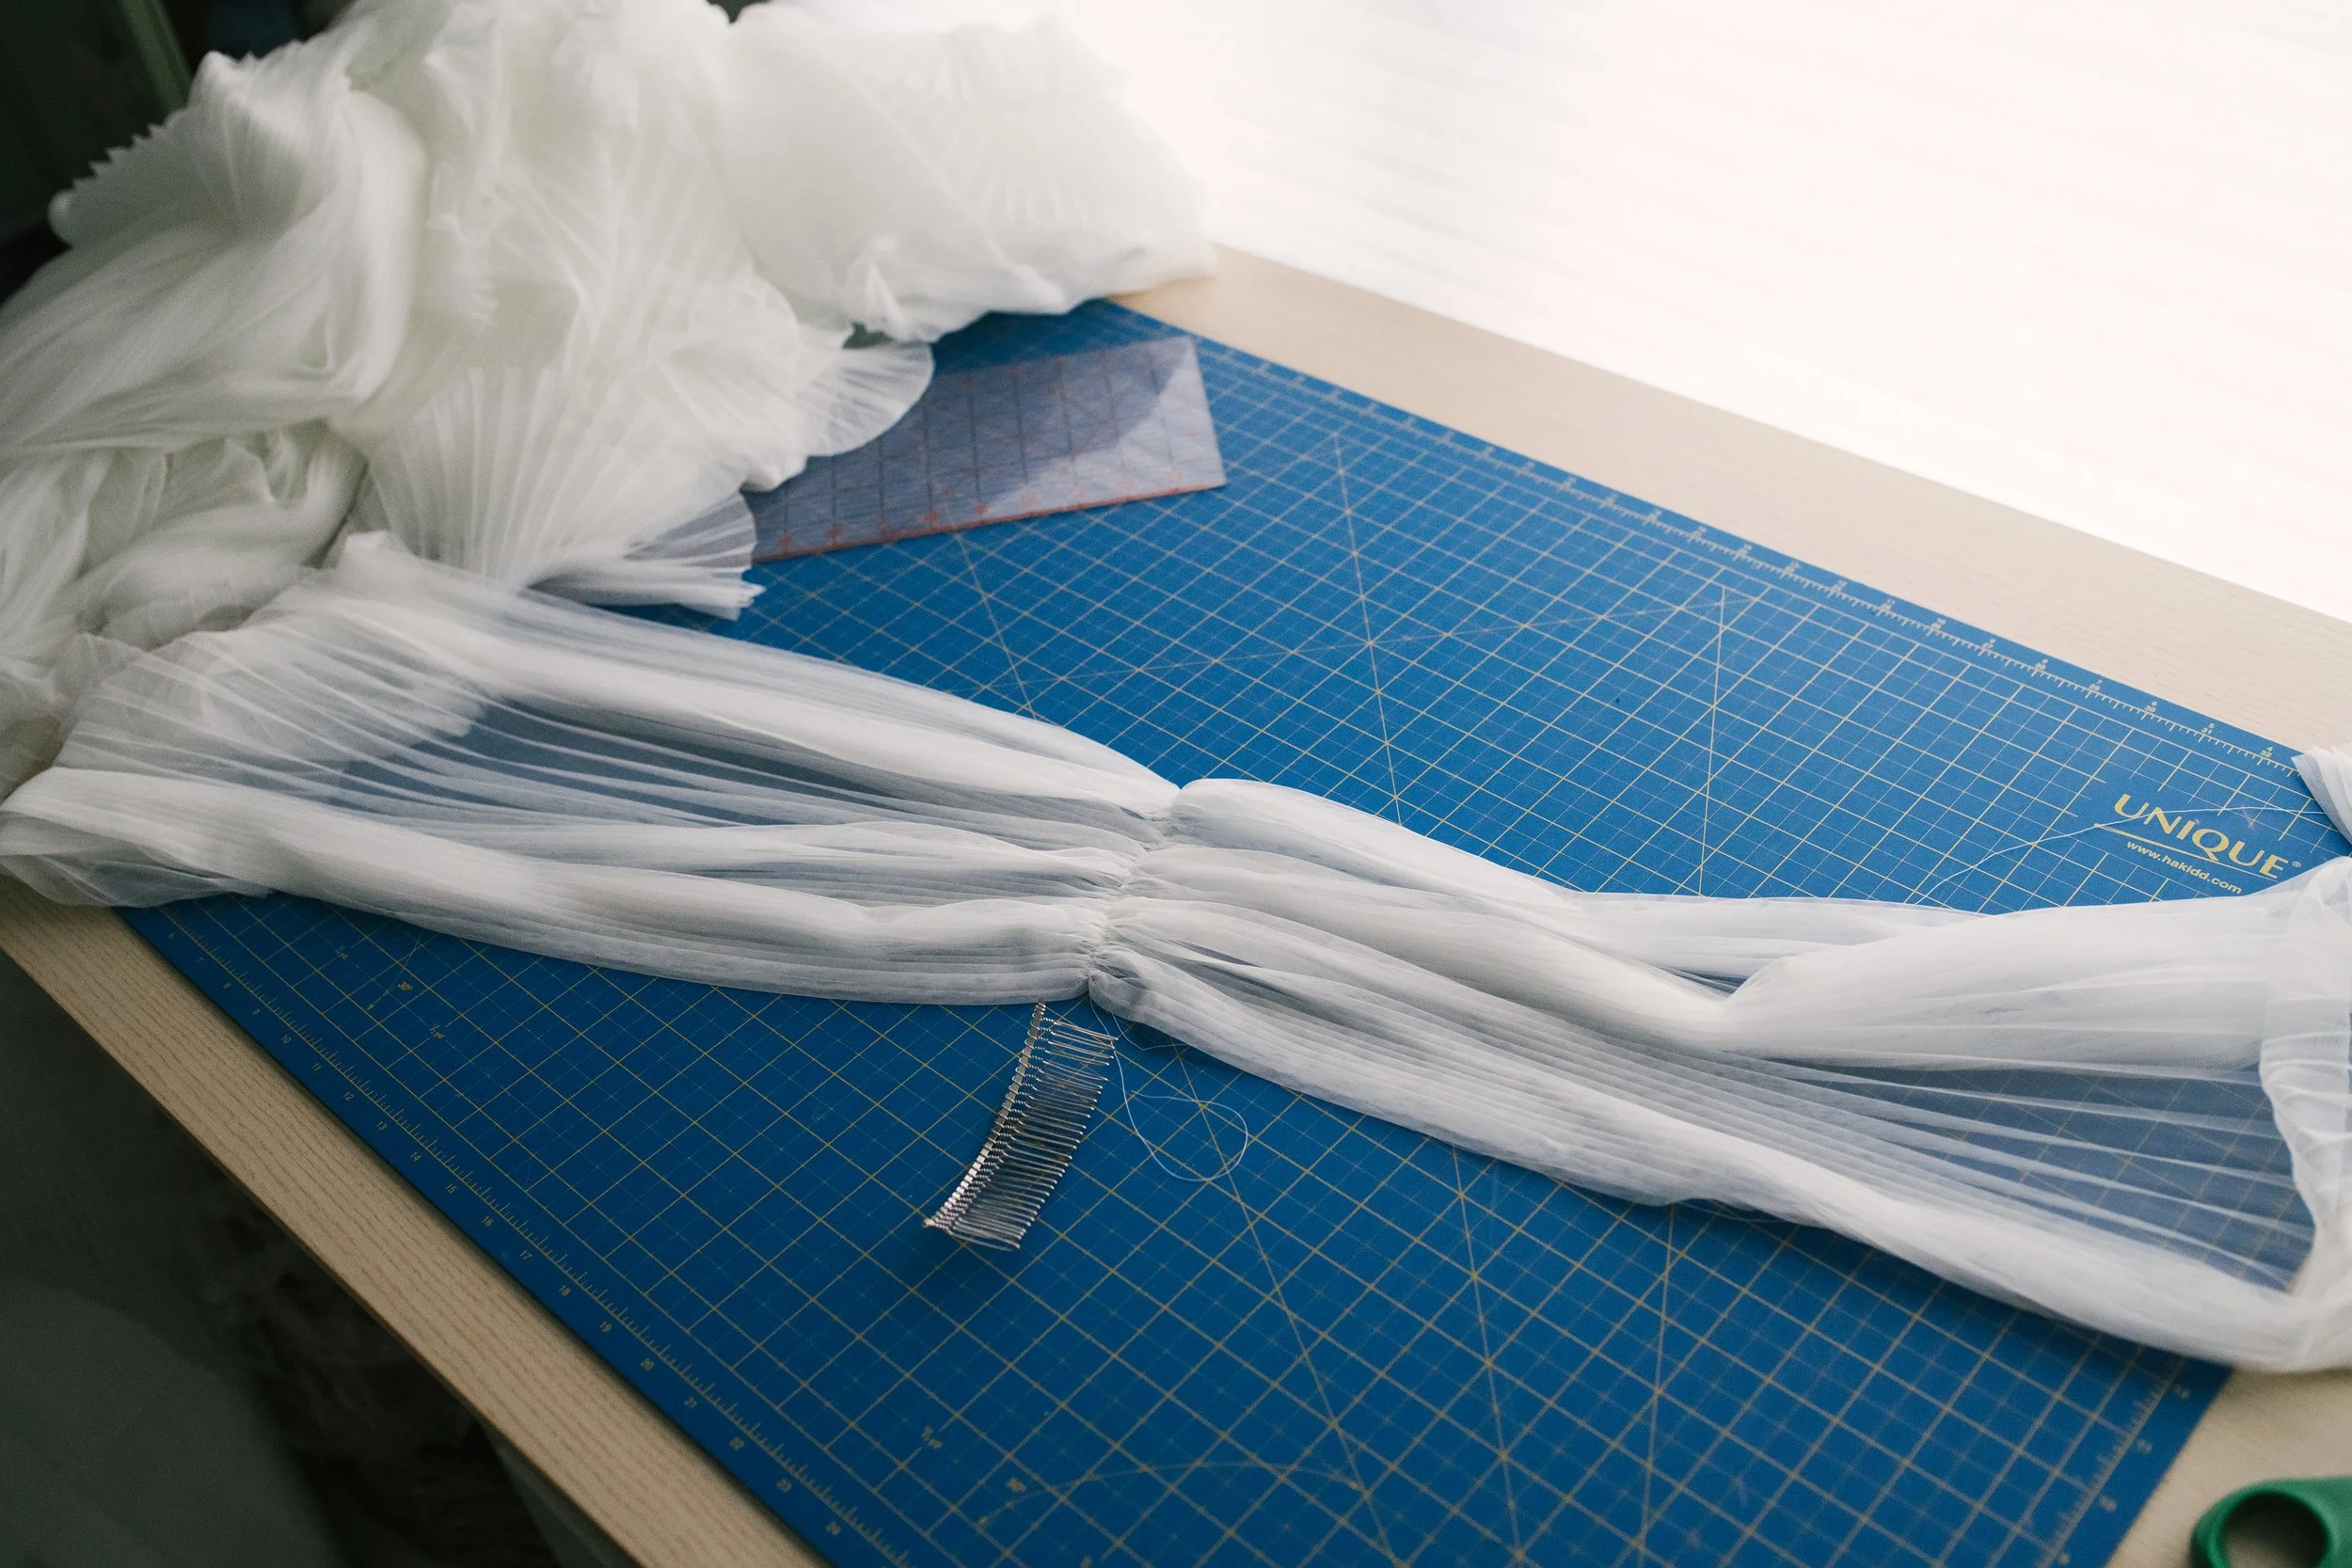
The veil was constructed from pleated tulle. I bought the tulle on Etsy - it was GORGEOUS. Initially, I used a comb that was far too wide. So…. you guessed it - I made another one. Using a cutting mat, large ruler, and rotary blade, I cut a clean edge. For the width, I hand cut along the pleat. To gather the centre, I used a ruler and frixion pen and then sewed a gathering stitch along the line. From there, gather the centre and hand stitched it to the comb. Voila! Done.
Final lesson… I may obsess too much. Considering therapy. For real.
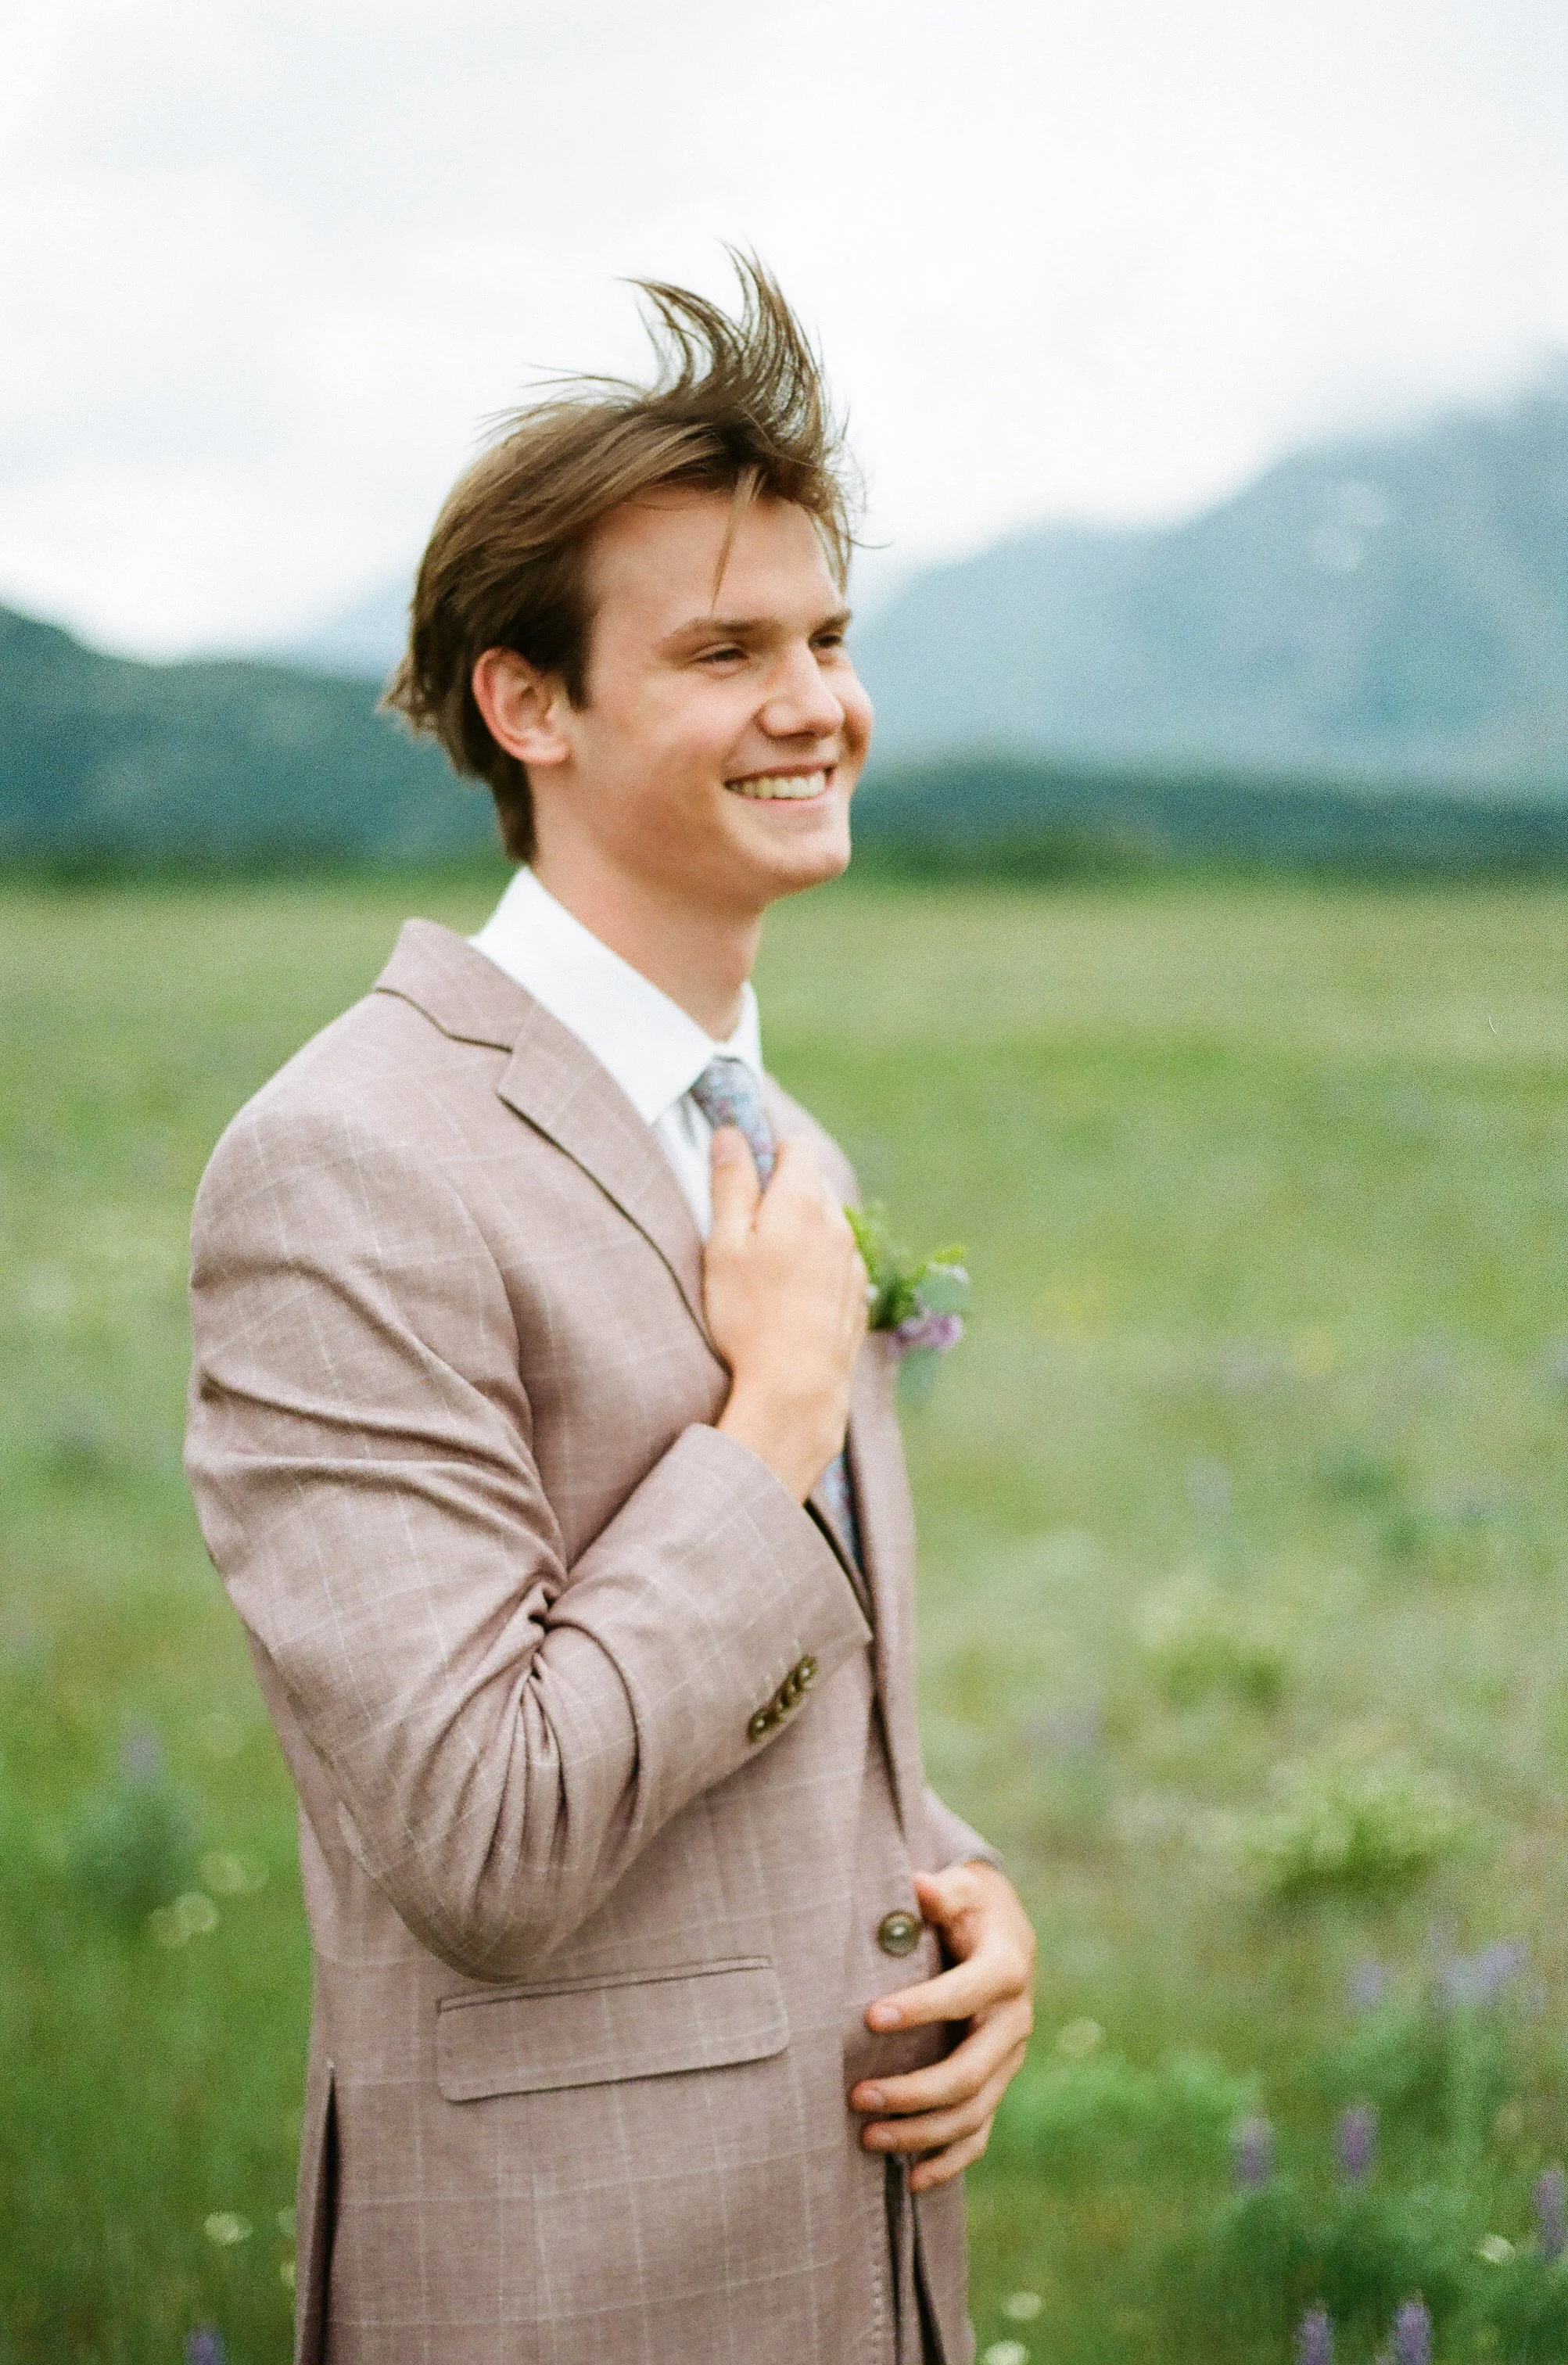
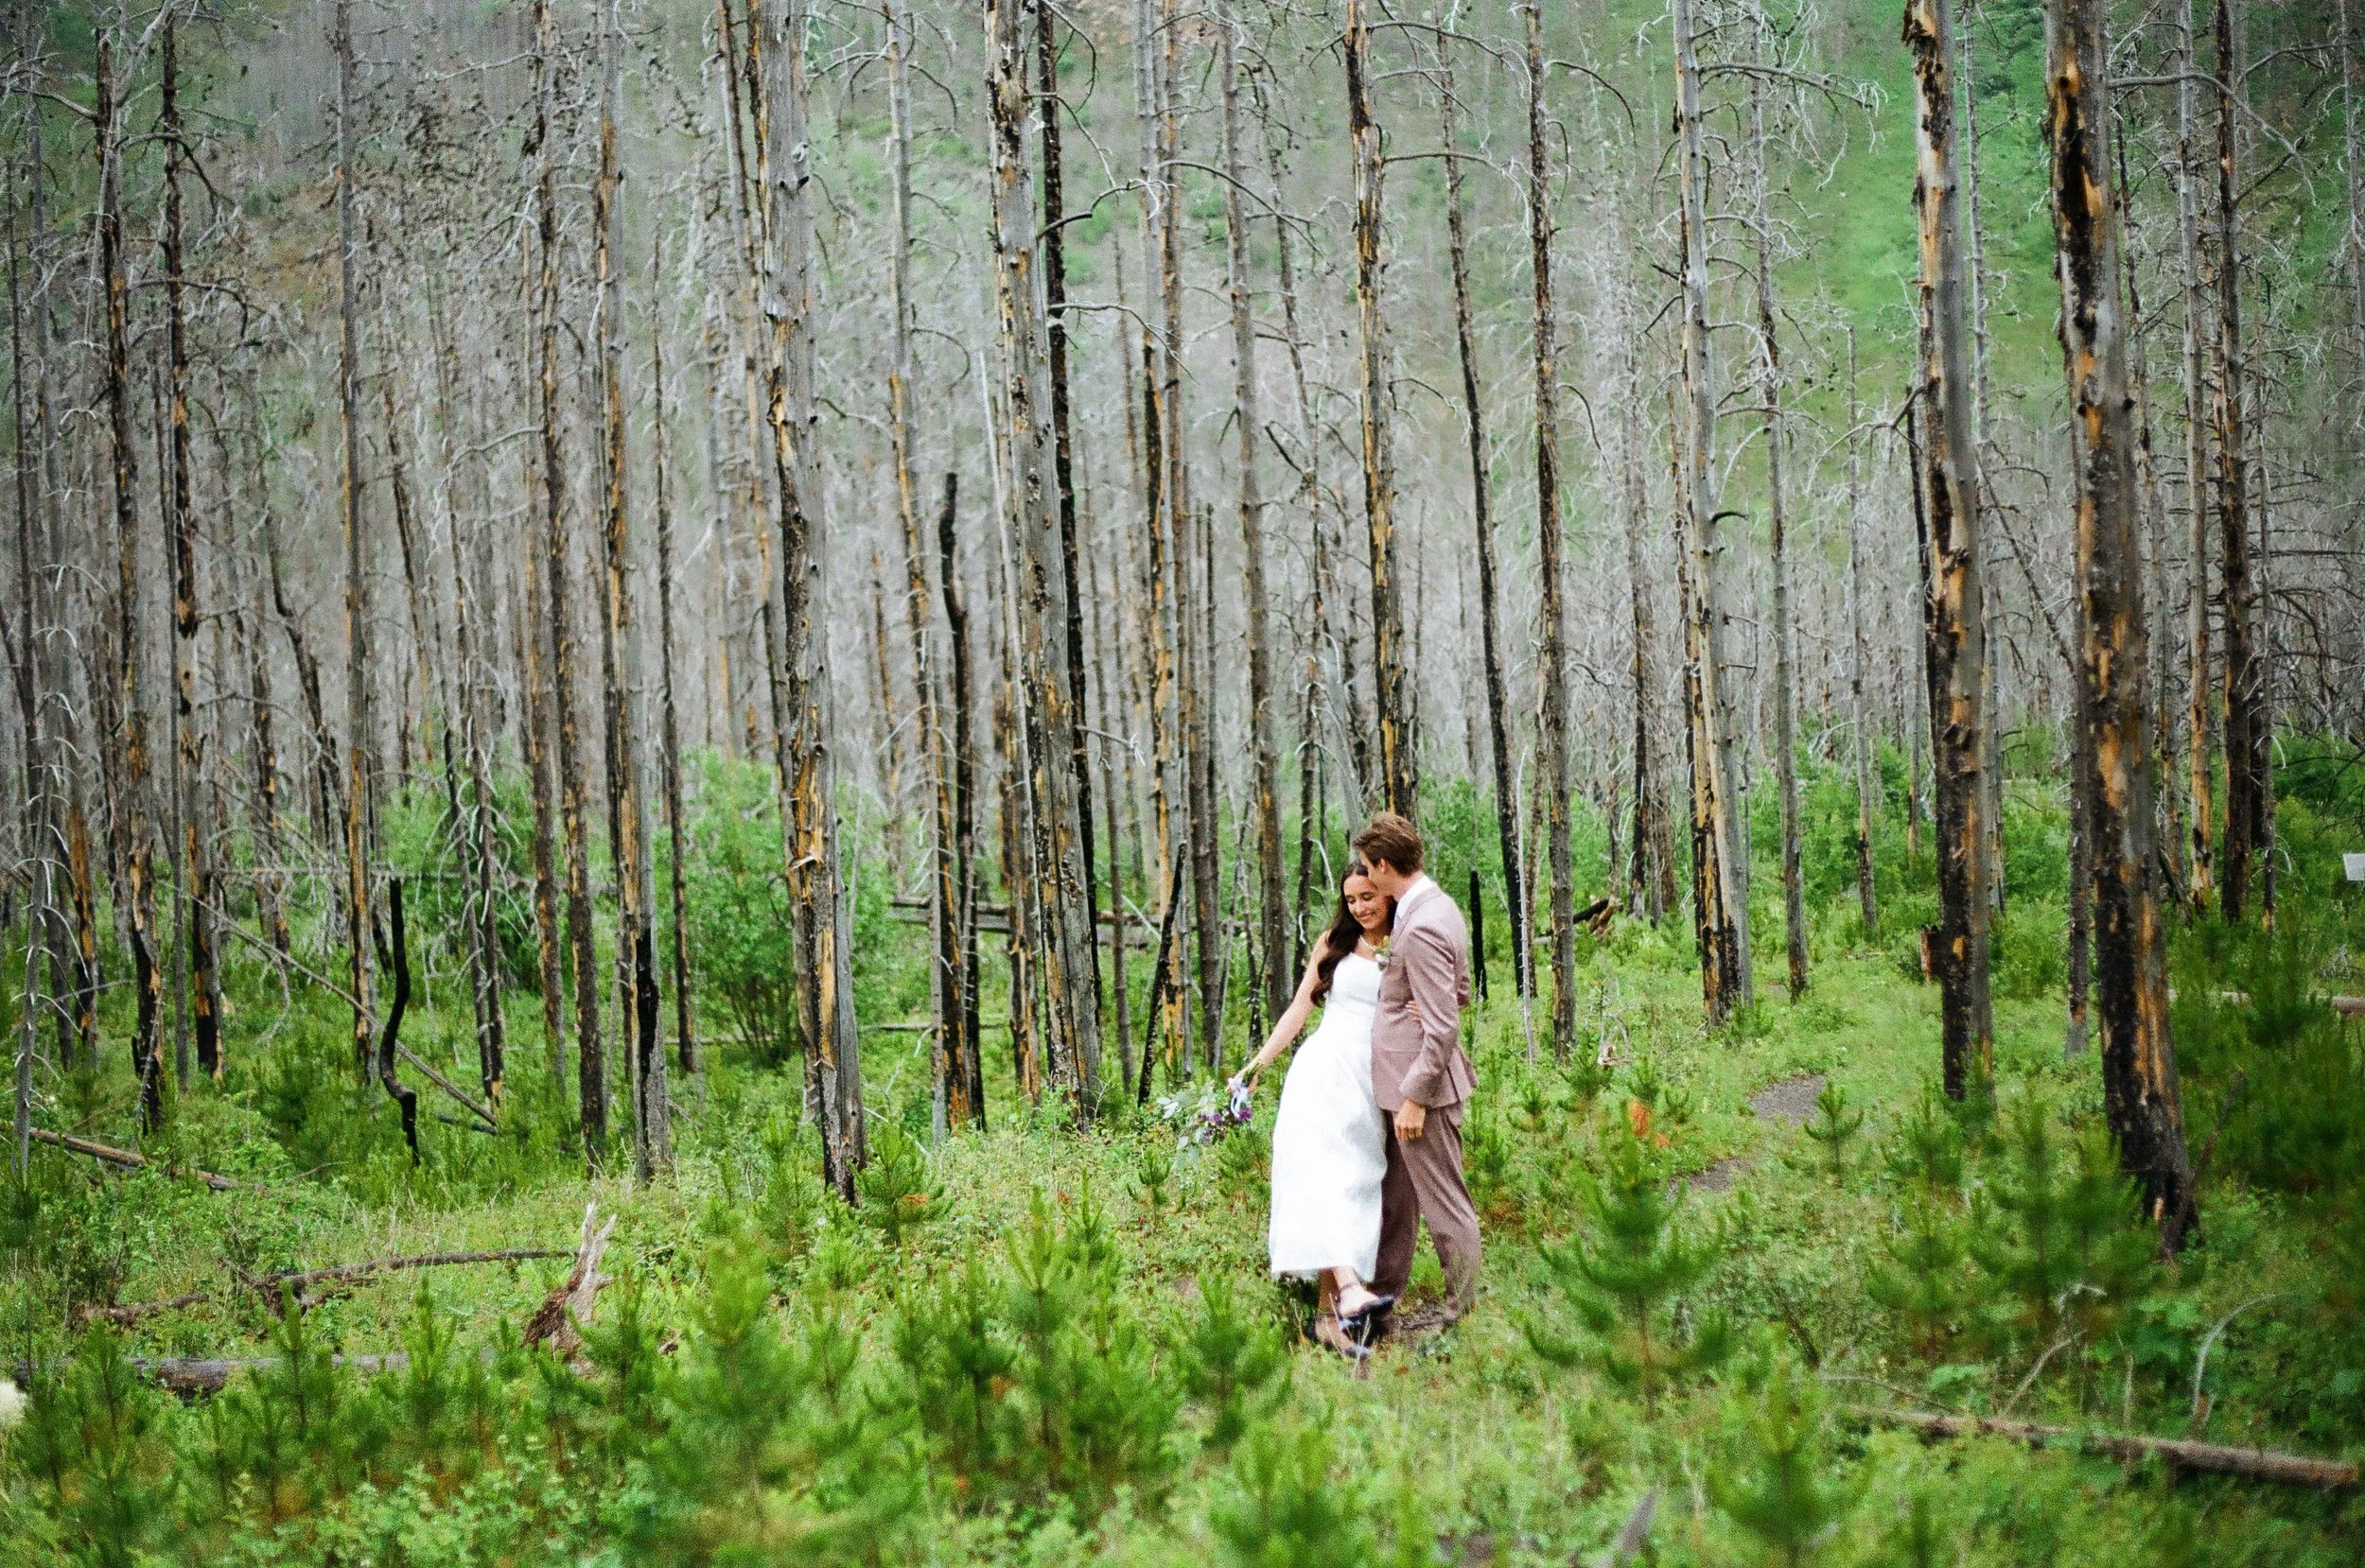
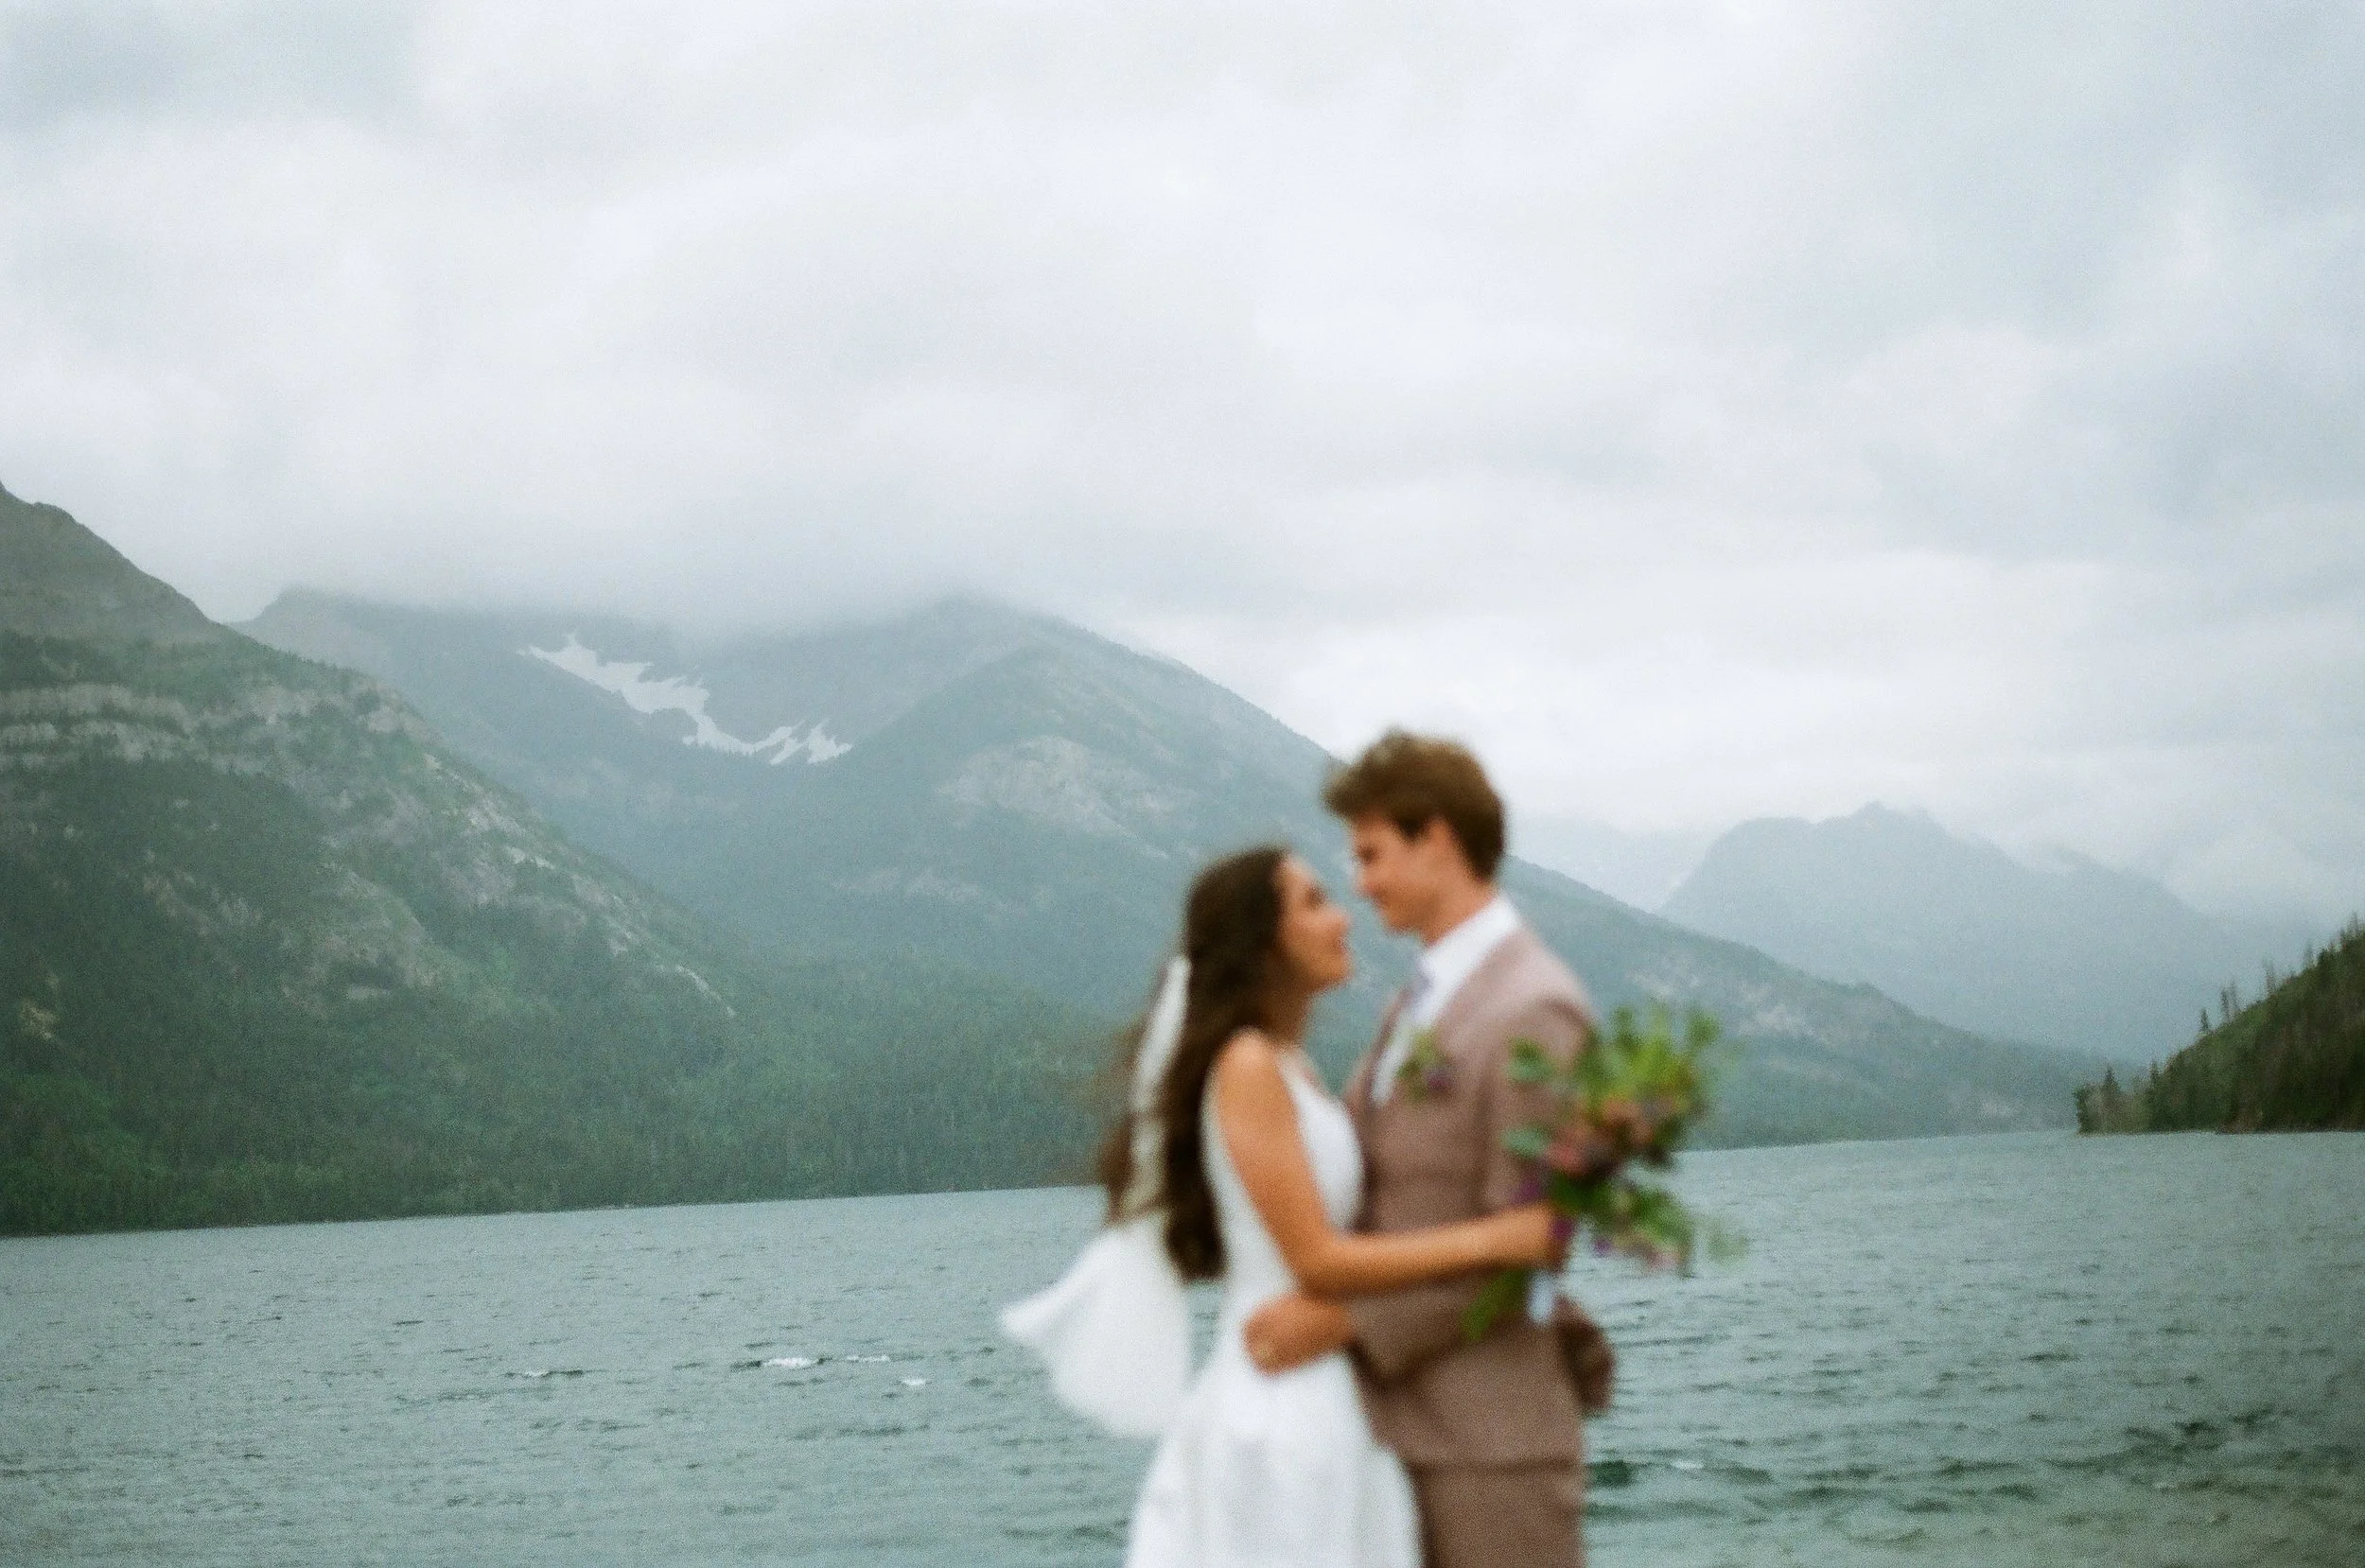
We ventured to Waterton for photos after the couple returned from their honeymoon. The mountain flowers were out of a storybook - even the drizzling rain added an ethereal glow to everything. It was rather cold… even though it was the end of June.
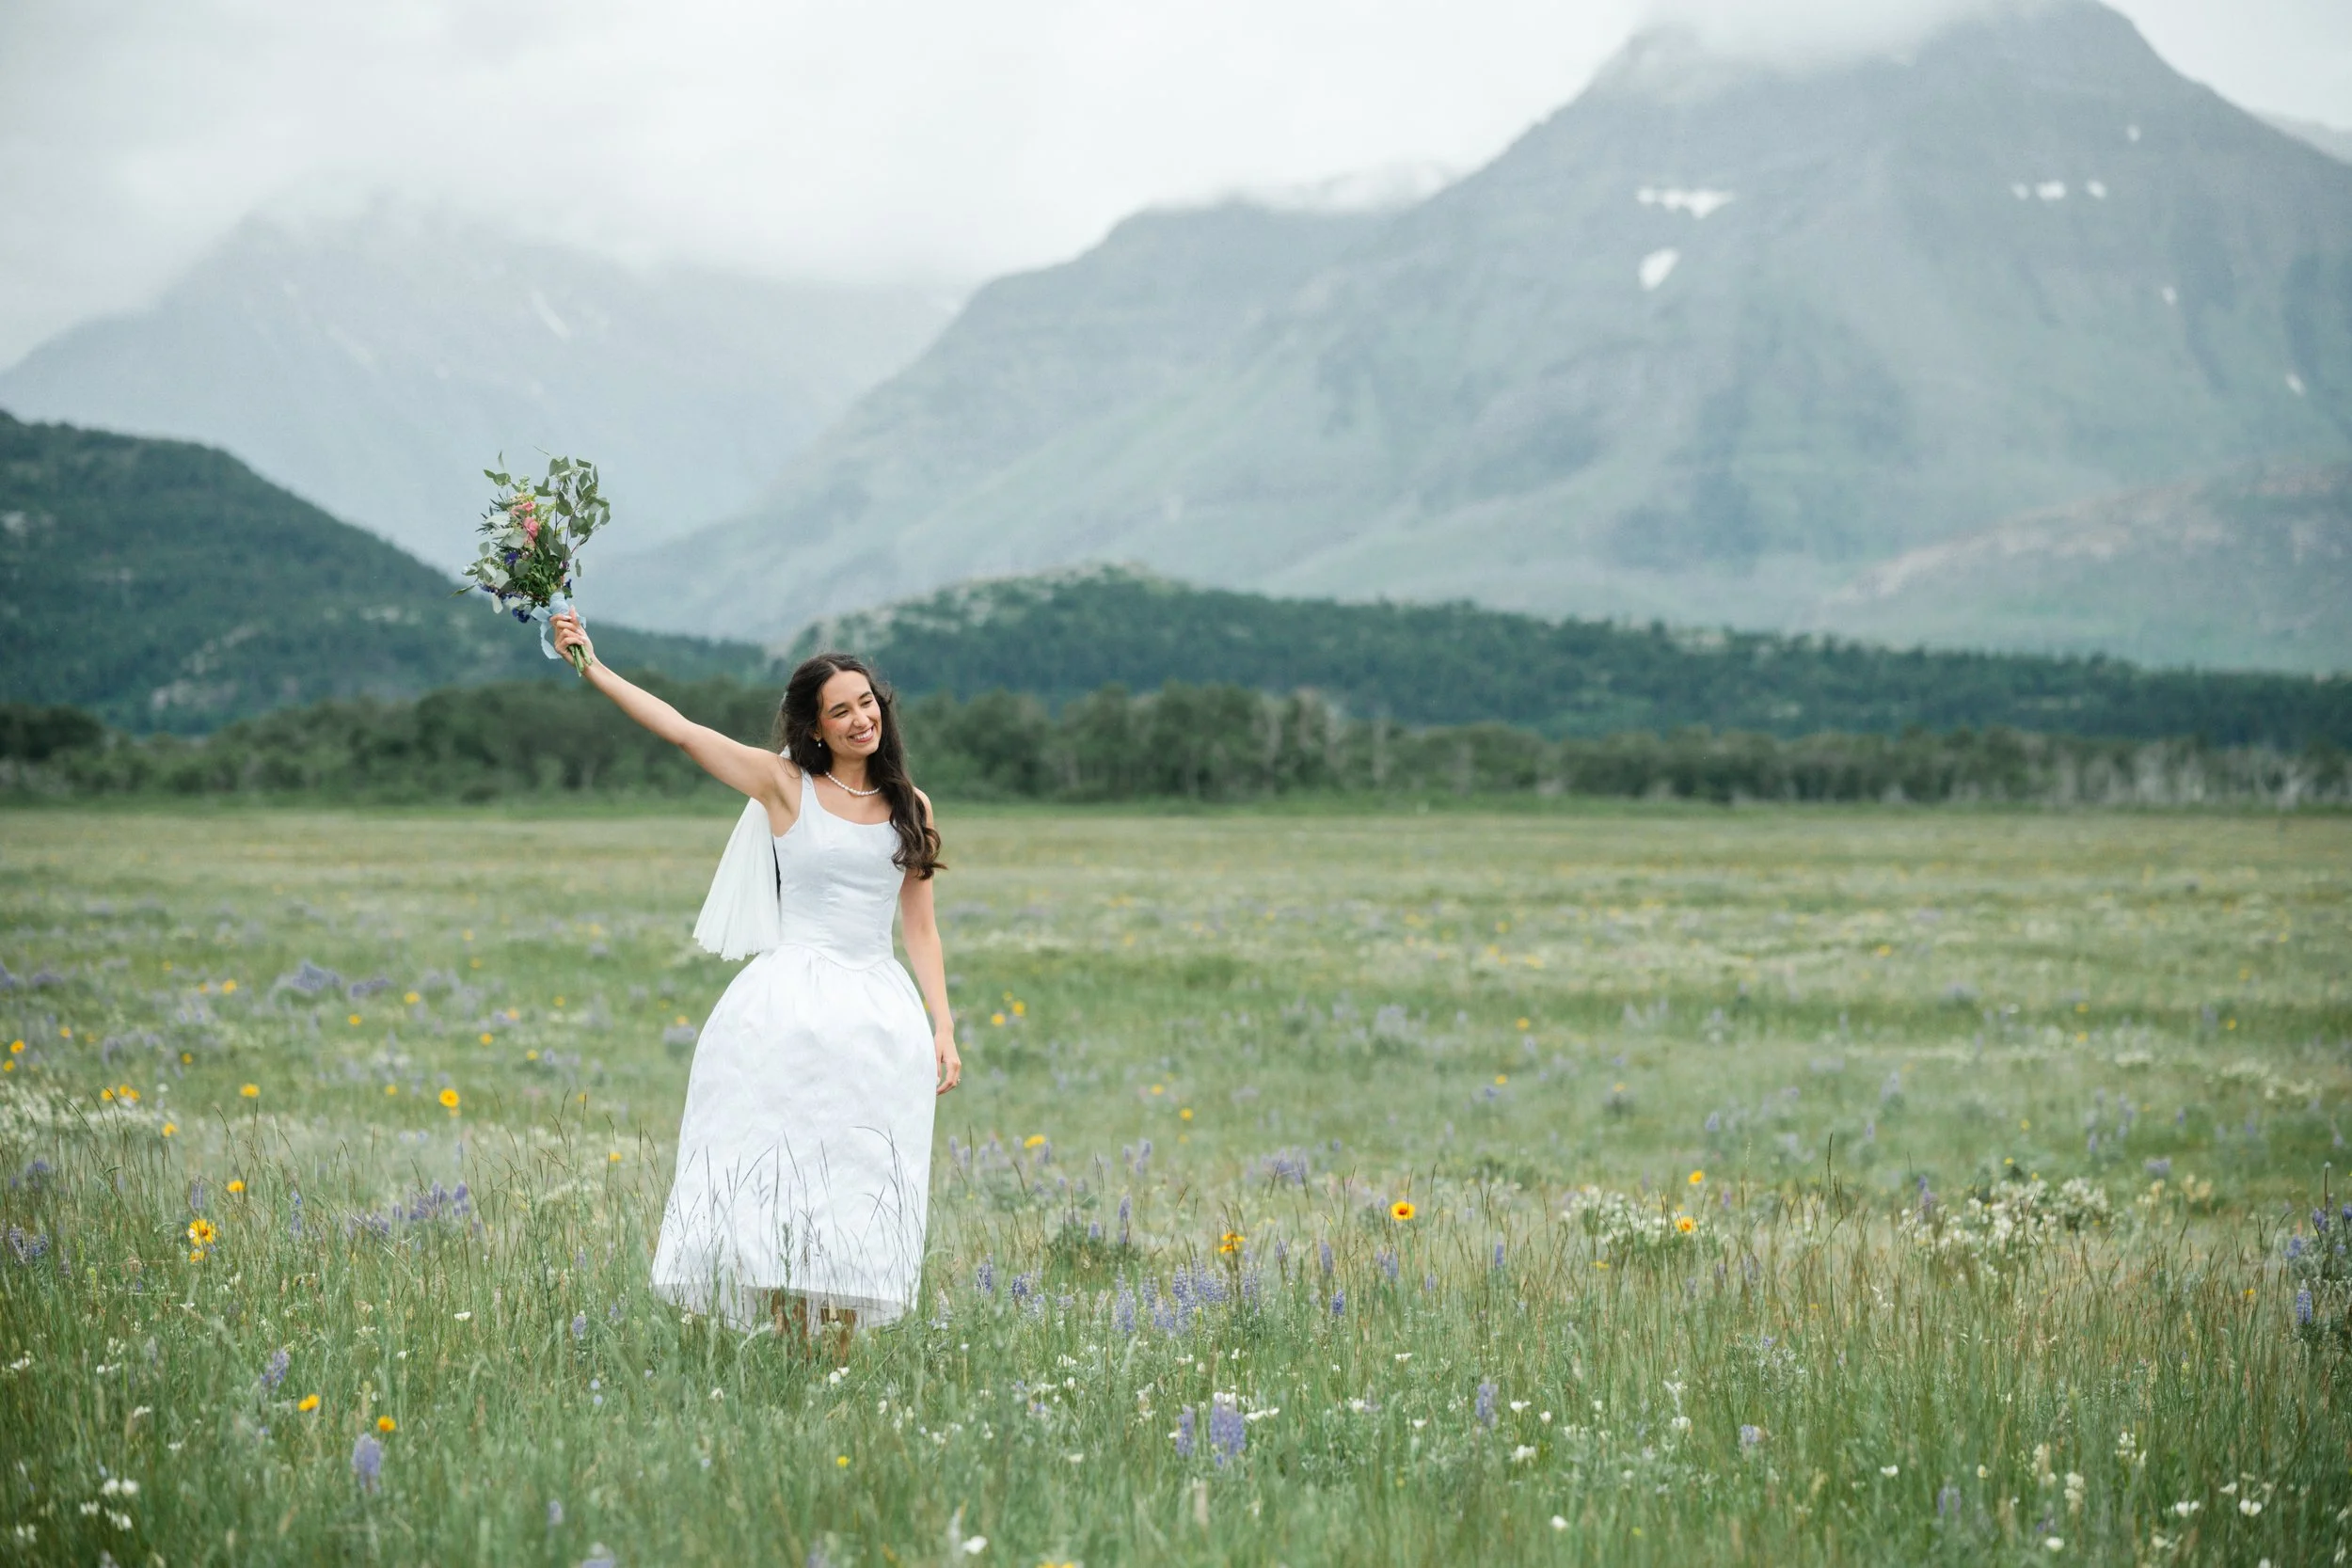
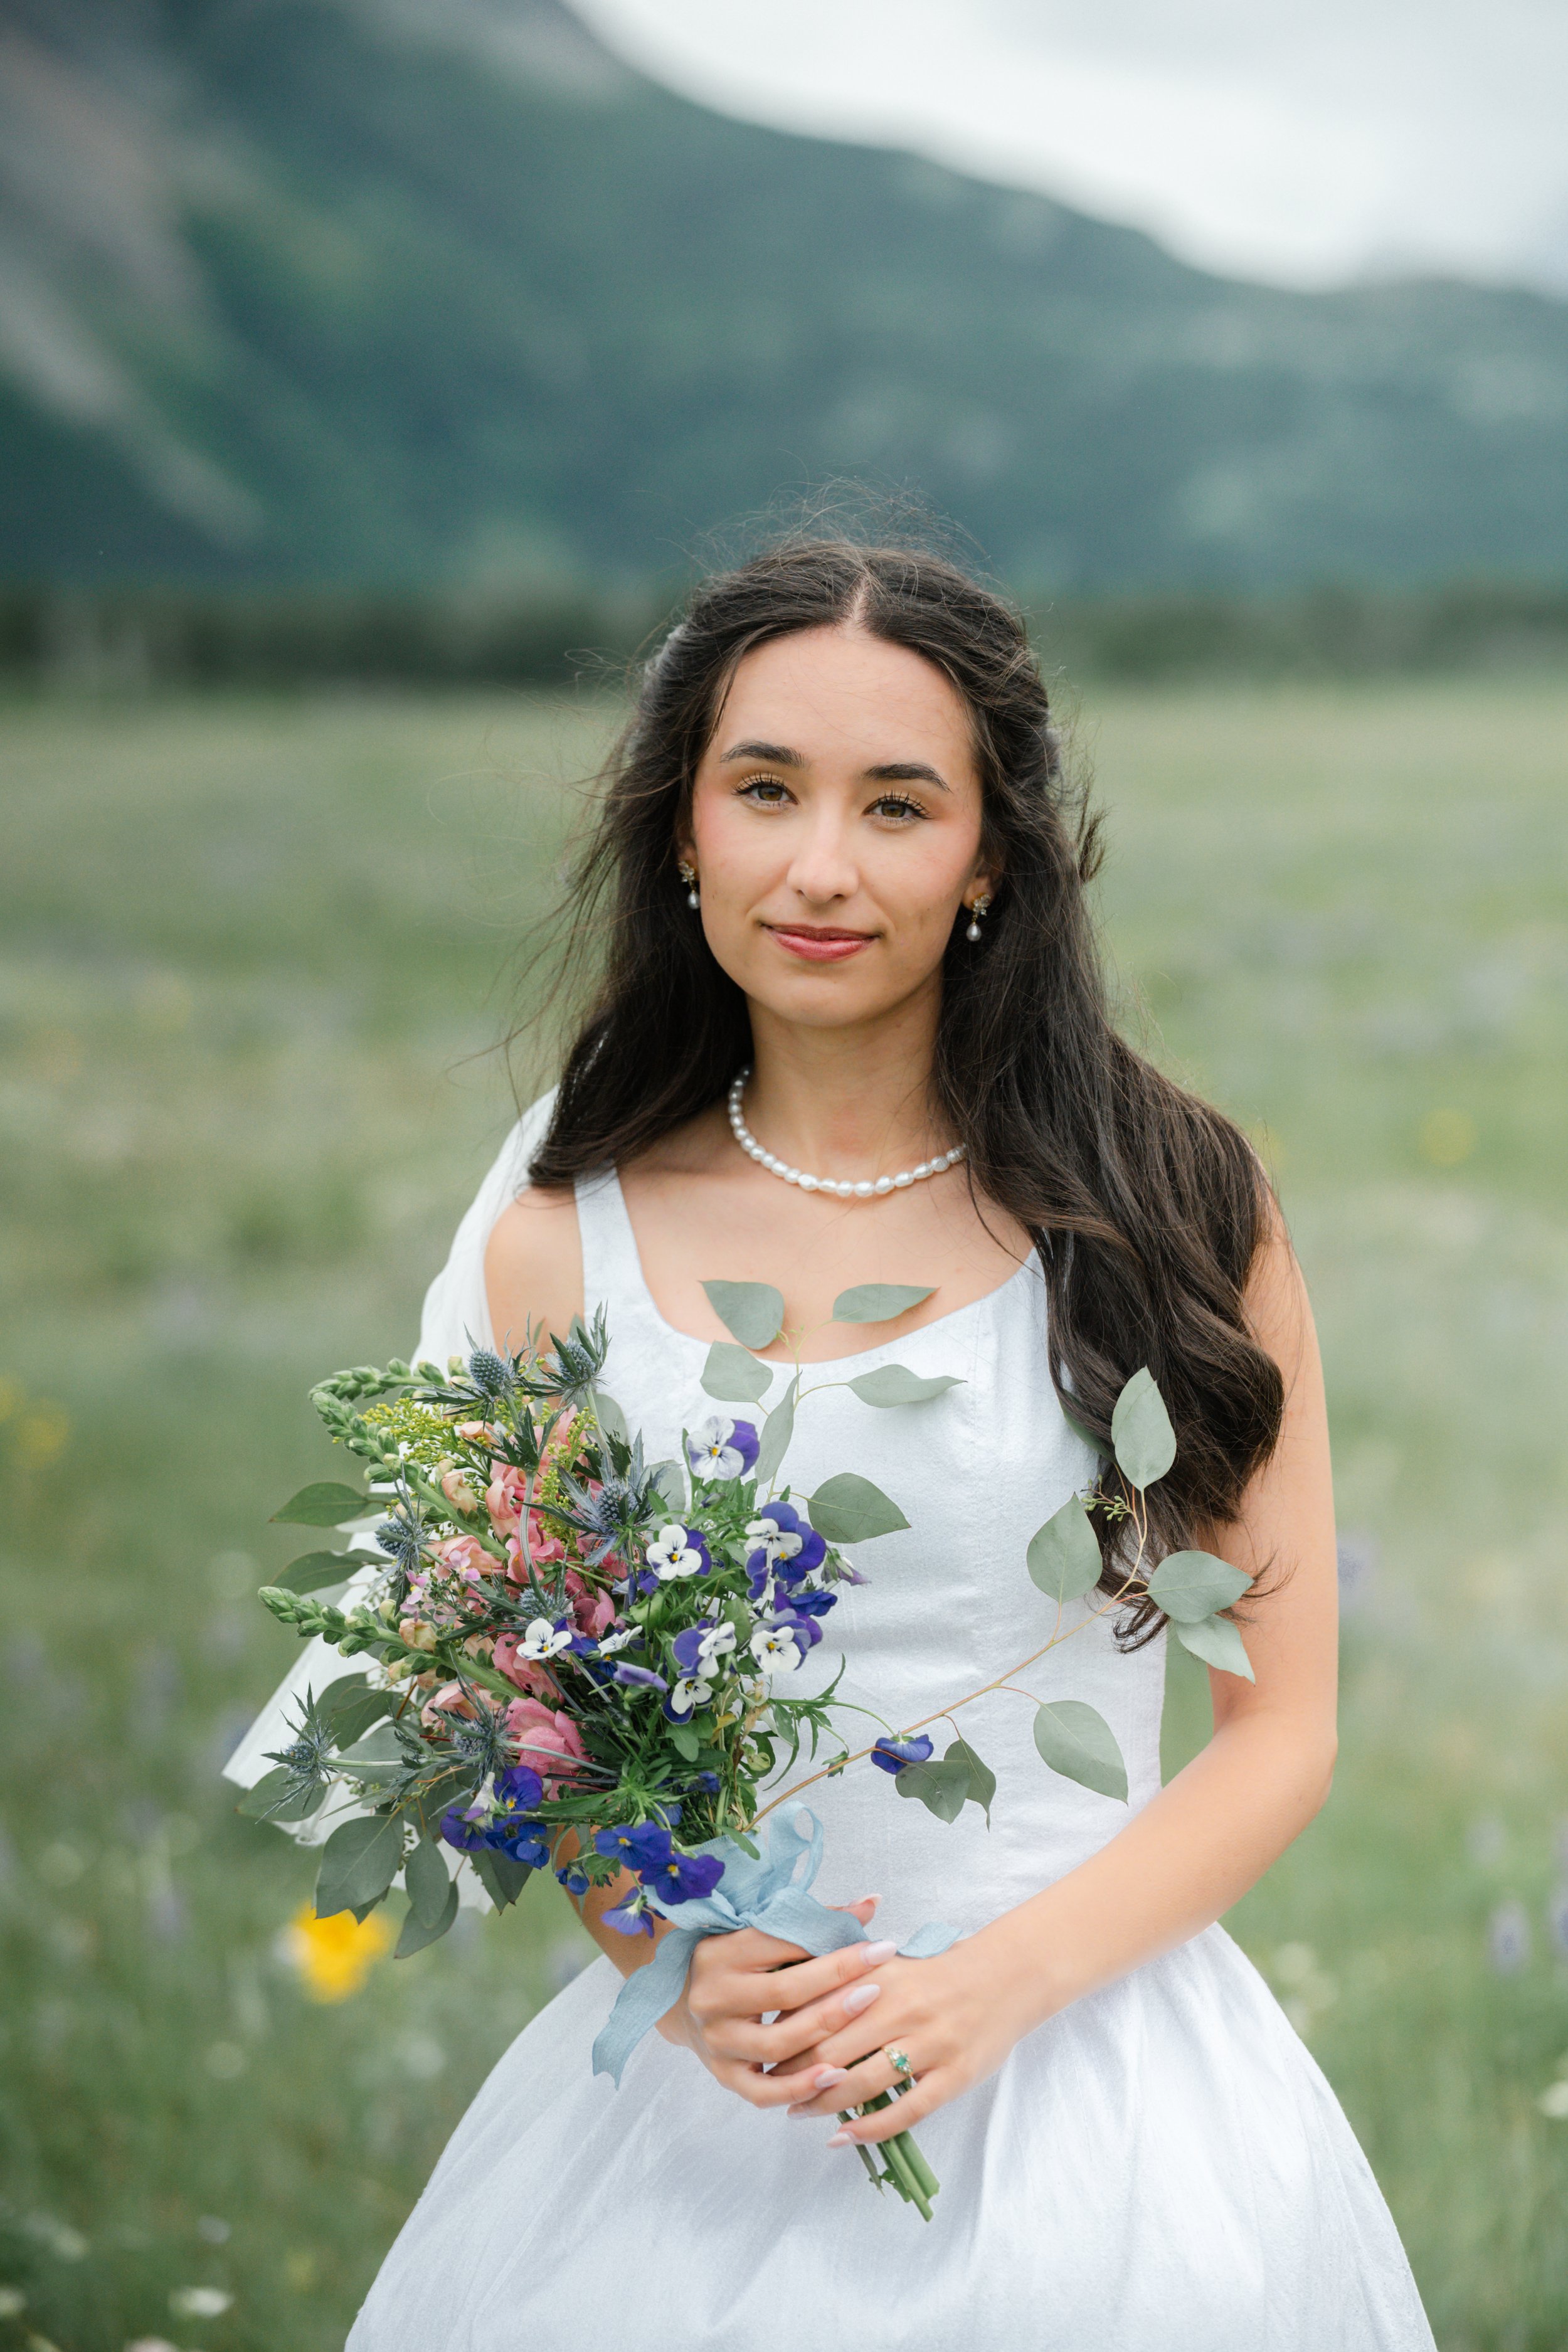
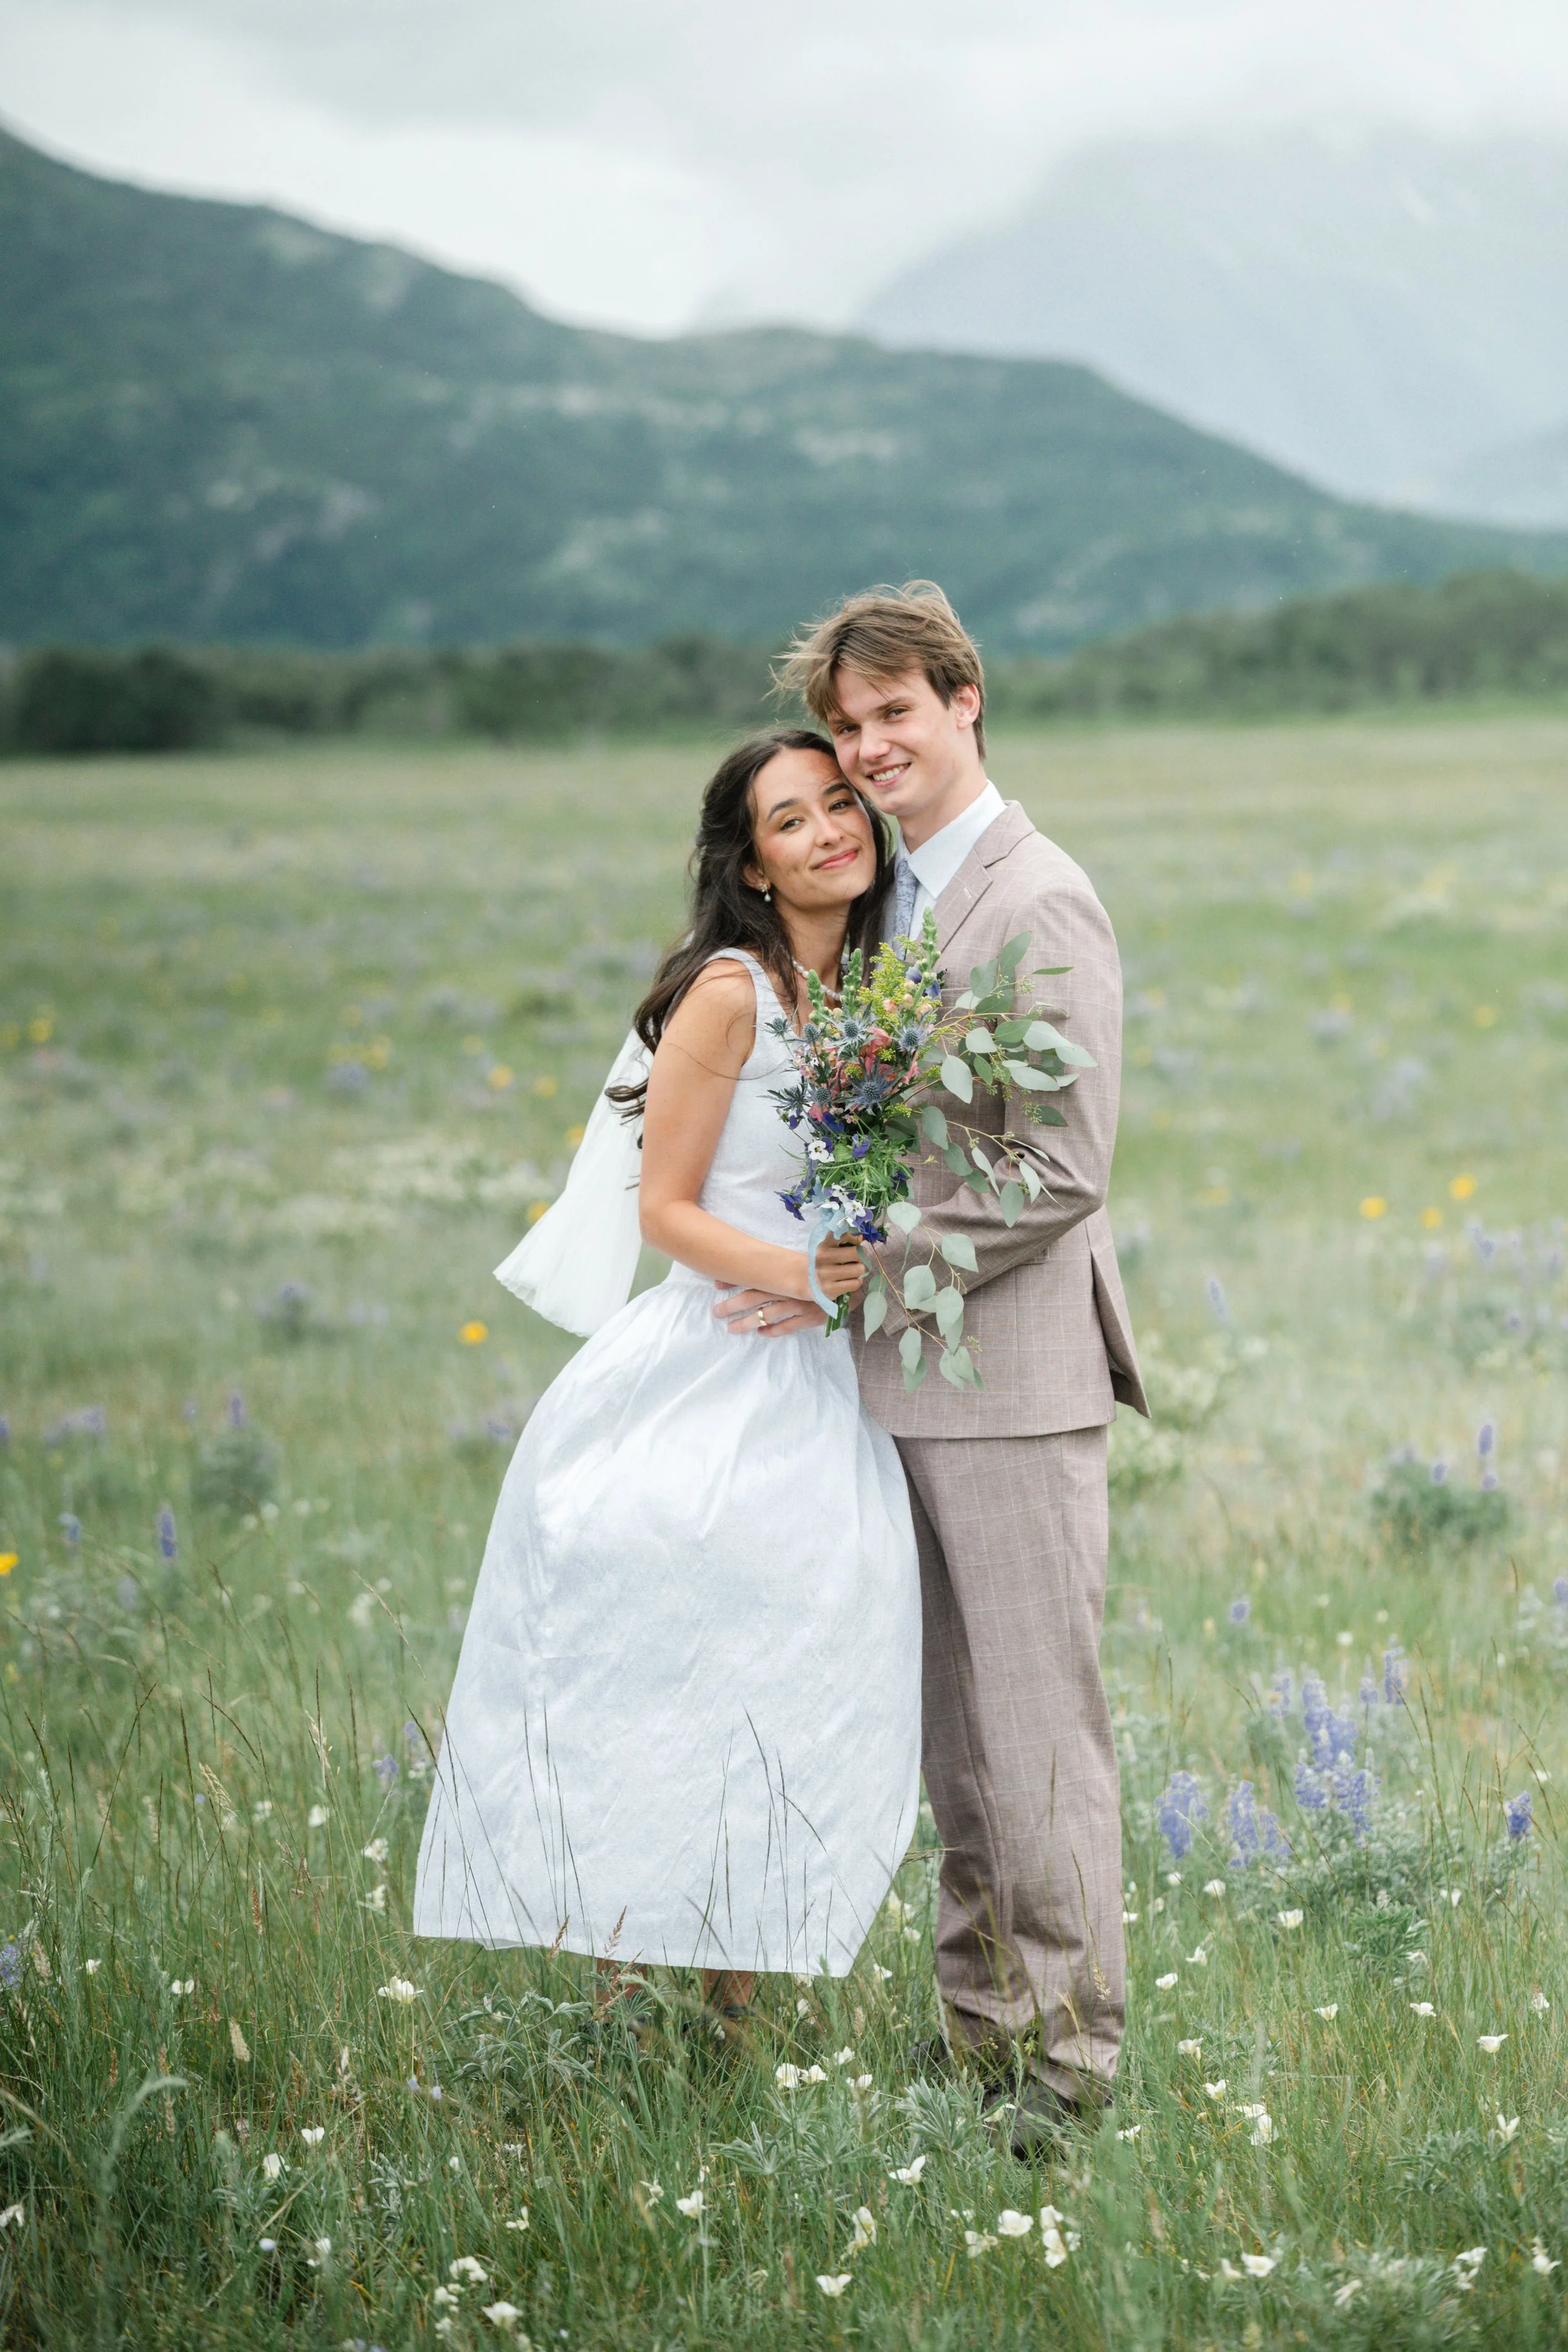
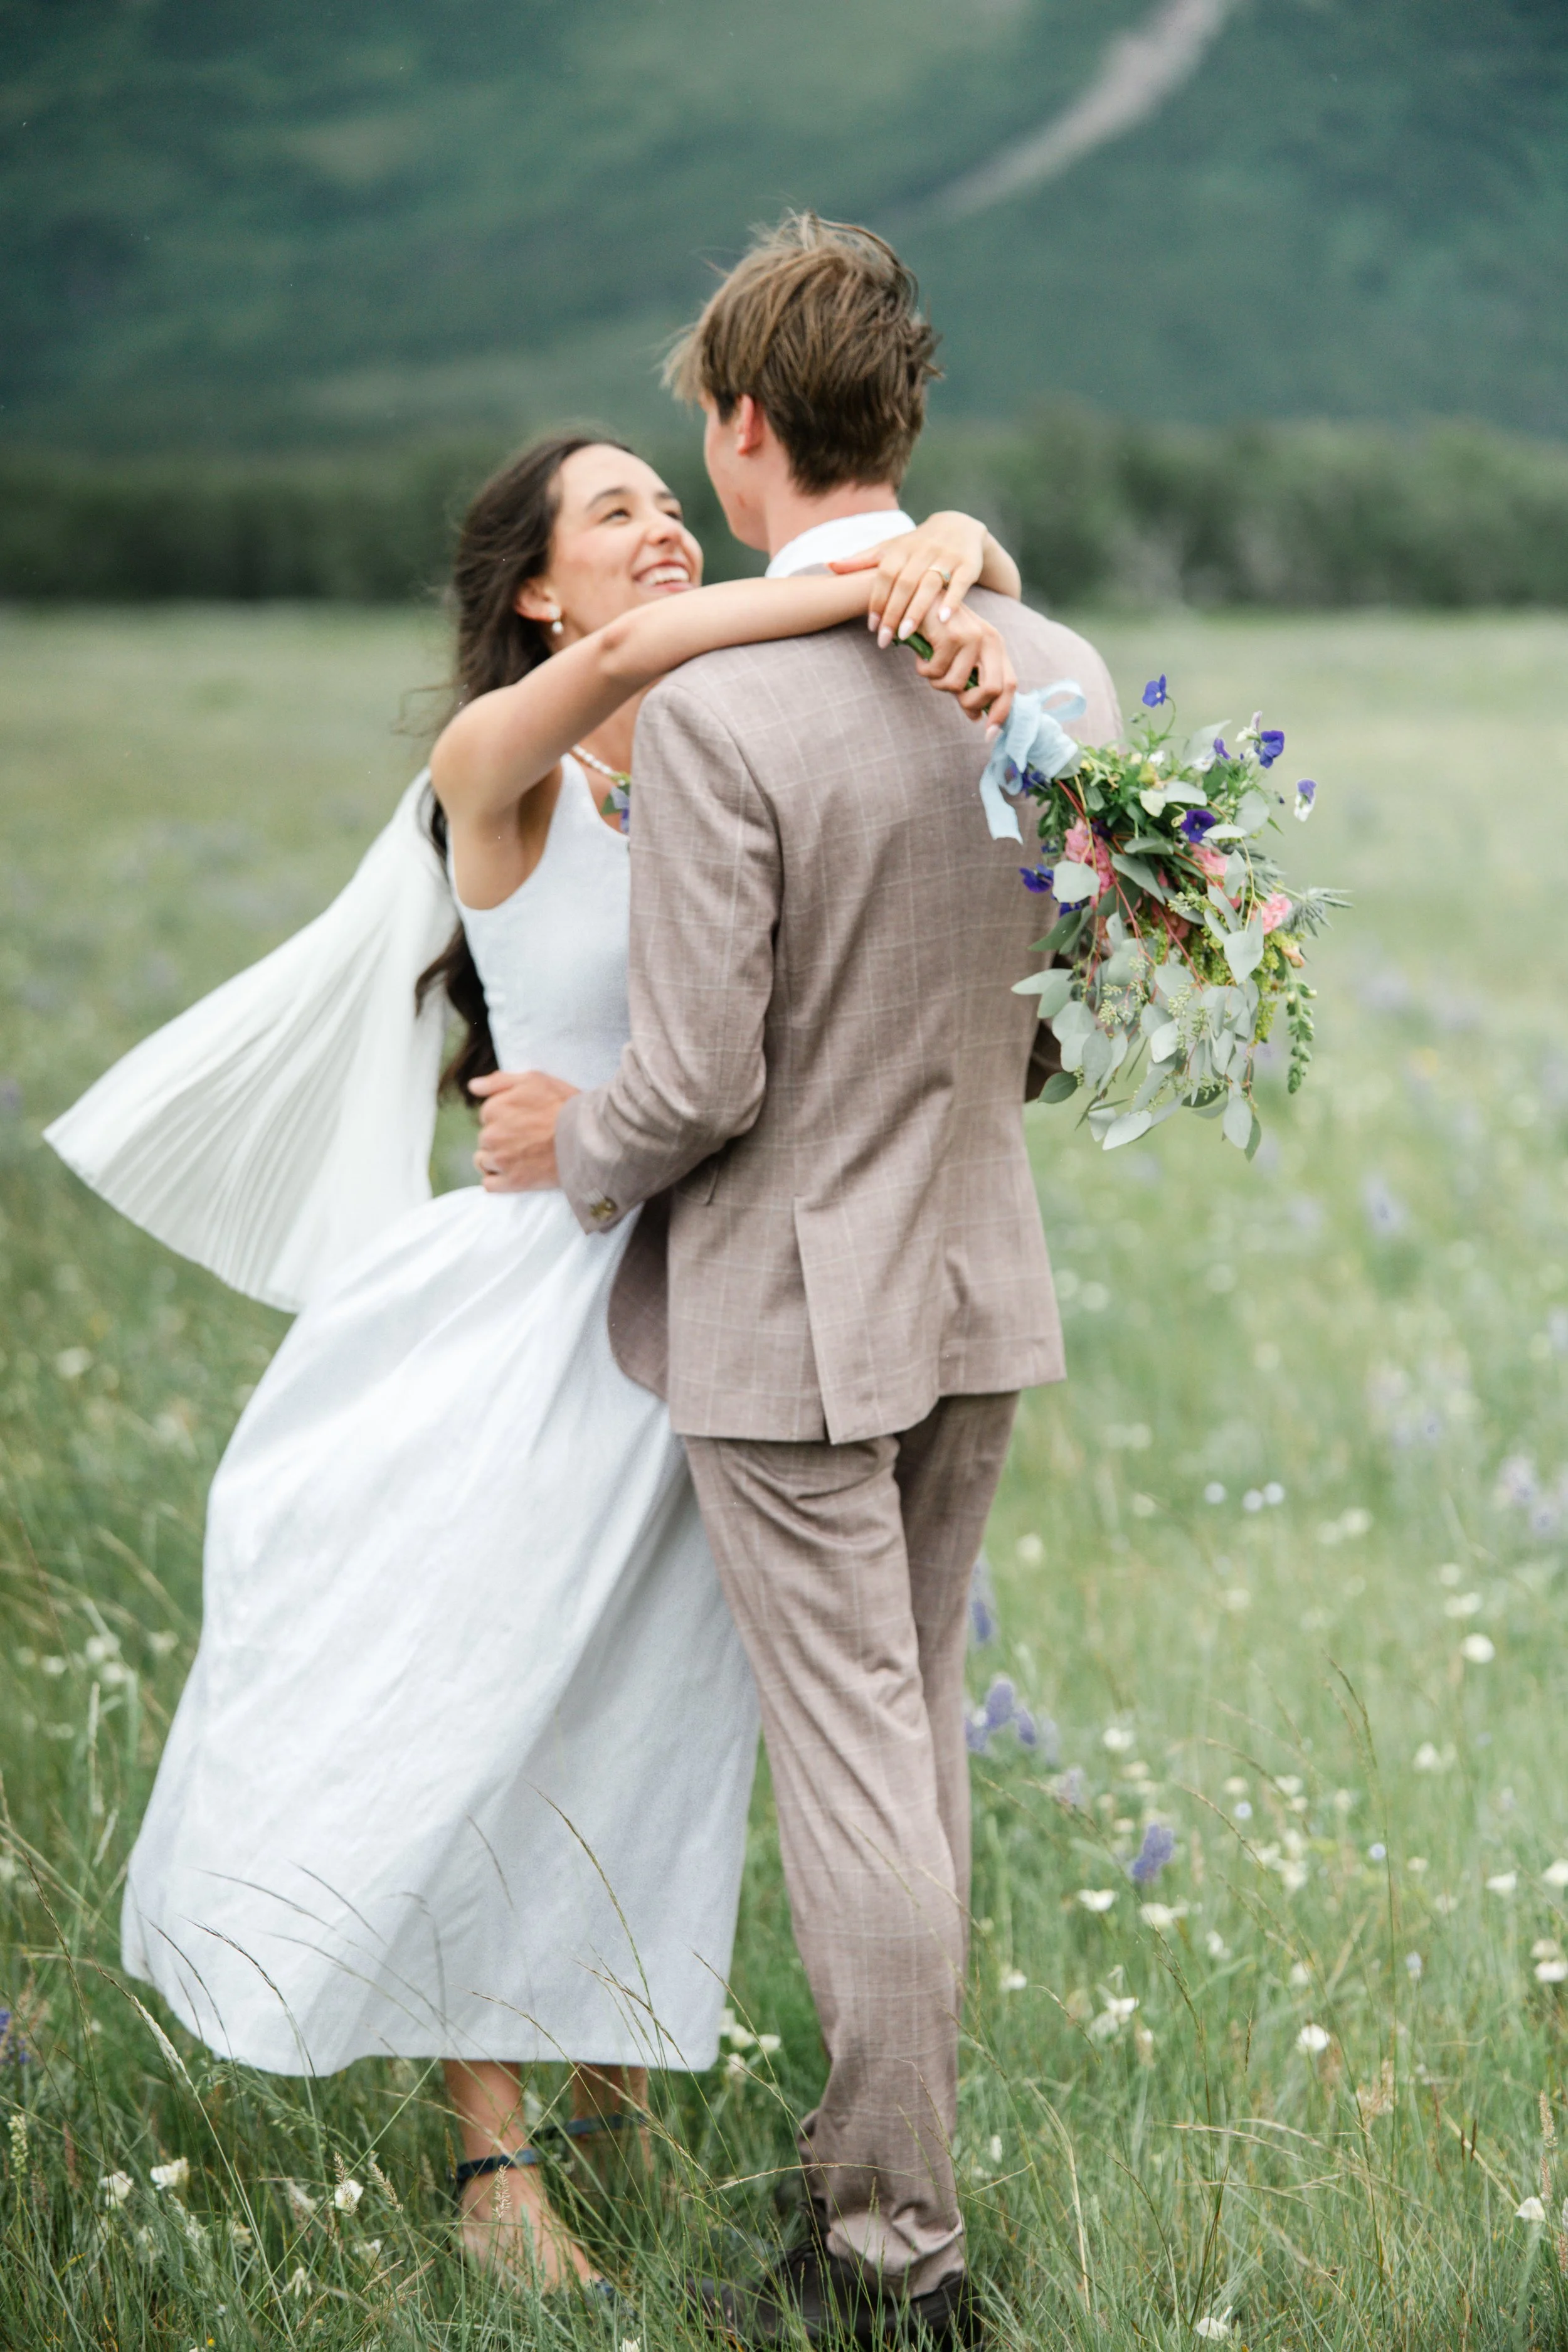
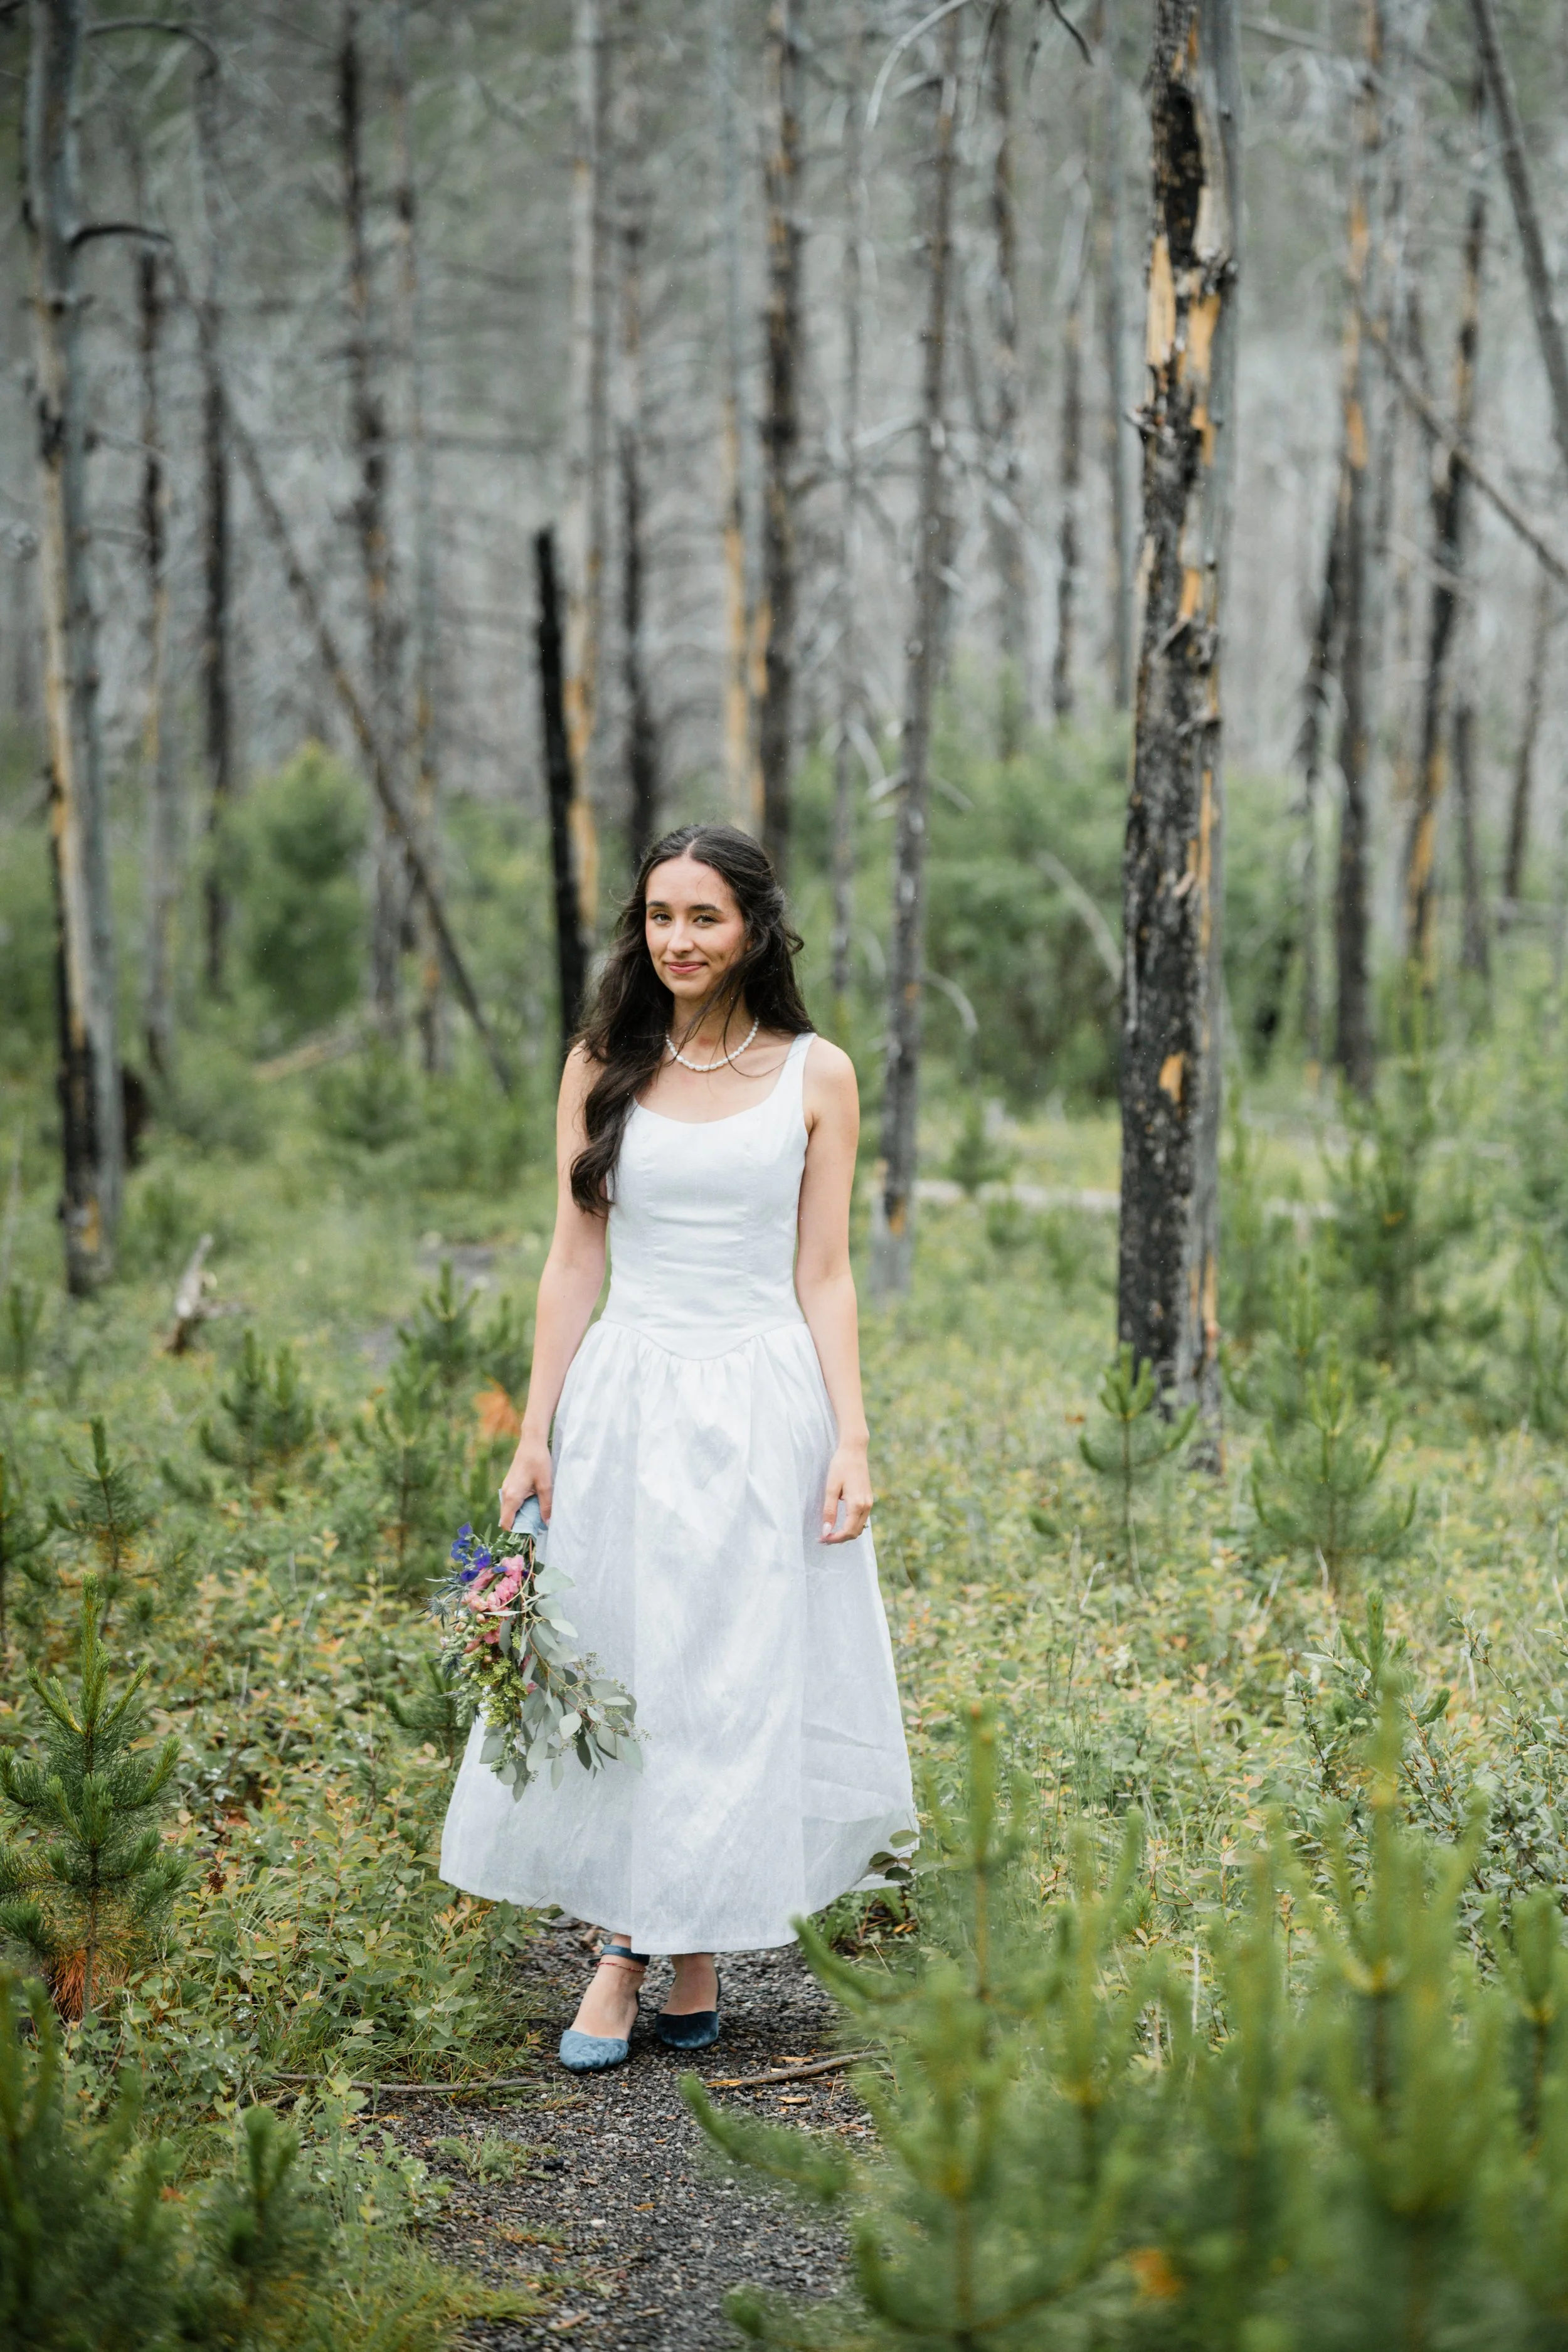
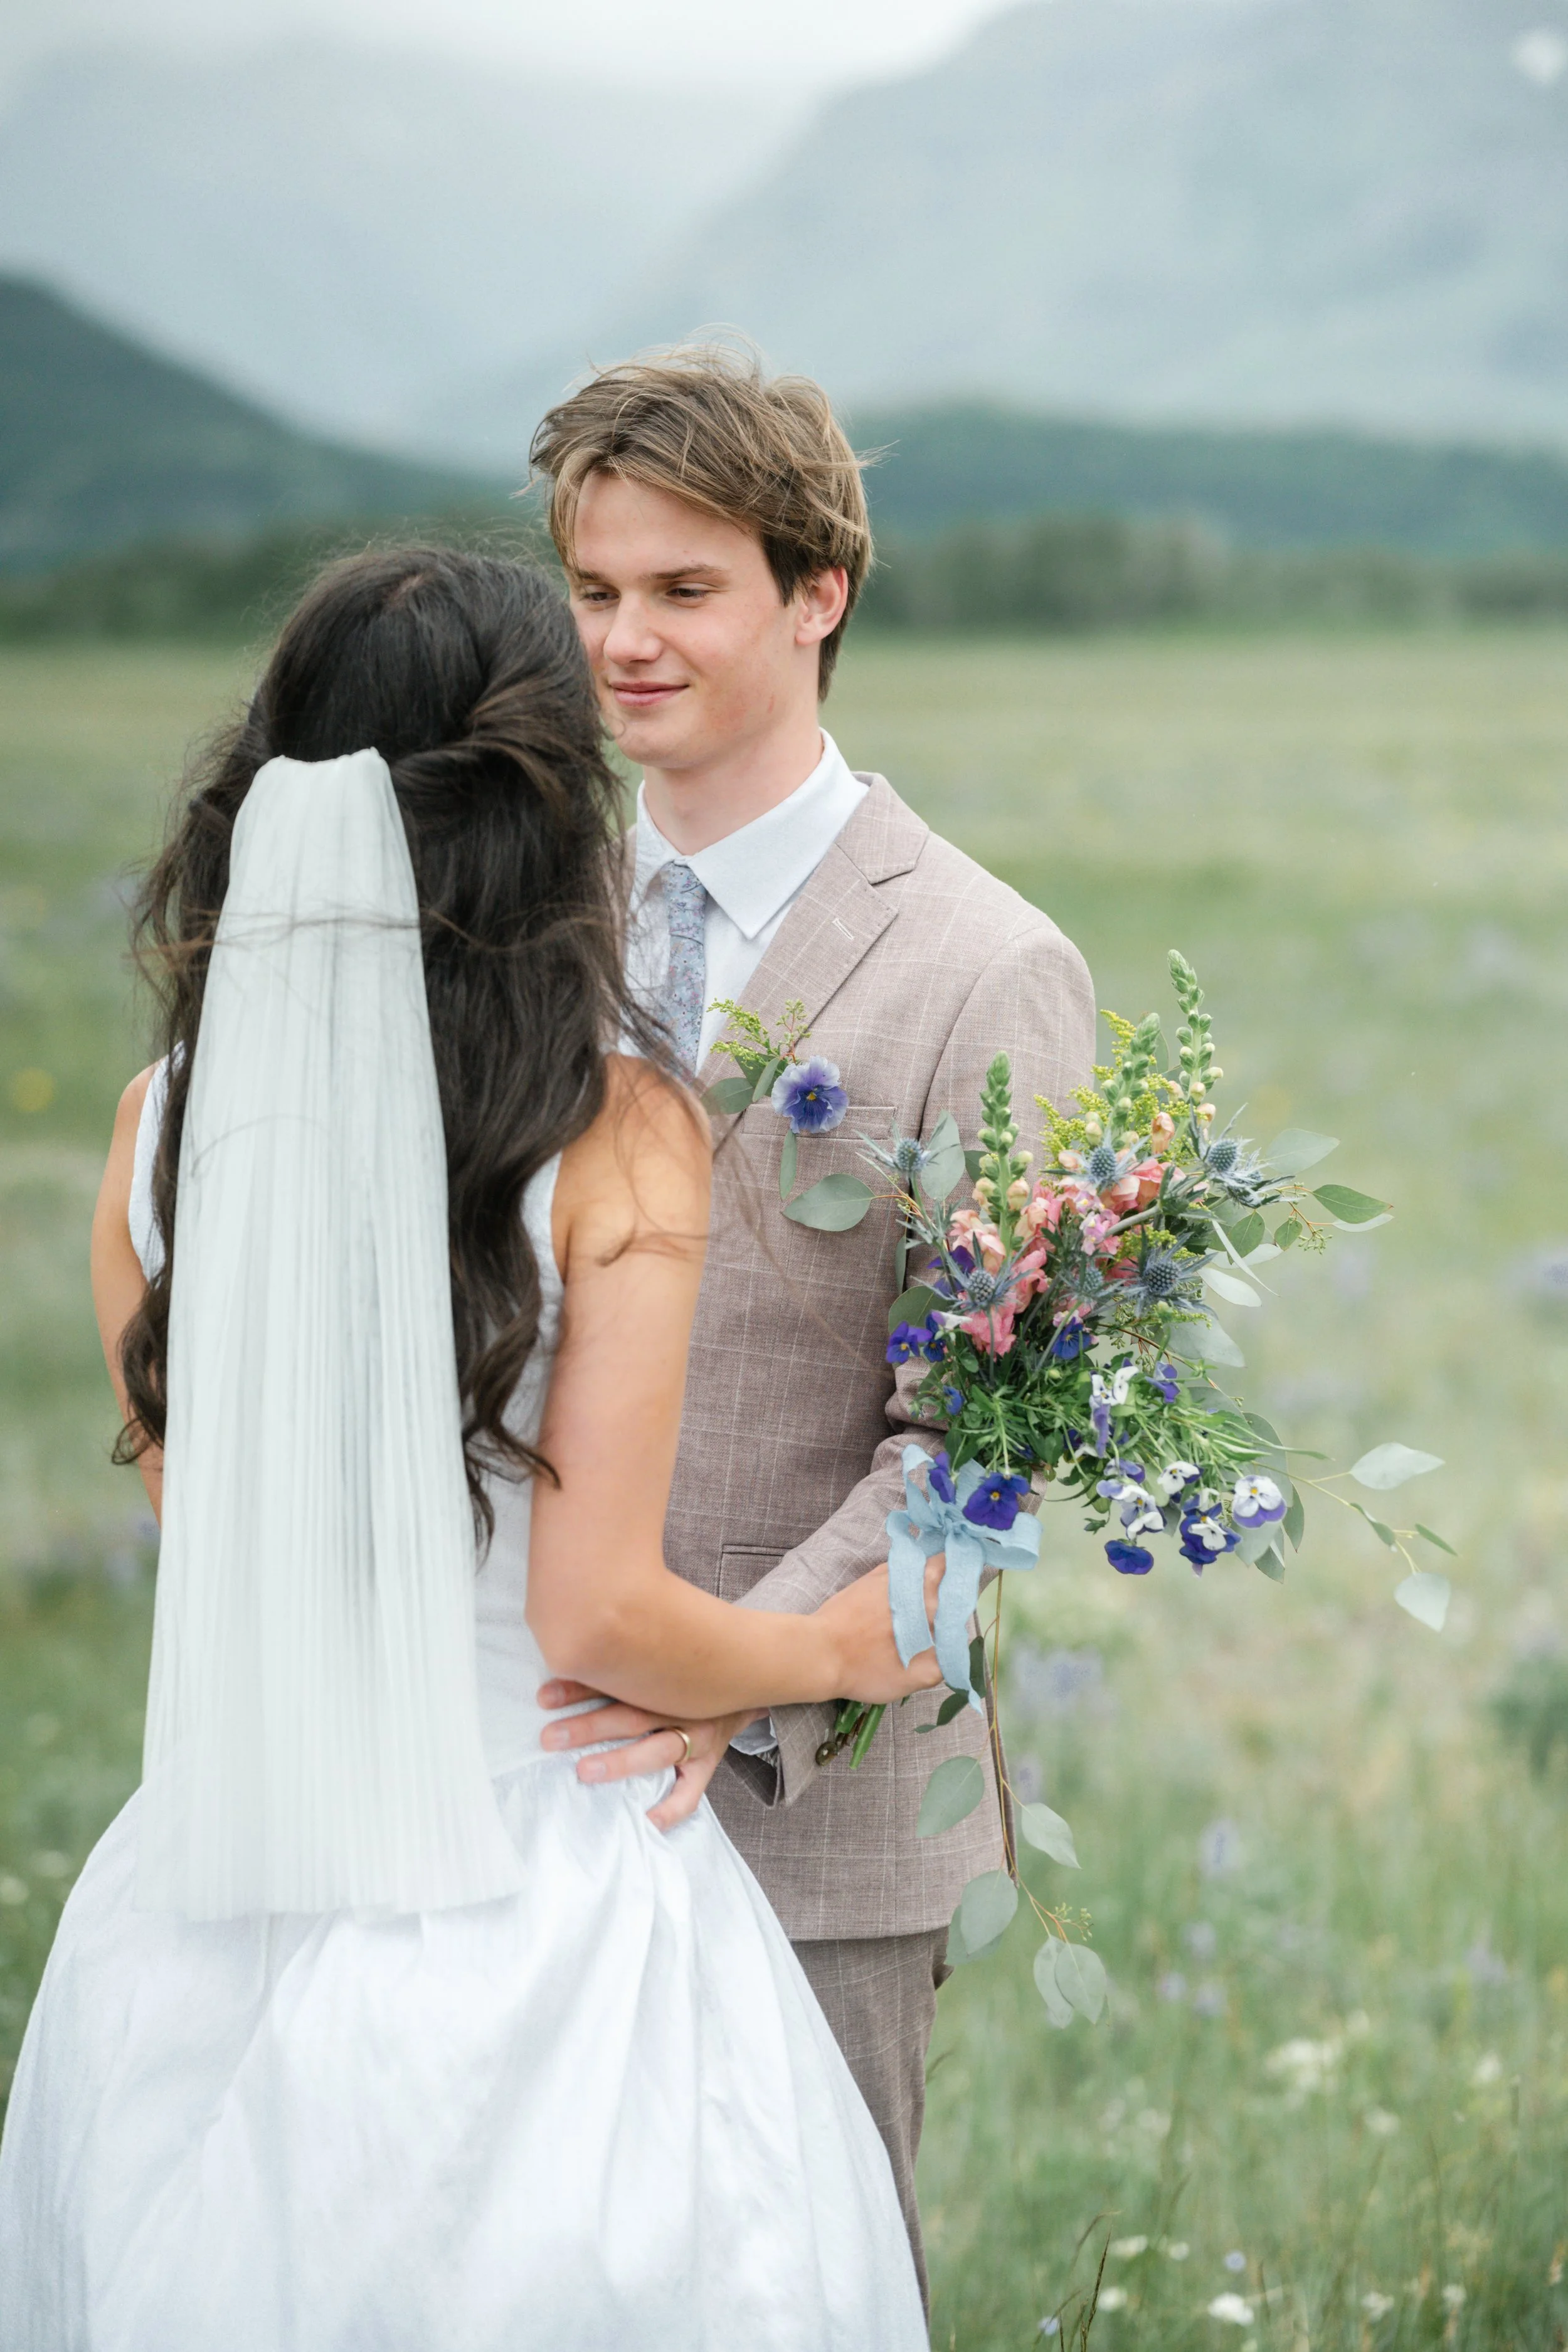
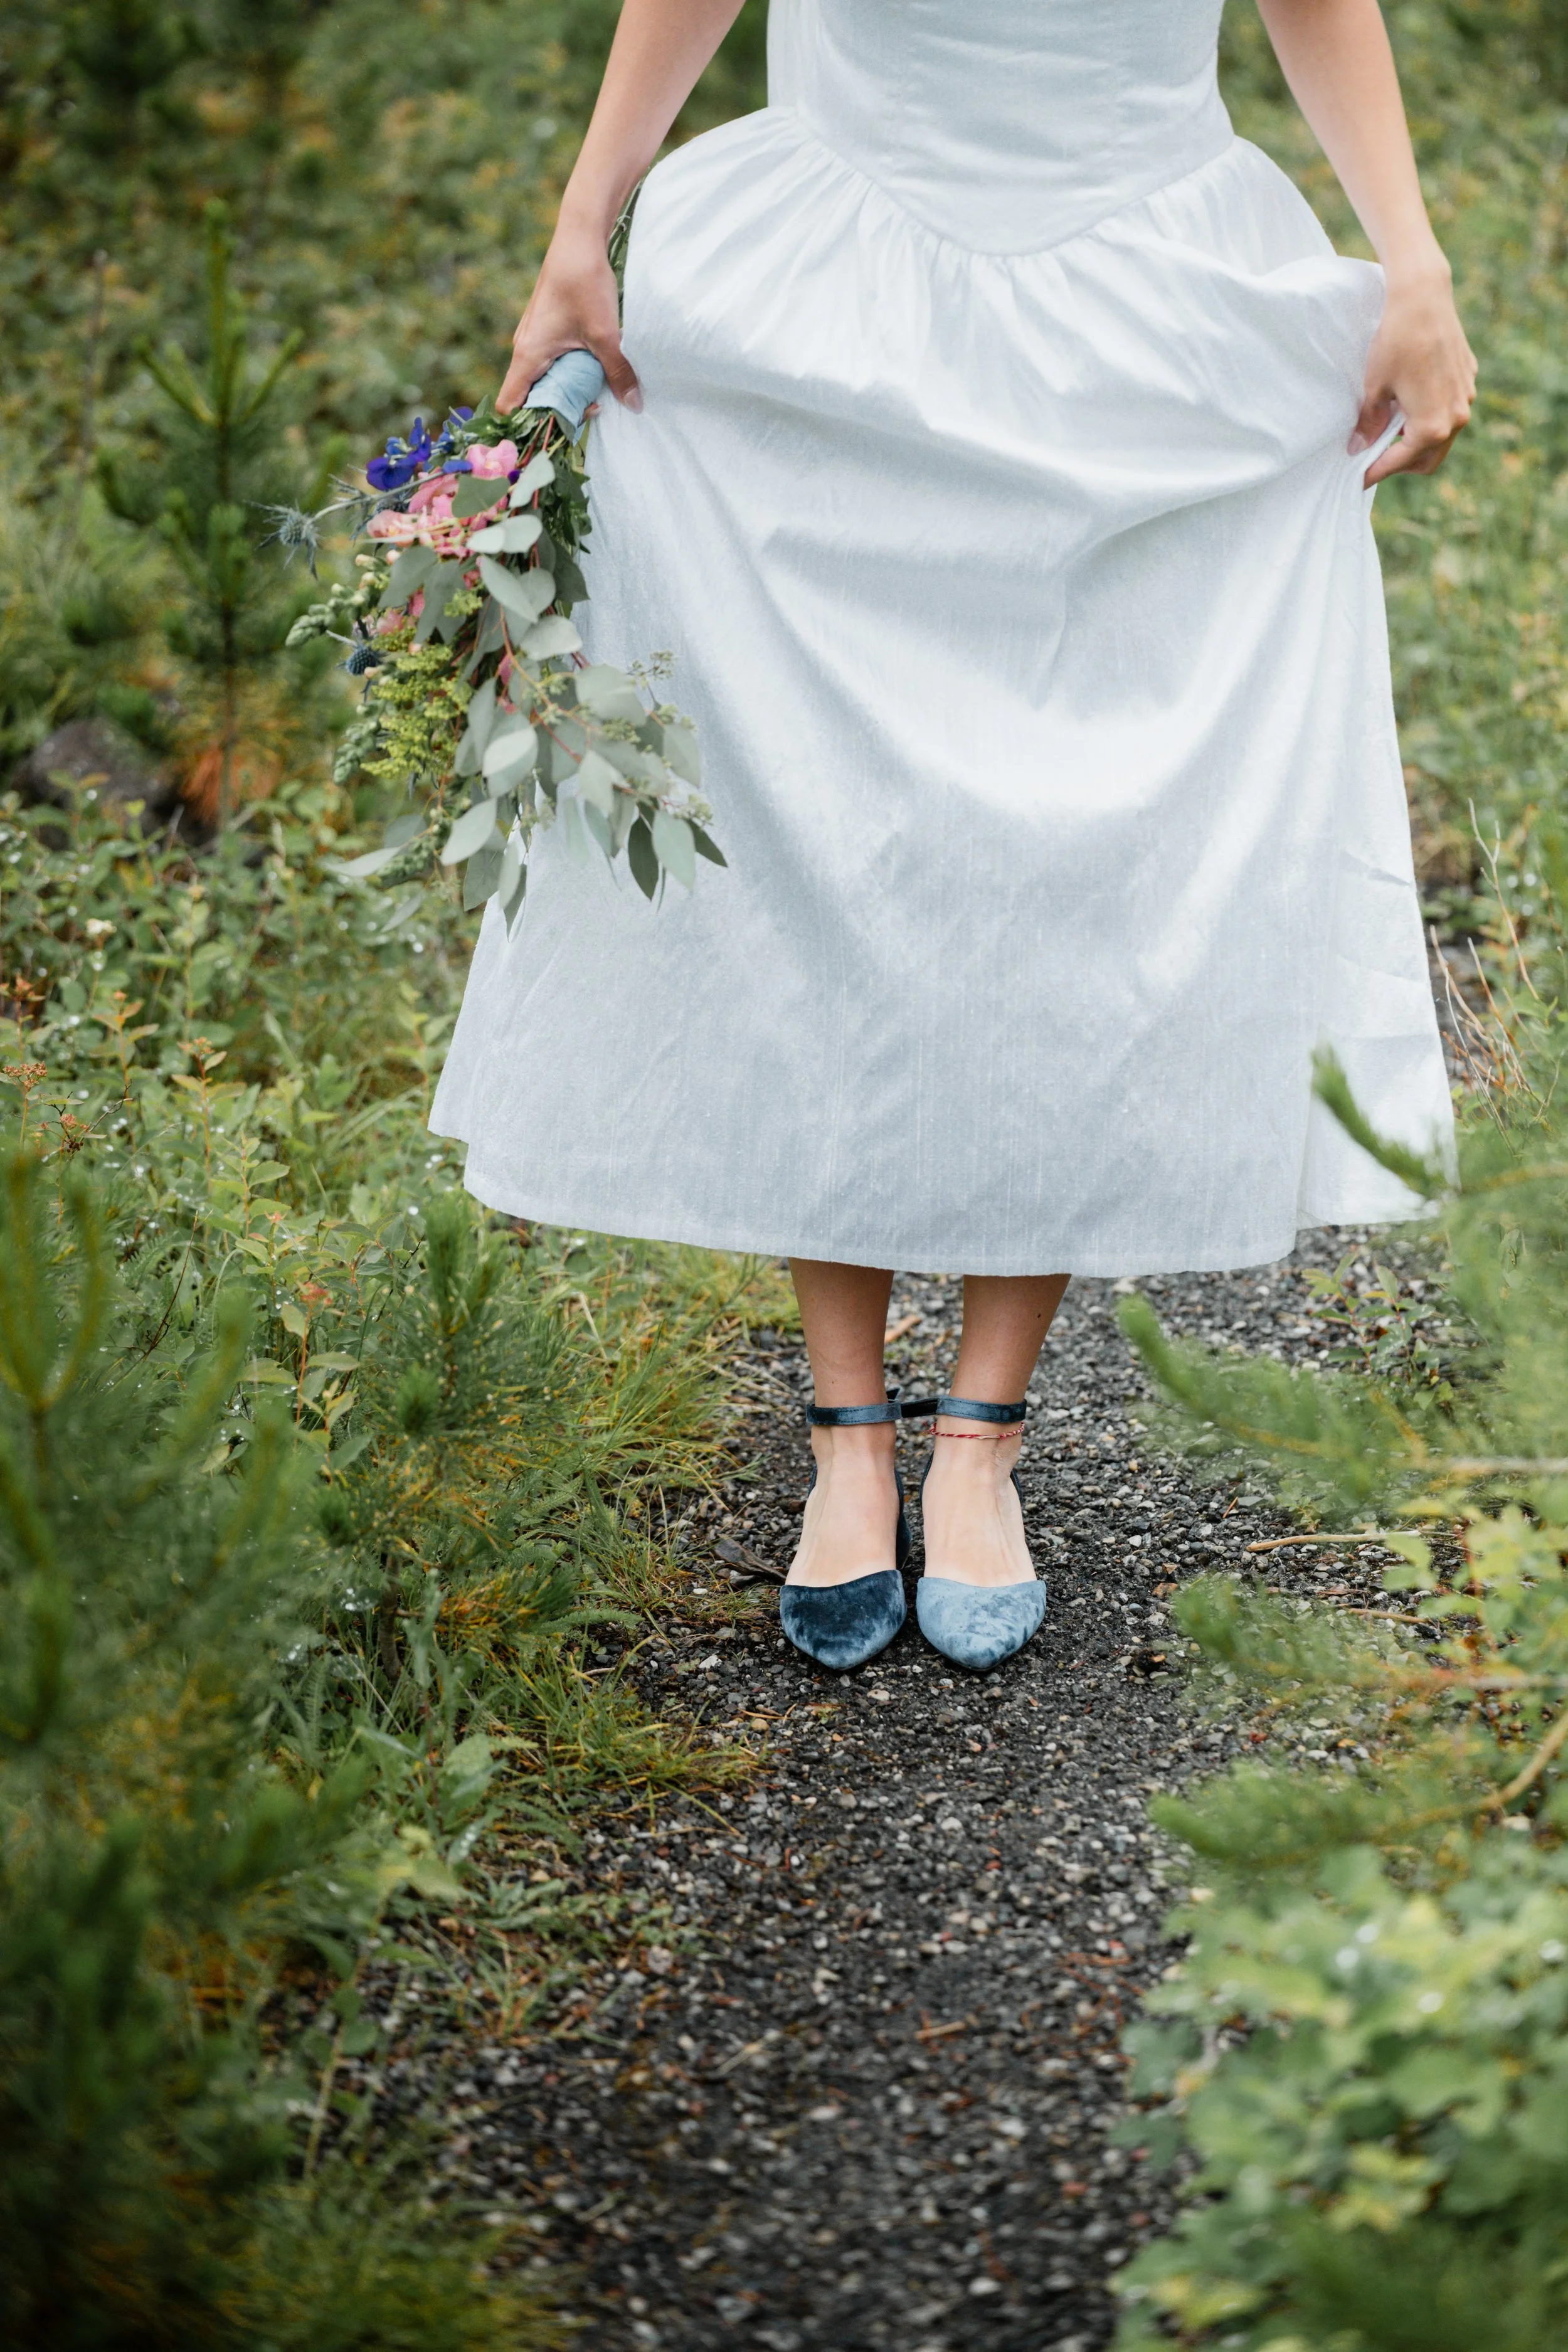
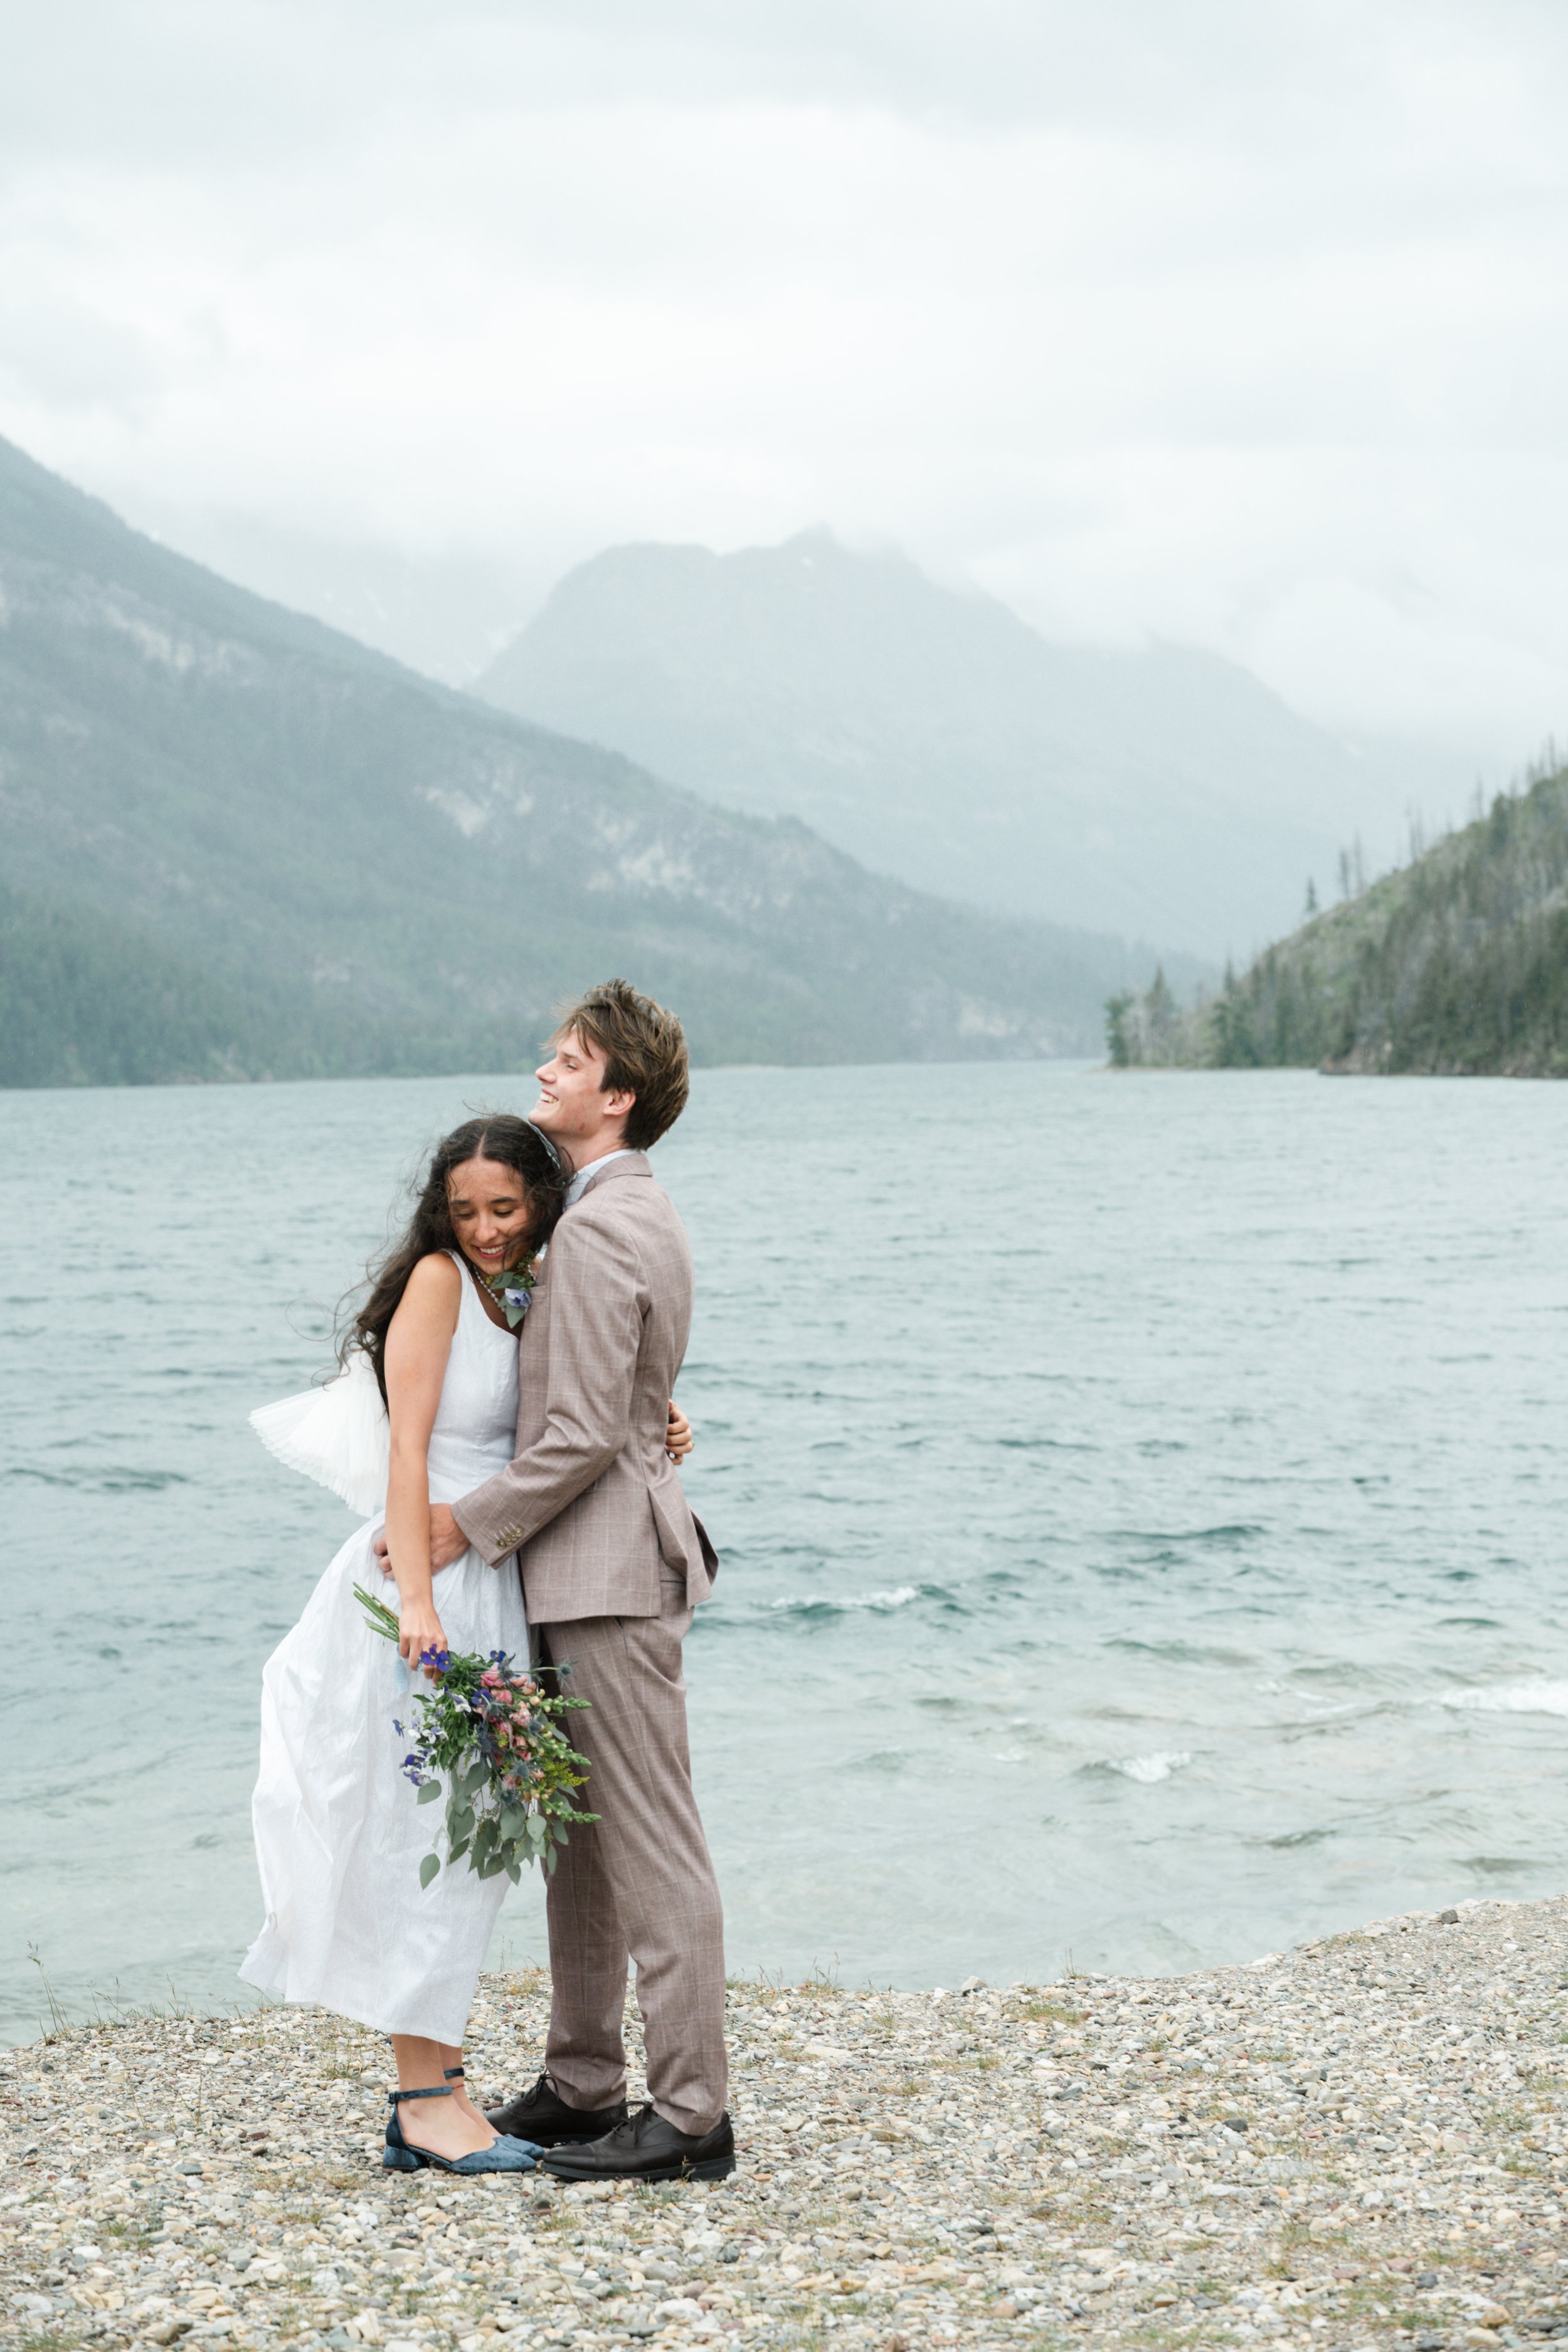
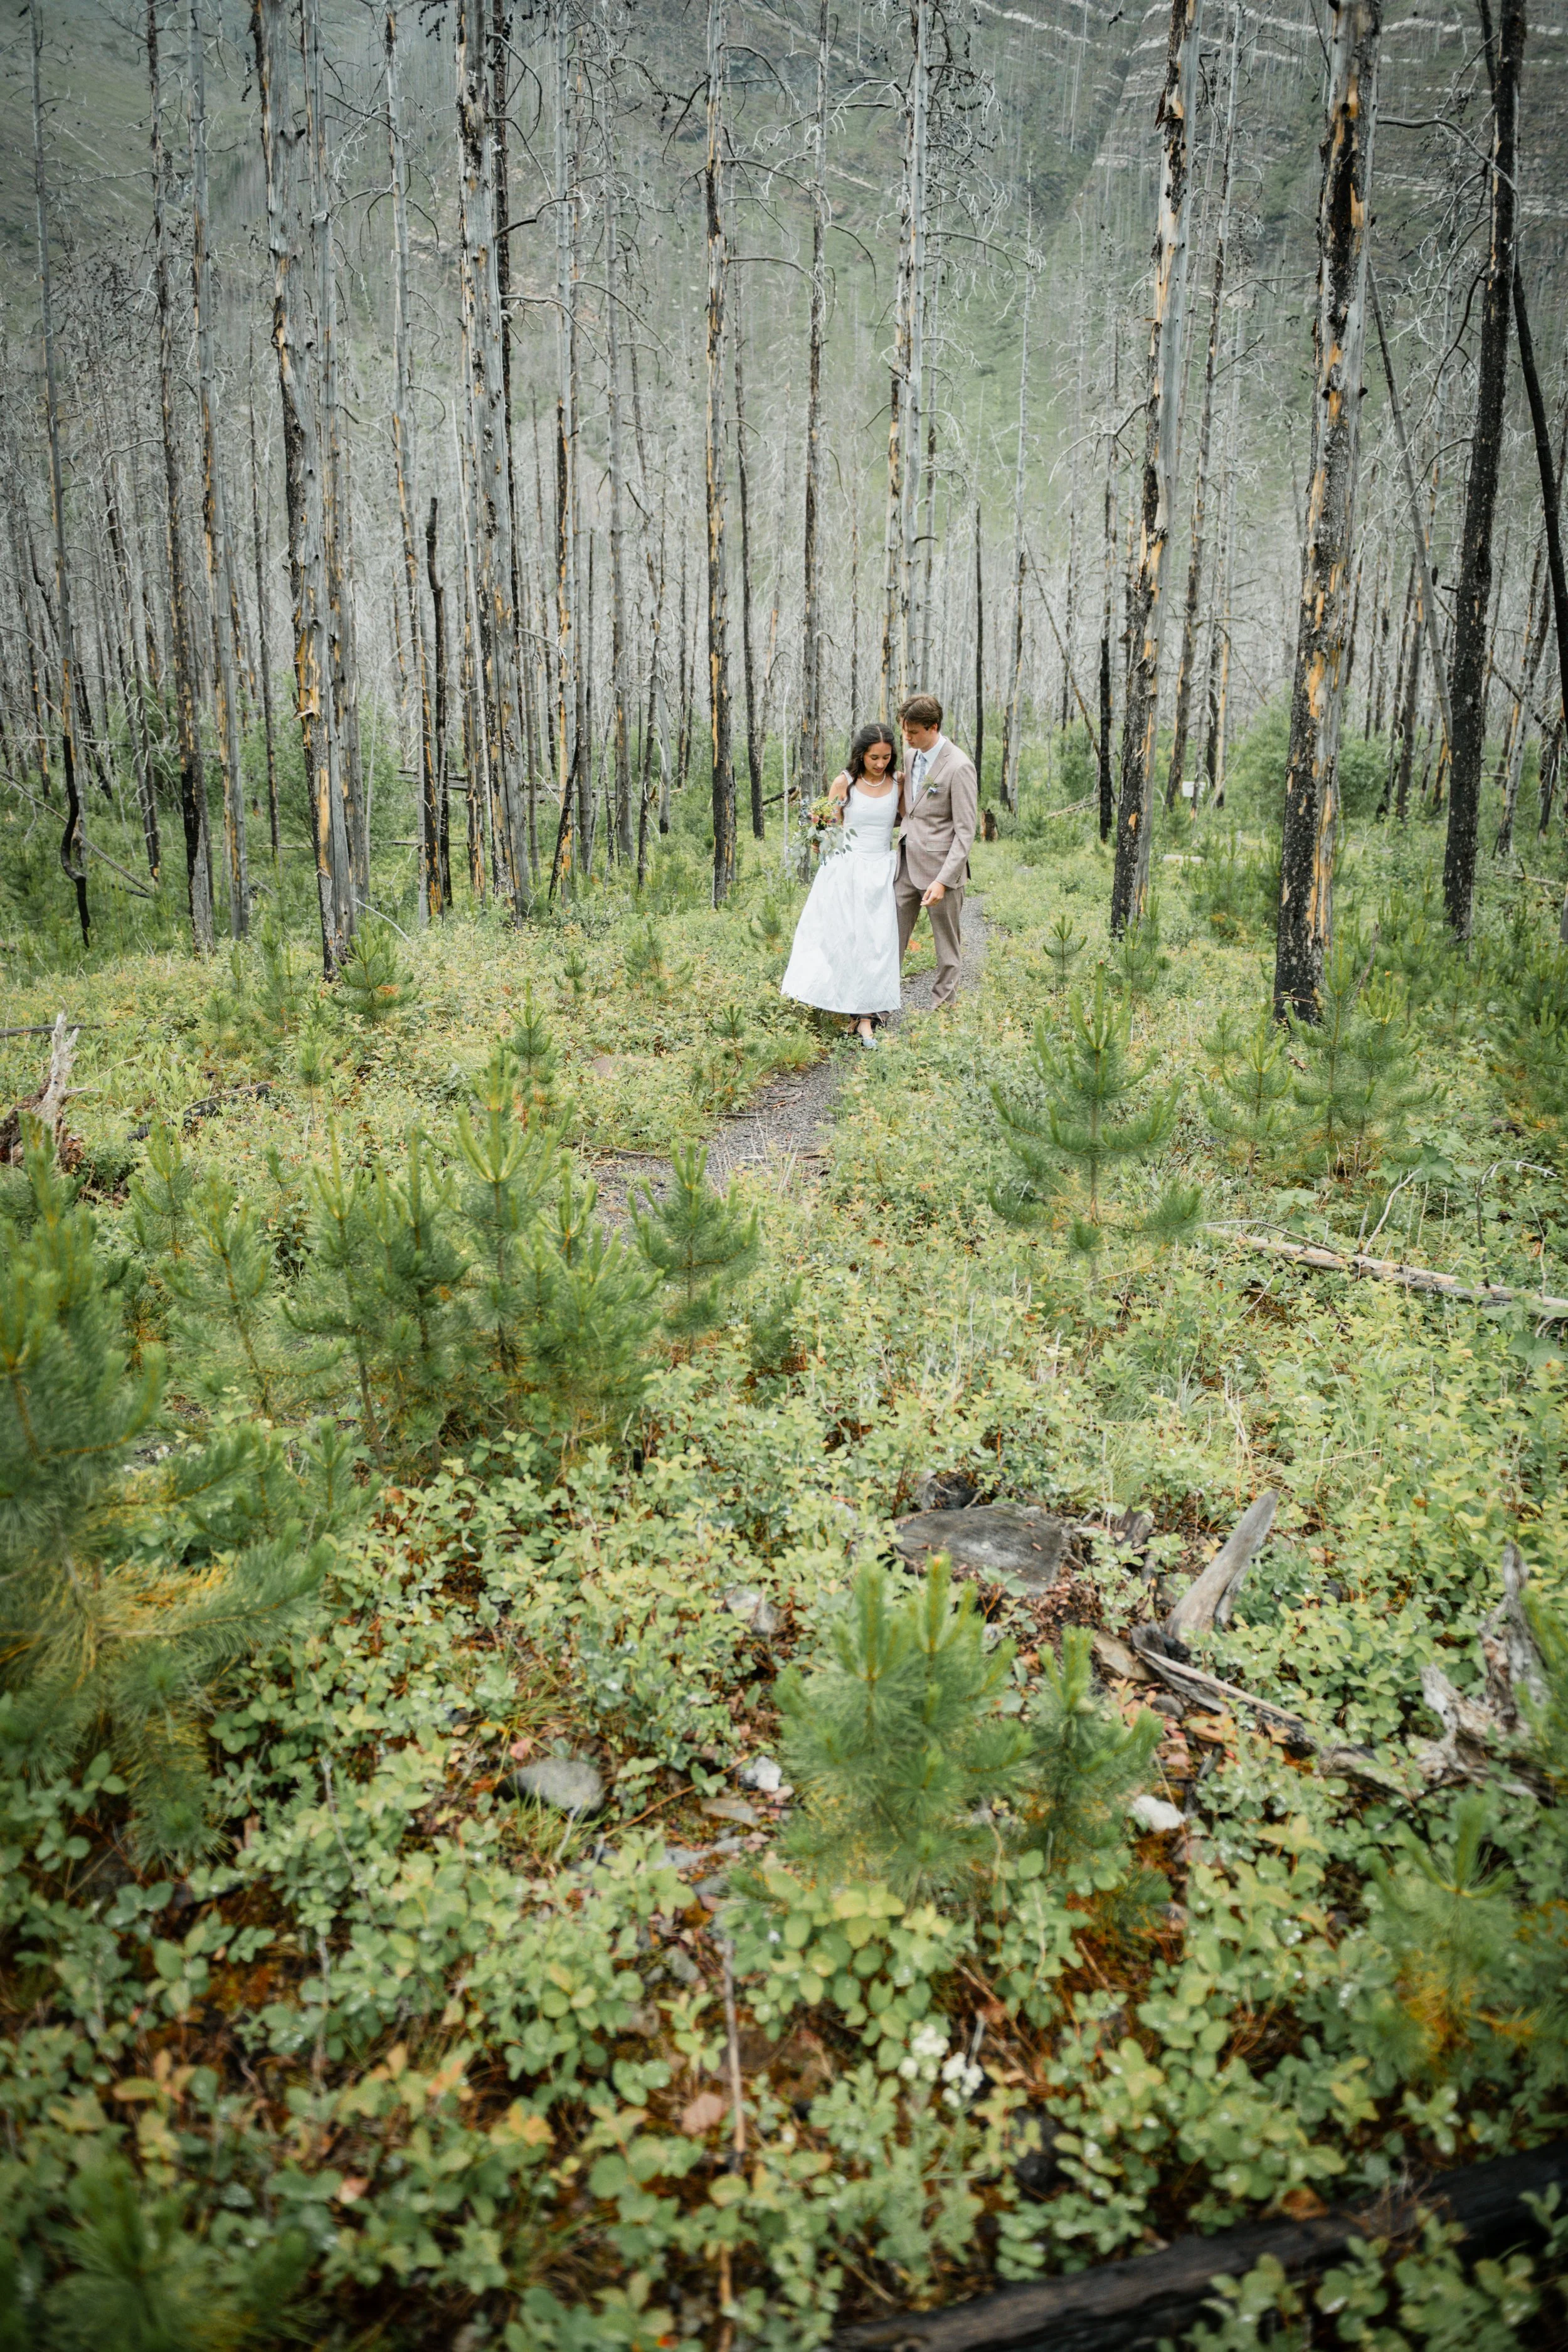
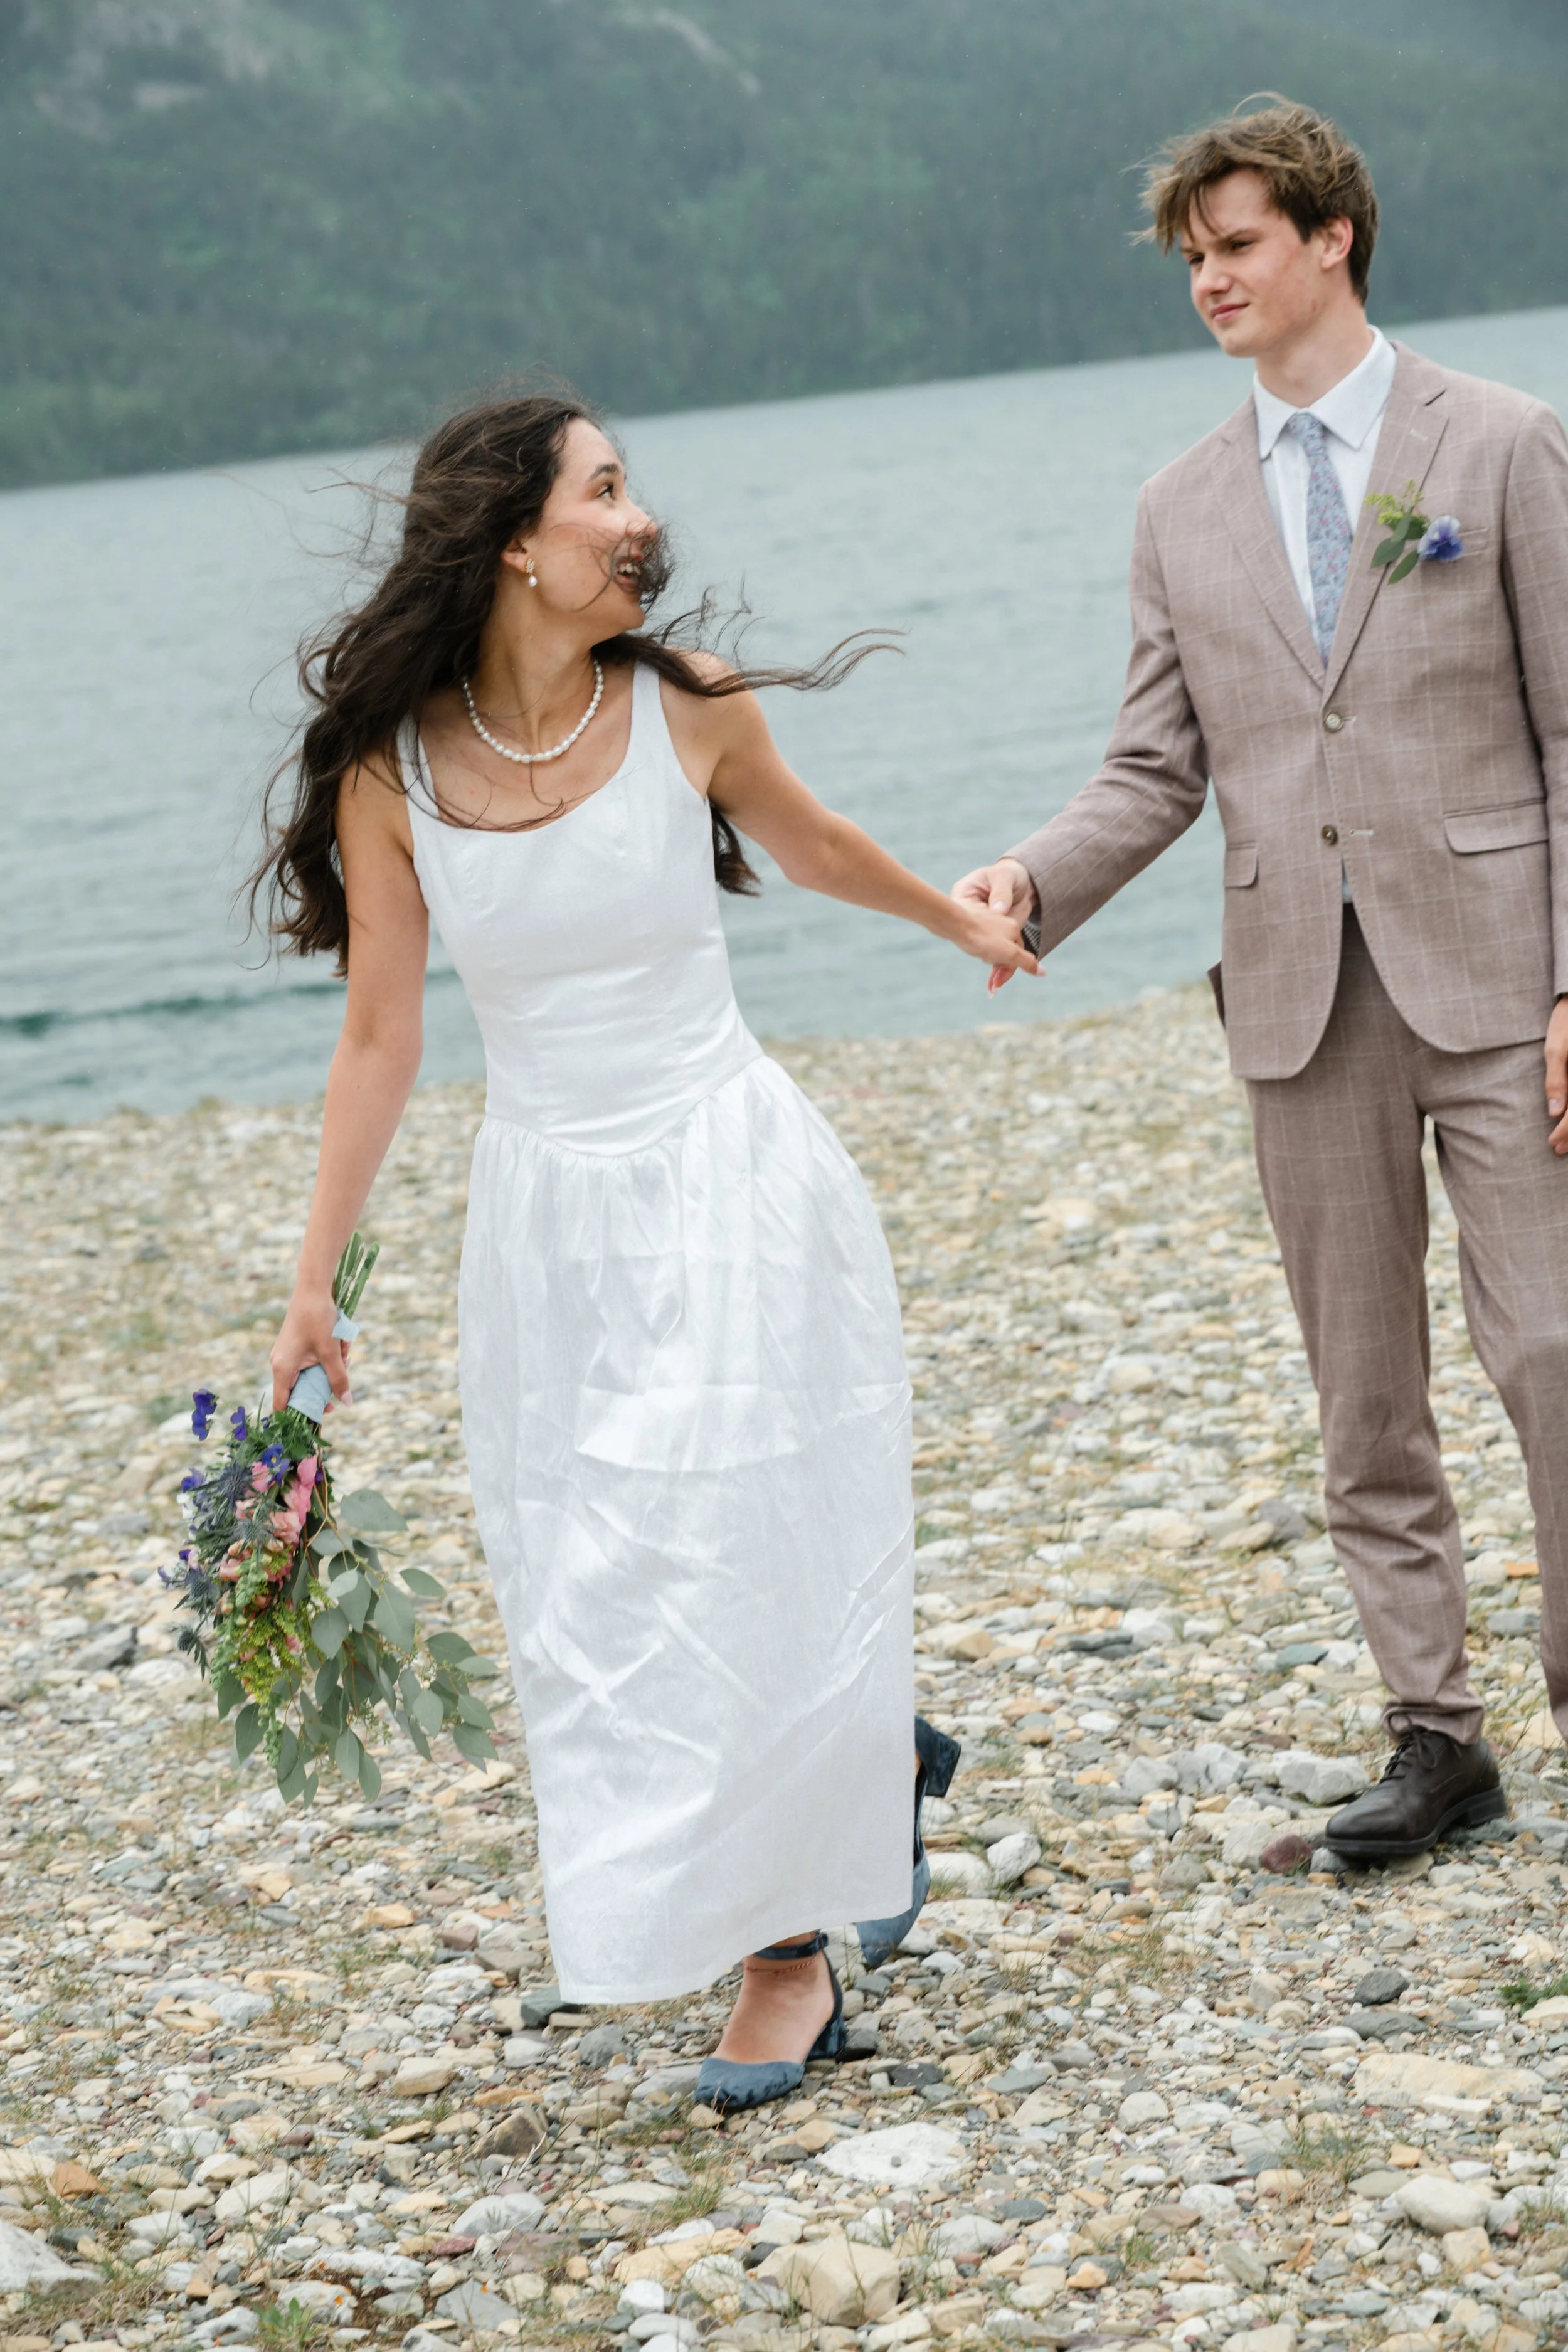
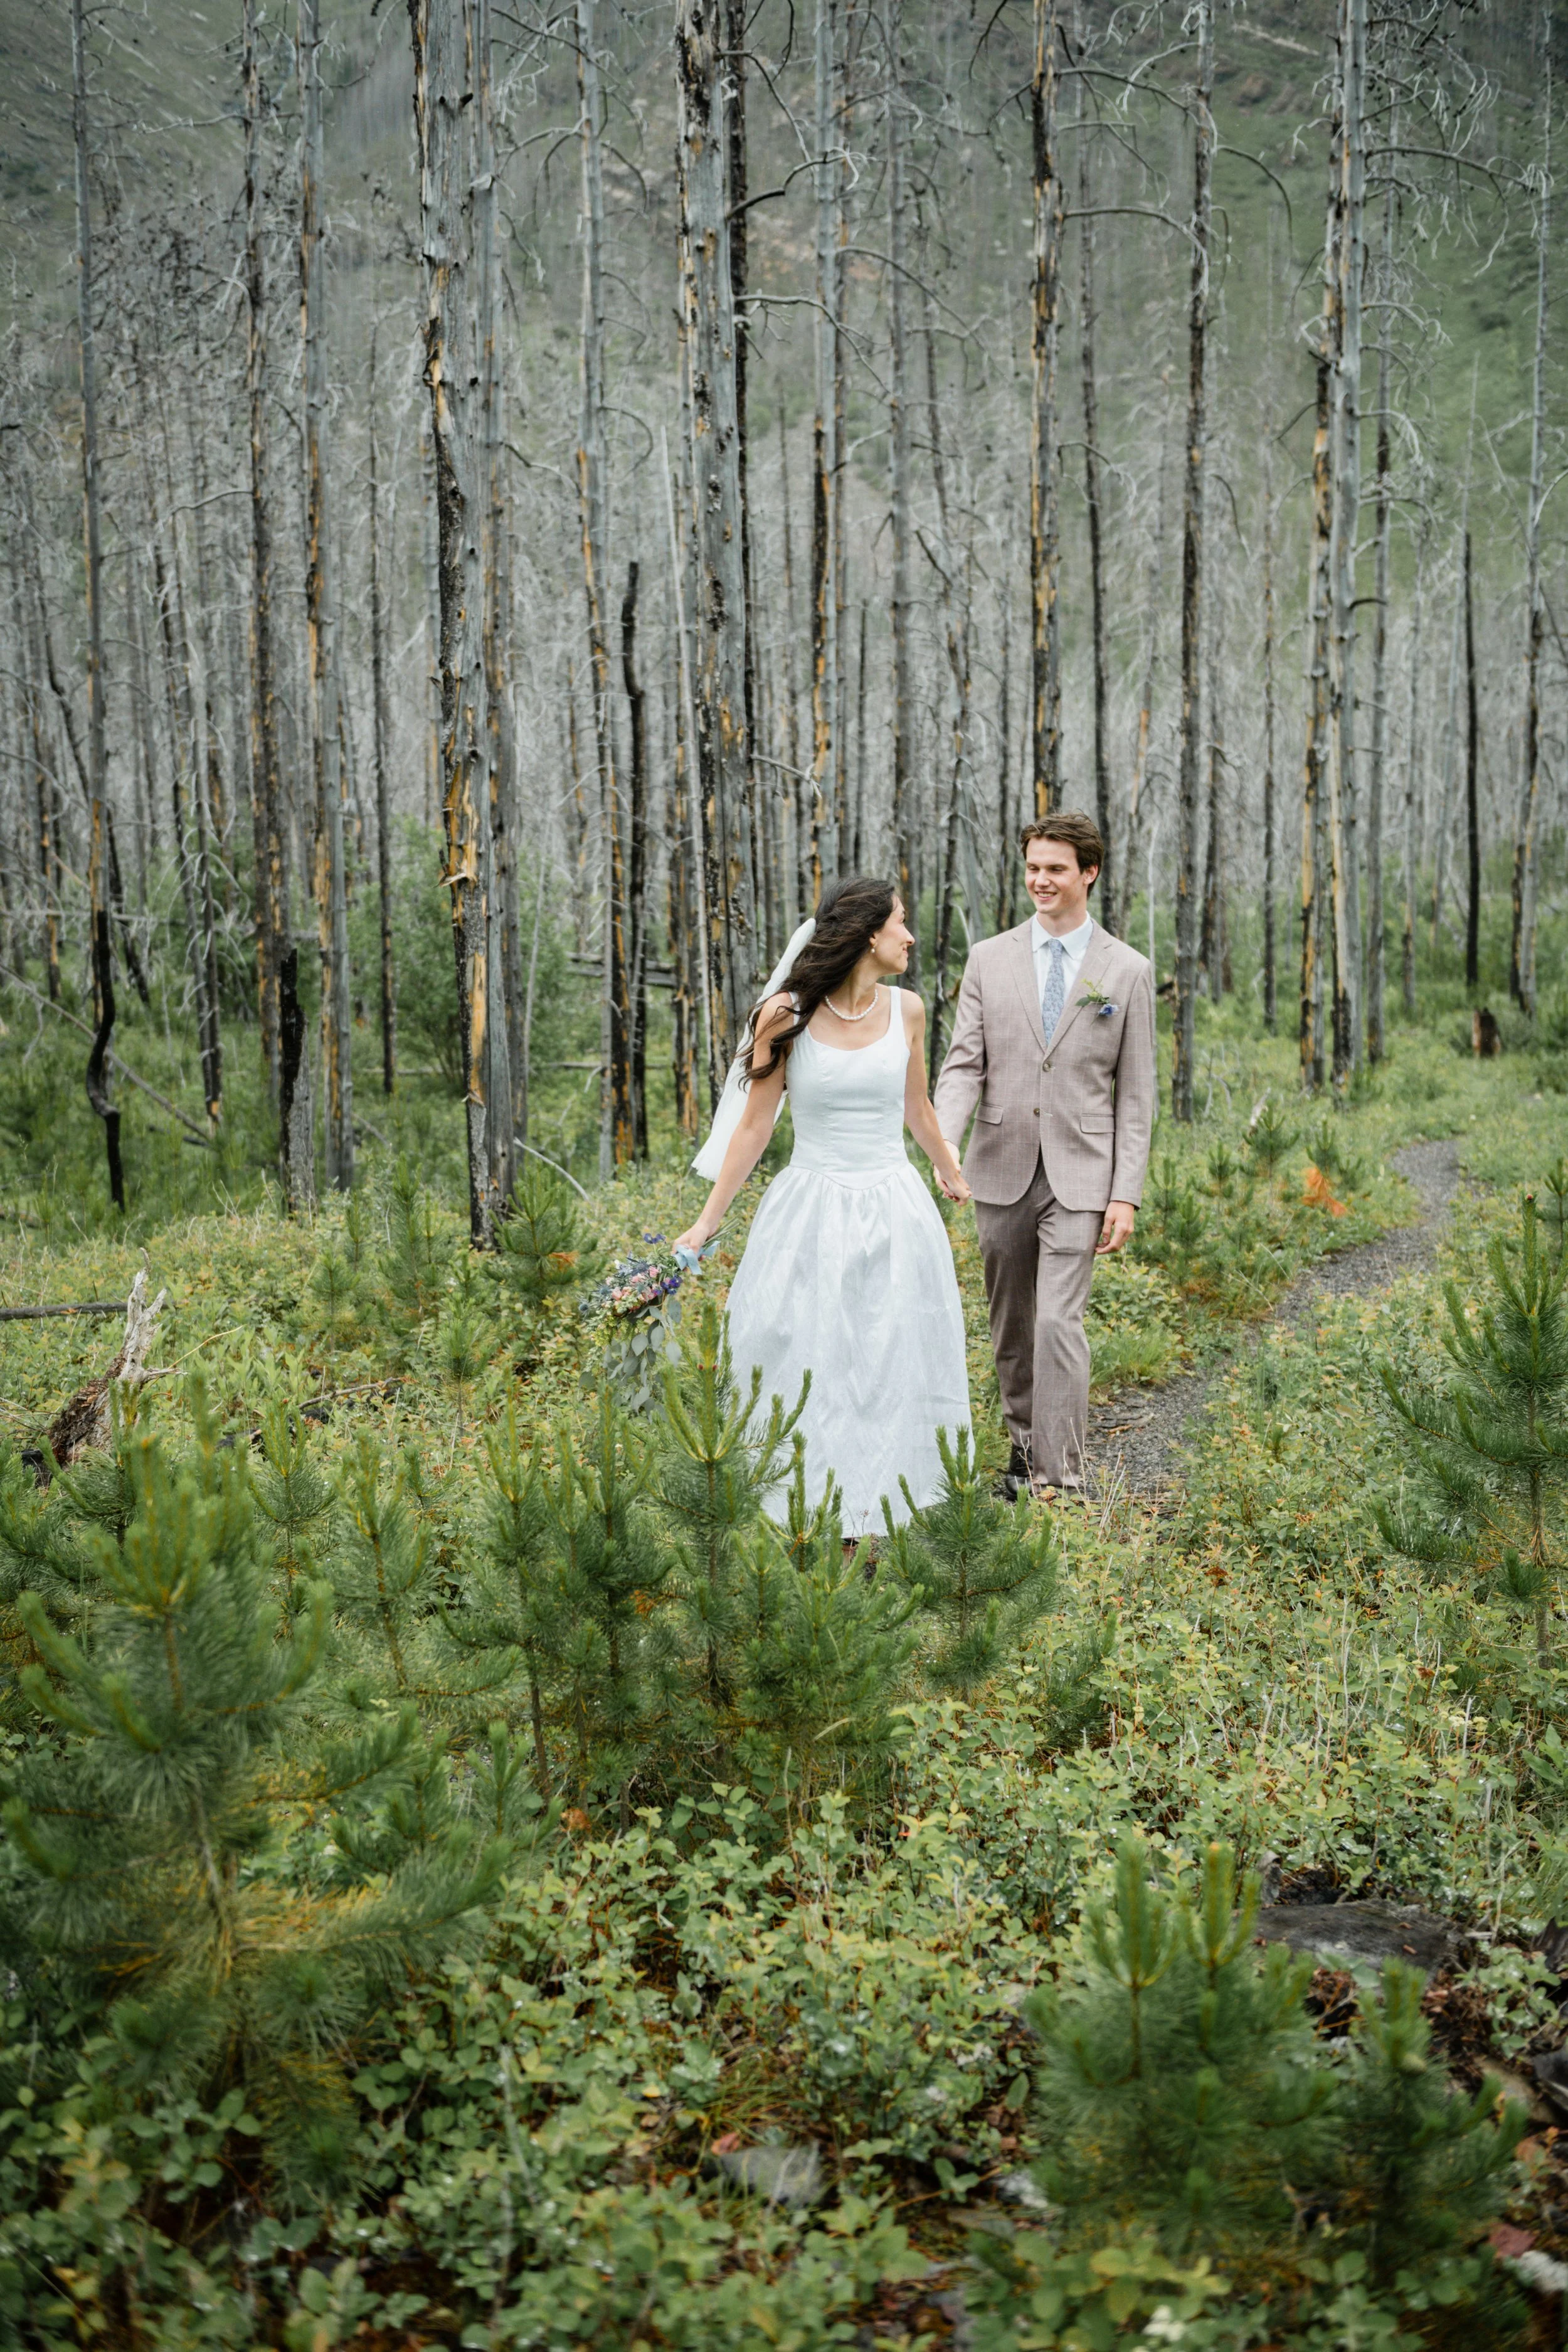
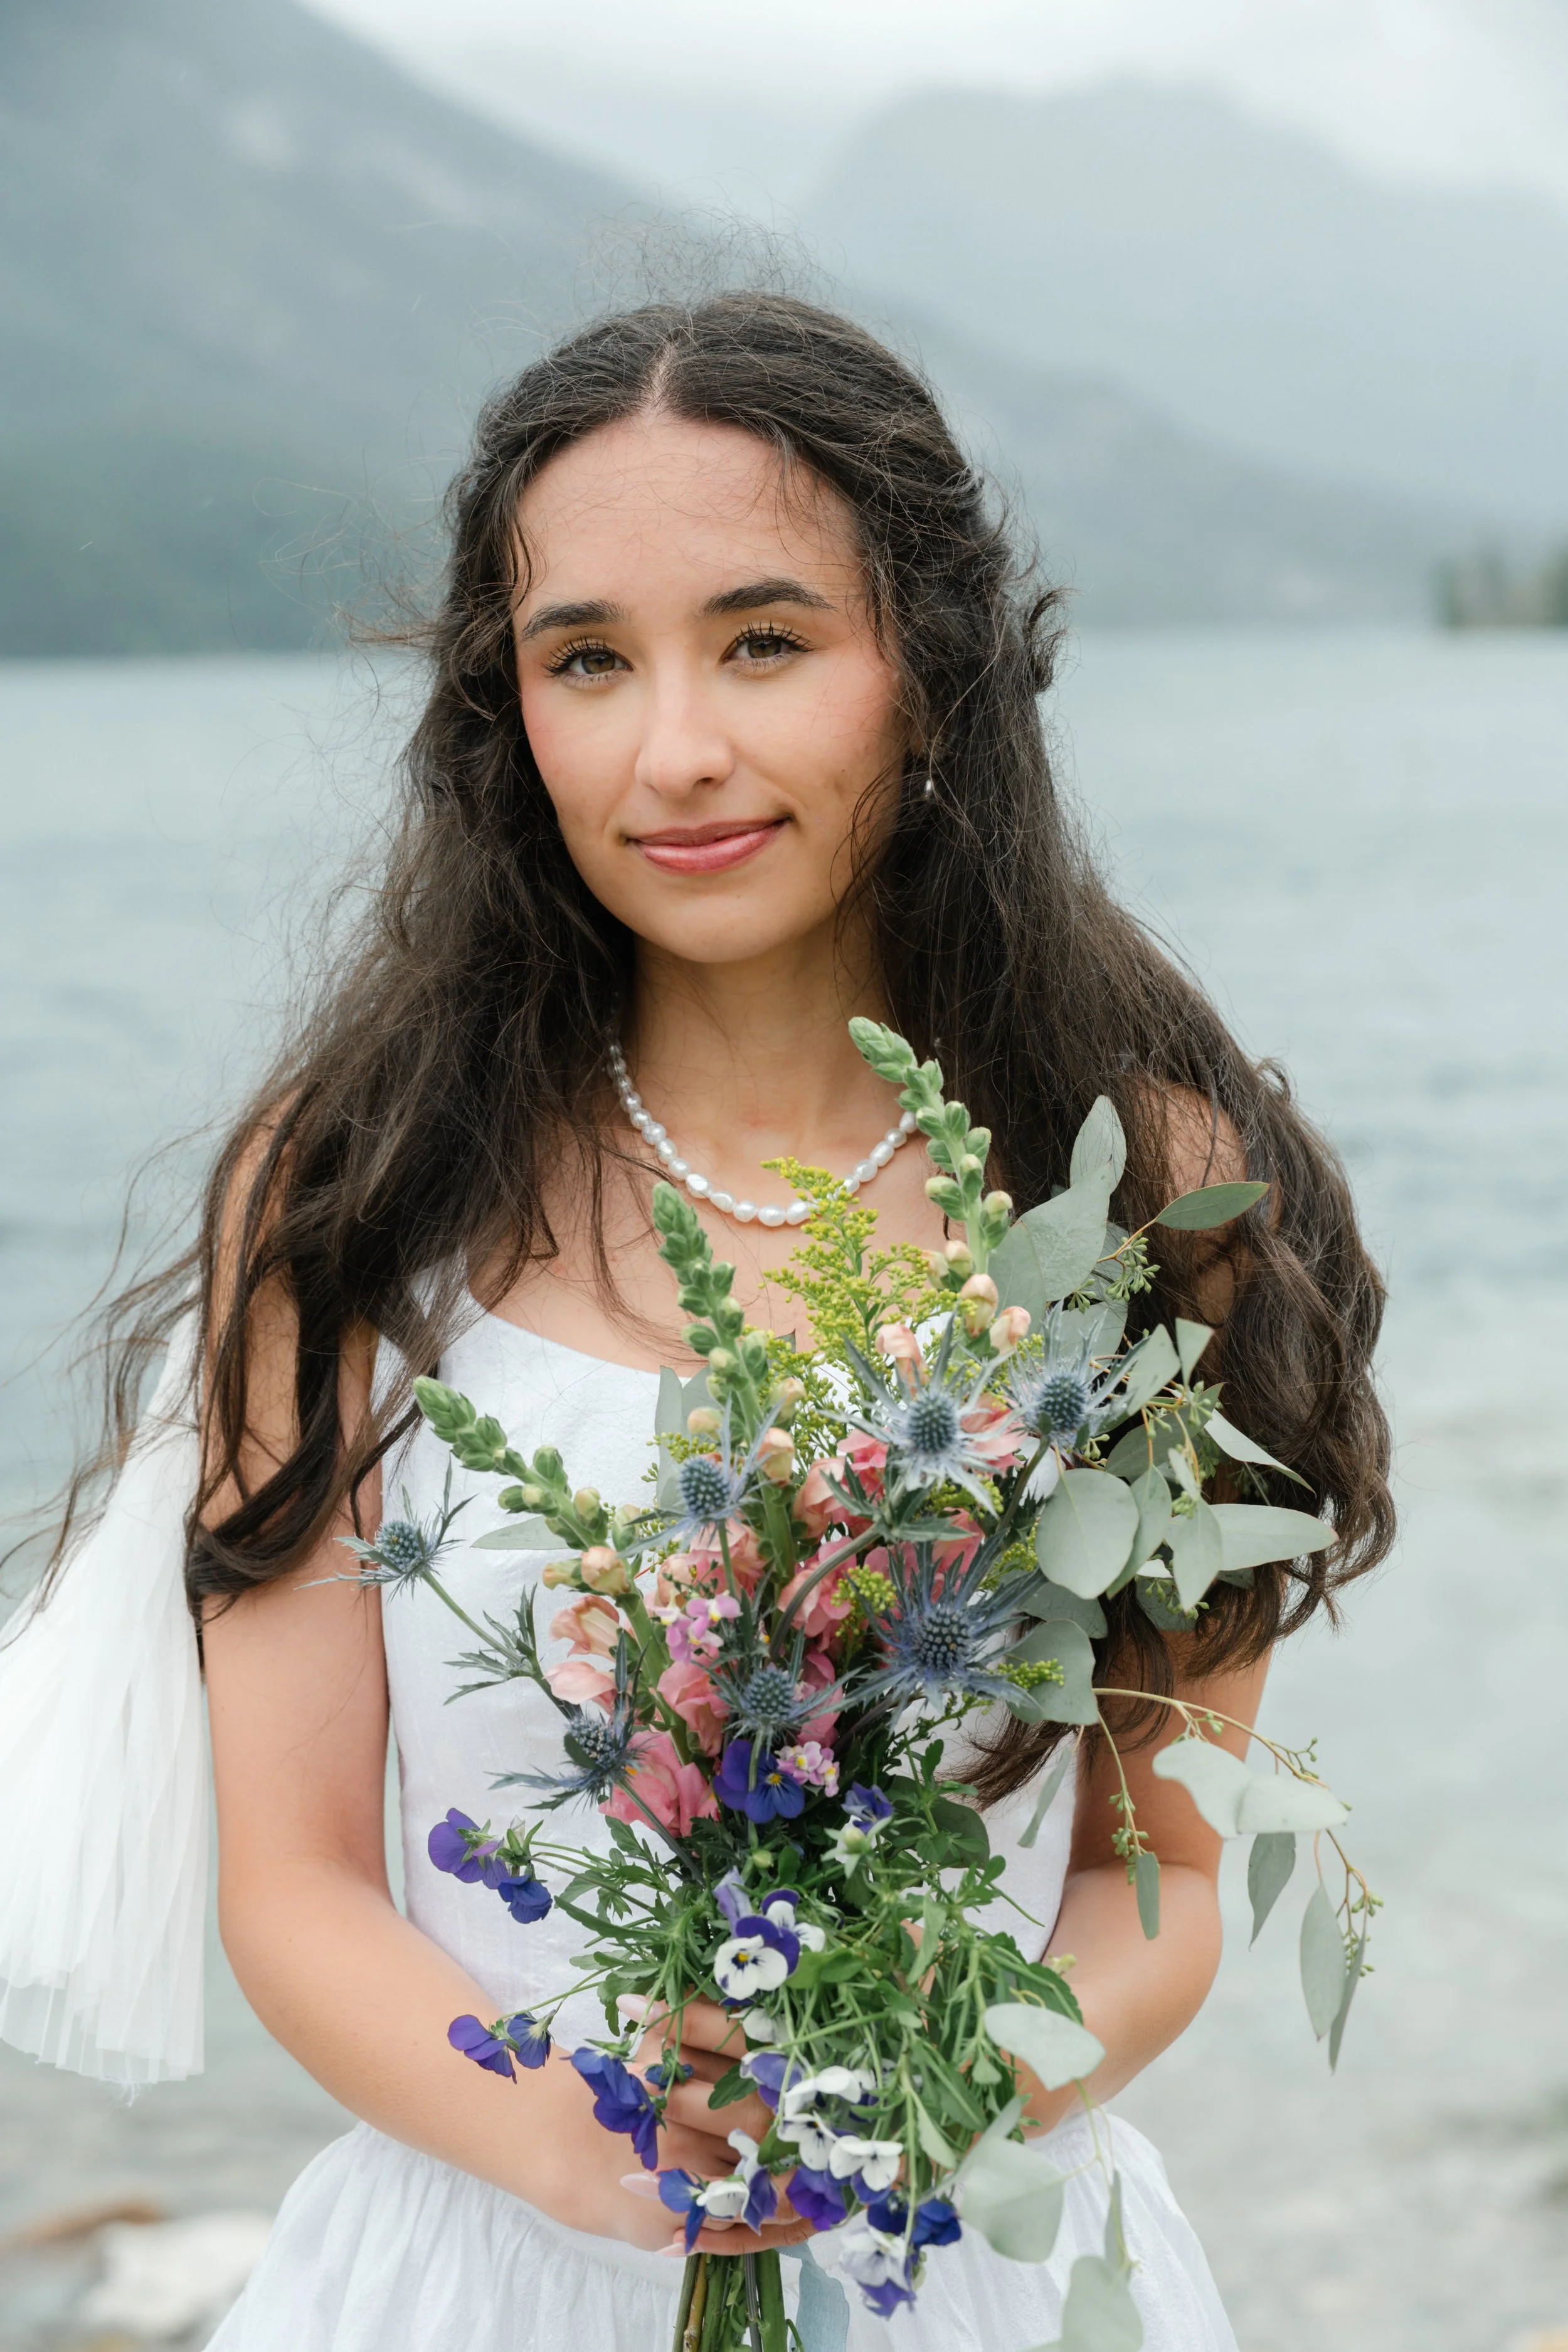
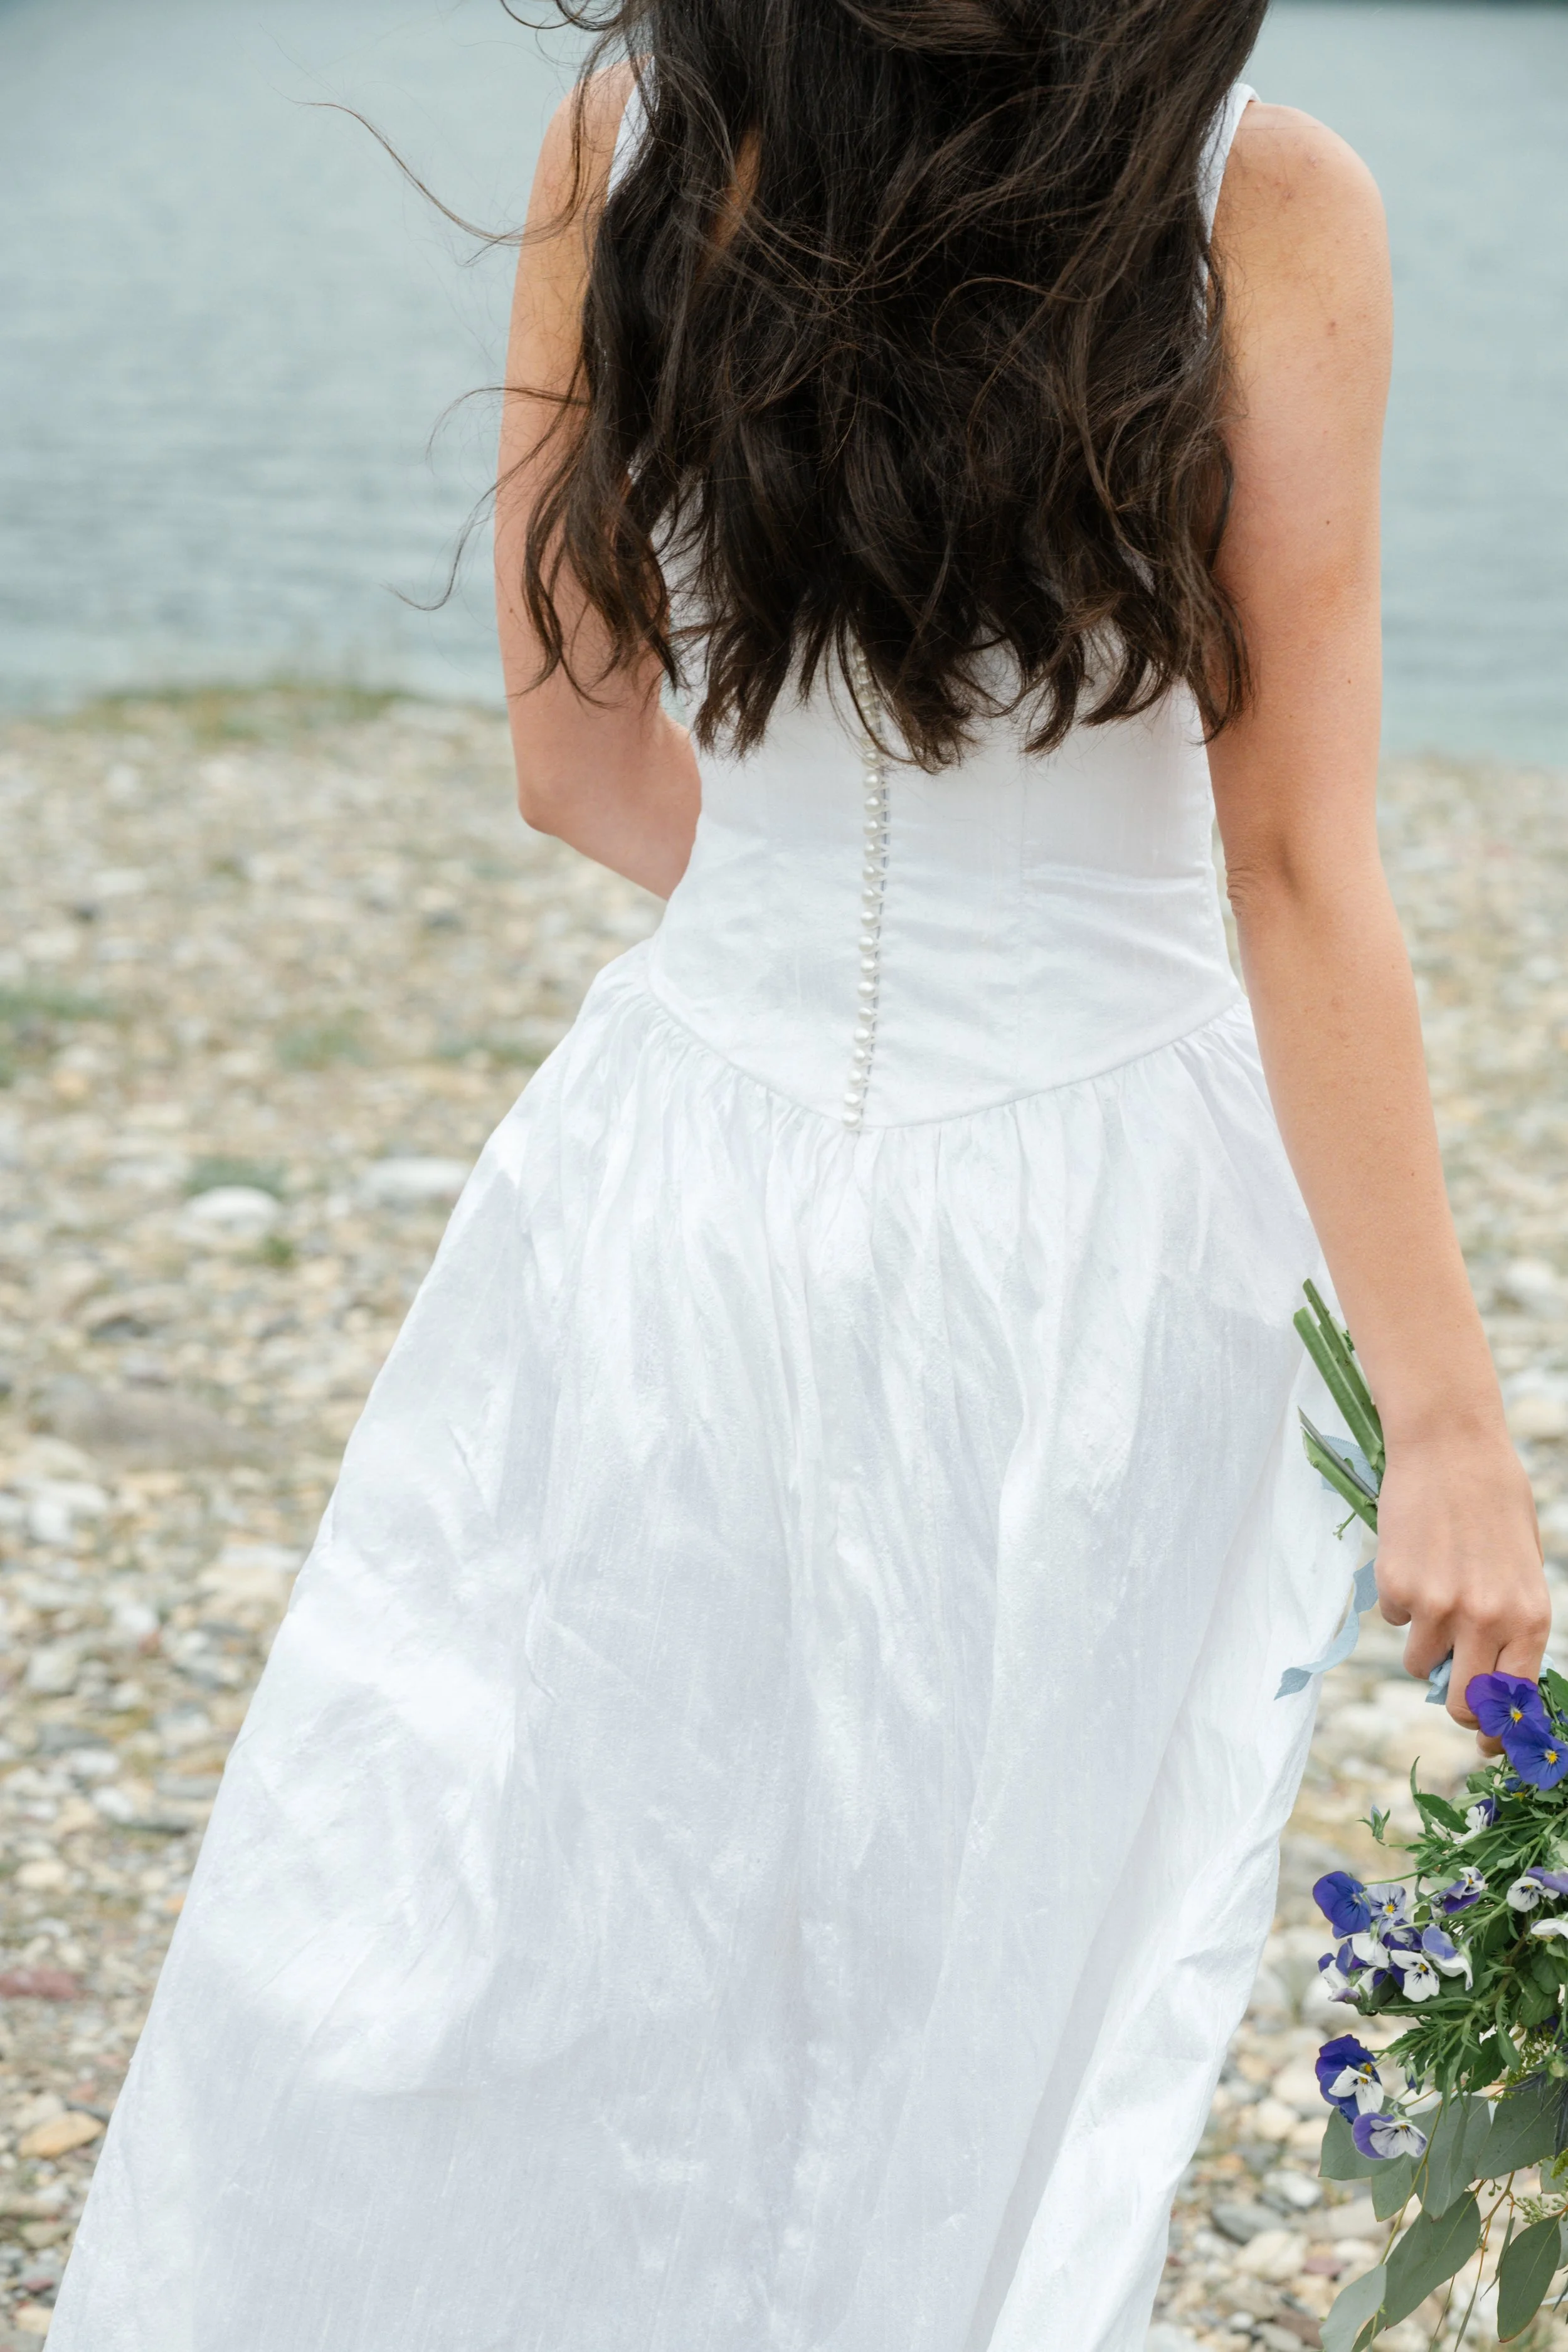
Photos below on FILM. The colours!!!